Quotes

Life is short, break the rules. Forgive quickly, kiss slowly. Love truly, laugh uncontrollably and never regret anything that makes you smile. - Samuel Longhorne Clemens (Mark Twain)
Showing posts with label Calamity Railroad. Show all posts

Friday, November 27, 2015

Weathering - C&S #22

I needed something a little different to work on so I pulled my Bachmann 2-6-0 off the shelf to see what I could do with it. This is lettered for the Colorado & Southern and represents (more or less) engine #22. Now the timer period for Calamity actually precludes this engine existing but since its for game purposes rather than model railroading purposes I'm okay with that.

I really just wanted to experiment with this one a bit. While I like the weathering it seems to be to subtle to really show up well in the photos. It was also a pretty quick job so I didn't really take any WIP photos.


I found a shot I had taken of #22 sometime ago in pristine, out of the box, condition

Kind of mid stream. Basic black has been softened with grays, getting ready to add some dirt and a little rust

Finished, Fireman's side

Finished, Engineer's side

Monday, December 22, 2014

Another Round of Boxcars - Weathering (and finished)

This wraps up my RGS boxcar. My weathering process is never quite the same twice and this particular car gave me difficulties. At one point I decided that I had over weathered it and it was looking decidedly splotchy. Once I was back at my workbench I wiped it down and started over, more or less. Since I used alcohol the initial coat of soot was pretty well fastened down. I tried to keep it a bit lighter the next go around. I'm happier with the outcome but it could be better, but its time to set it aside for now, I might come back to it later but its "good enough" for now.

I'm looking forward to a new product coming out from Fast Tracks for freight car storage and transport. These green Bachmann boxes take a lot of room. Fast Tracks is introducing something they call Freightcrates. They are currently available in HO and N so hopefully they will have On3/30 versions out soon!

Fast Tracks

And now a little photo lineup.

Made quick work of the trucks

Clan slate

Soot down the car side, got a little heavy

Soot on the roof, not quite enough but maybe its always farther back on the train.

Adding some dirt

Adding way to much dirt

These are better, not perfect but better.


Wednesday, December 17, 2014

Another Round of Boxcars - Dry Transfers

It took a day to hunt down the dry transfers from Clover House. They weren't quite where I thought they were. There were two sets for the Colorado & Northwestern and one for the Rio Grande Southern. I completely messed up the first set of C&N transfers, totally disgusted with myself. I'll have to strip it down and start again. I decided to try the RGS set and they went on without a problem. This is another "fantasy" set of RGS decals featuring logos and lettering that didn't necessarily appear on the prototype versions. So the only pictures are of the RGS car and I'm setting aside the C&N cars for now. I'm still seriously considering going forward with getting custom decals made for the C&N instead.

Here are the pictures from tonight's work. Hopefully I'll be able to do some weathering tomorrow. Hard to say with the holidays bearing down on us.
The large logo on the left and the first layer for the galloping goose logo on the right.

The white added to the galloping goose logo unlike with car data


And the end, which contains a bit more information than most cars. I see I didn't quite get my numbers straight on this side.

Thursday, December 11, 2014

Another Round of Boxcars - Painting

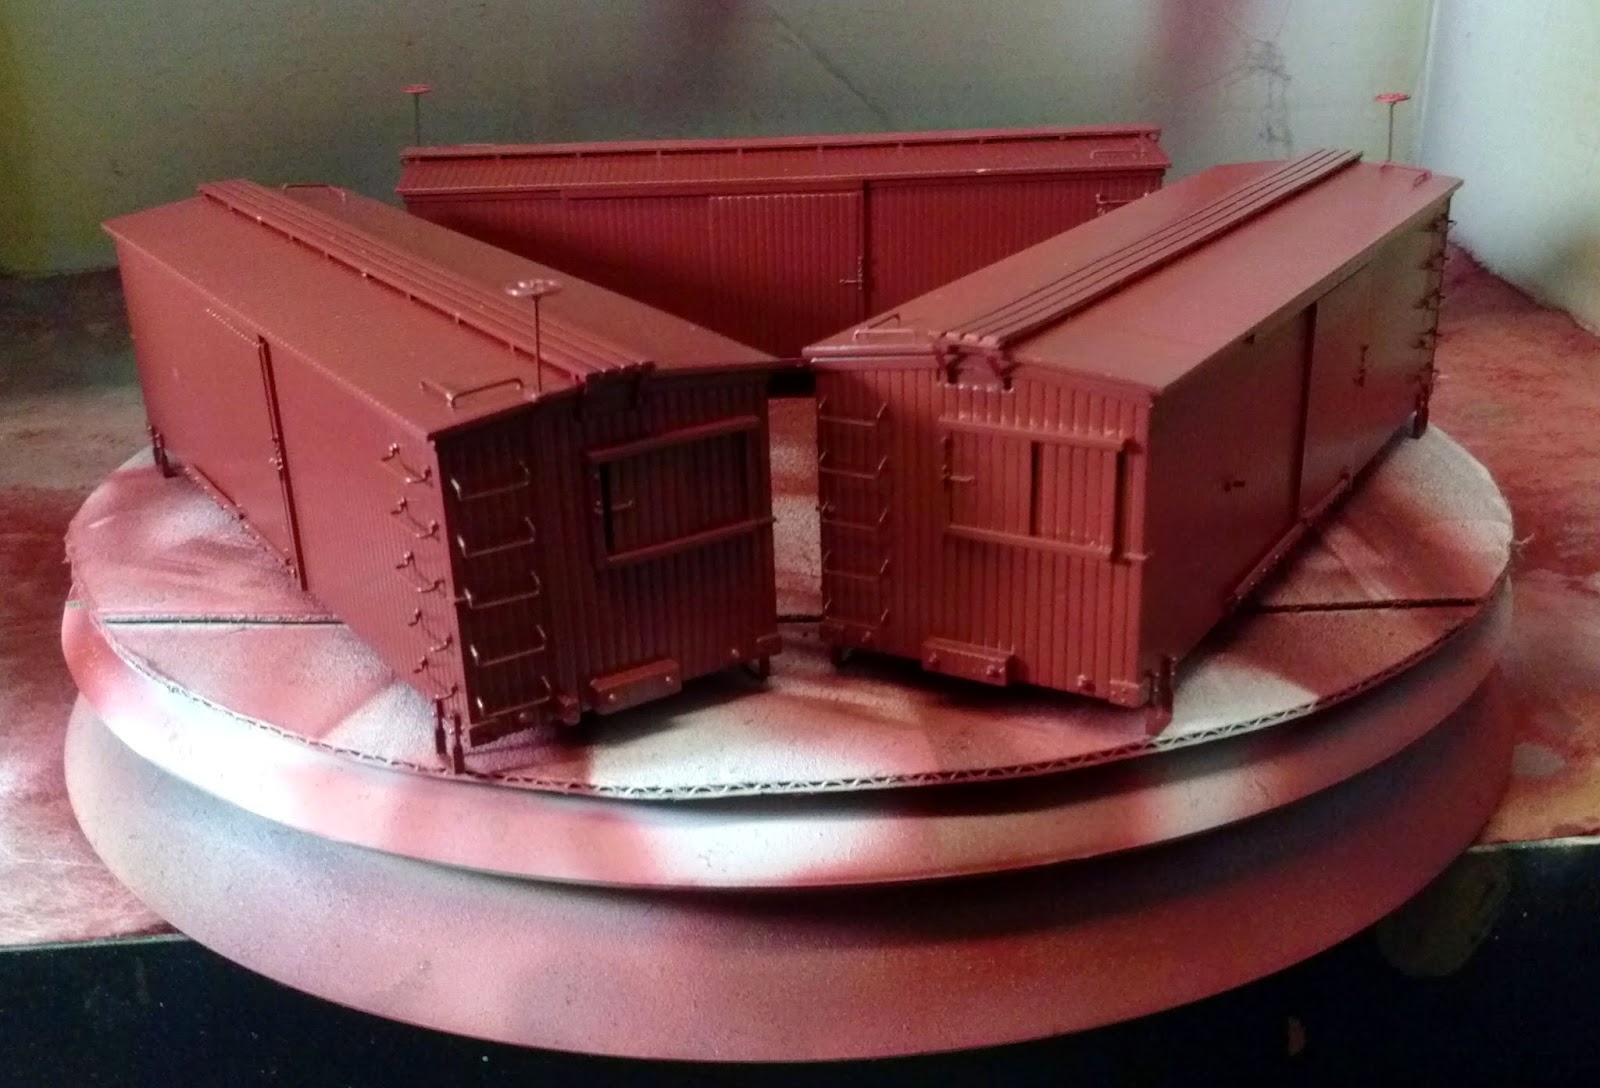
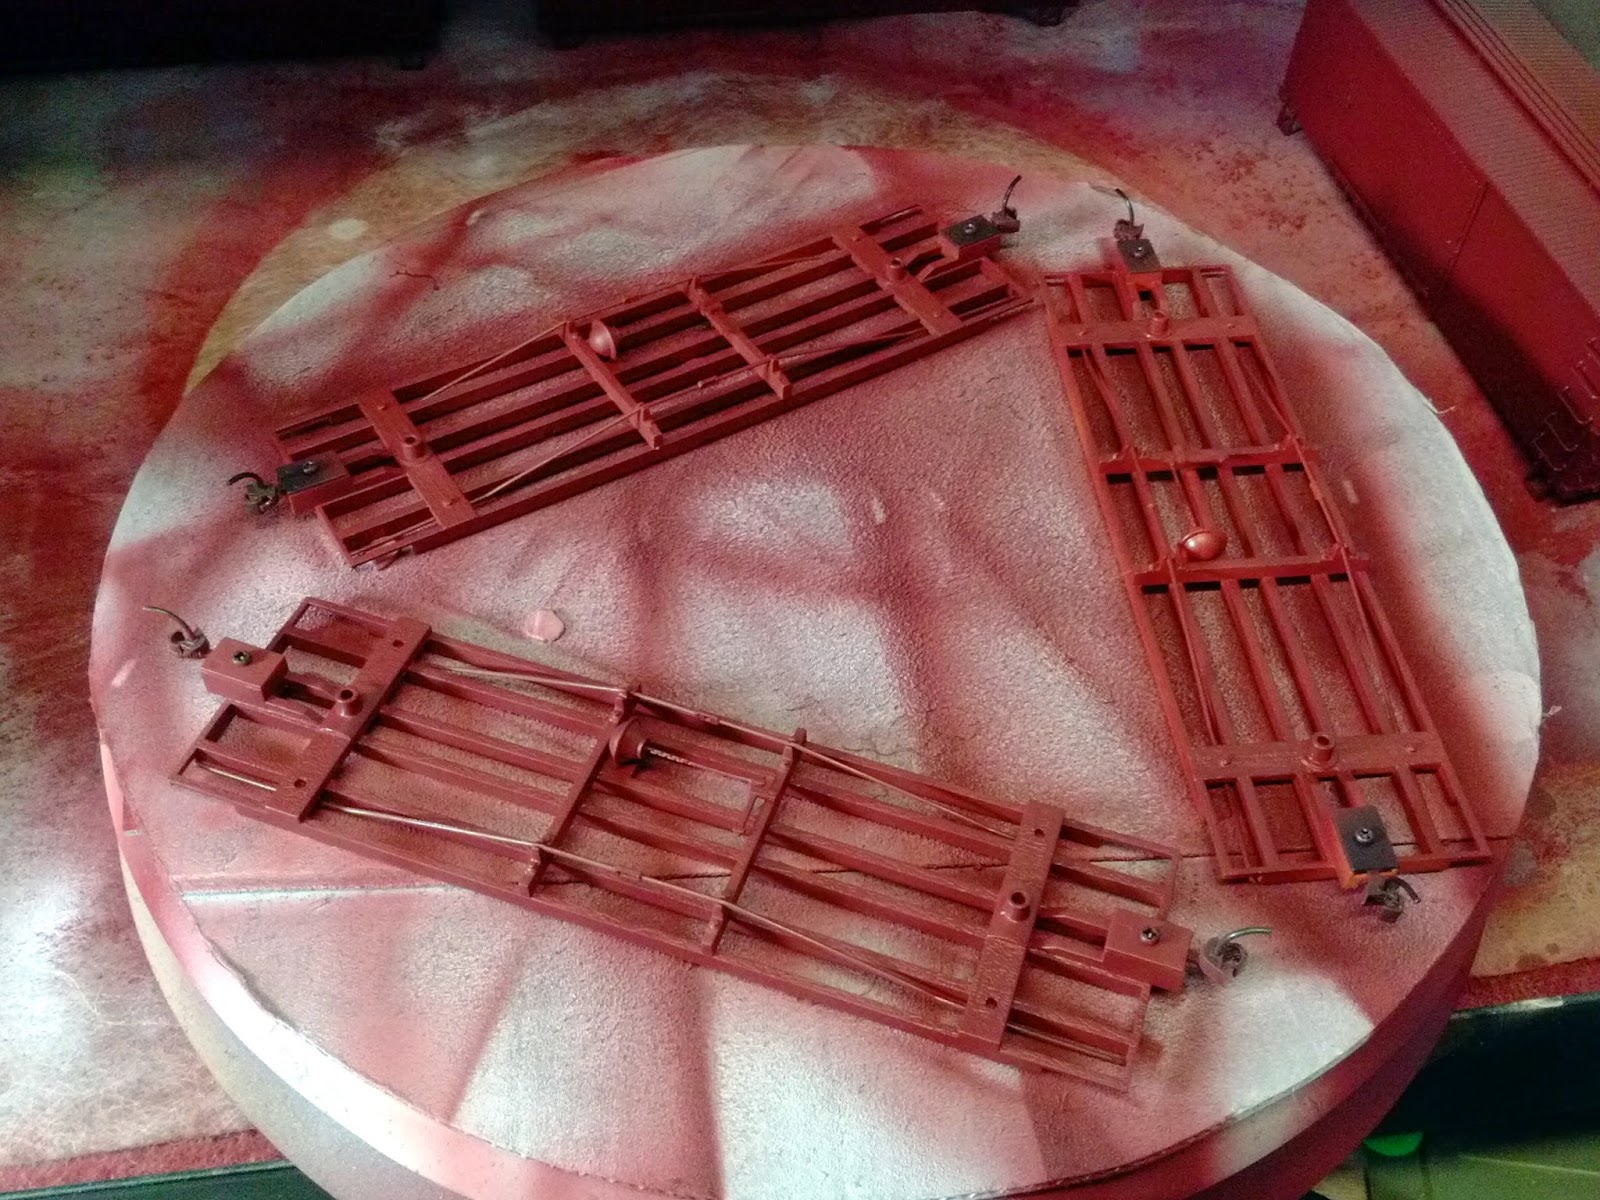
I pulled the airbrush out and my Tru-Scale MOPAC Boxcar Red (TCP-139) (here is a link to my original post about using Tru-Scale: Airbrushing with Tru-Scale paint ) and sat down and went to work. First thing I didn't prep things very well with the paint. I use these little plastic, disposable medical cups to mix paint in. This one had some gunk in it and the acetone loosened it from the bottom and the debris kept clogging my airbrush. I spent far more time cleaning out the clogs than I did actual painting. Note to self always check the cups and, always use a clean one. Acetone is wicked stuff and can damage just about anything, especially plastic, so be careful and have a nice clean area to work in, mine isn't. I see a winter cleaning of the work room coming up along with as many shelfs as I can jam into the remaining clear wall space.

Once I finally got the airbrush operating properly I was able to get the initial paint work on the boxcars done quite quickly. If I was going to apply decals I have a nice glossy surface to work on which is perfect for decals. Since I'm going to be applying dry transfers it really doesn't make a difference. Since I'll be using both I'll leave the glossy finish in place then seal it with Dullcote.


Just a couple of shots from last night. Its hard to take pictures when you are wearing a mask and handling an airbrush, an extra set of hands would have made things easier last night.


Two done, down to the third one. My favorite test bed boxcar.

And here we go, three bright and shiny boxcars. Hard to figure out which one was that awful burnt orange color.


And the underframes


Tuesday, December 9, 2014

Another Round of Boxcars - Prepping

The only thing I seem to be really making progress on is rolling stock for Calamity. I have three boxcars just waiting for some work. One of these was my test bed decal car. I'm unhappy with the results of my decals, if I had a laser printer I think they would look better, but when you are in close you can see the pixels. So considering going ahead and having custom decals done at this point. Will hold on that thought till after the first of the year. In the mean time I do have three sets of transfers from Clover House, so these will be fancy boxcars.

Tonight was spent prepping these for painting. That means removing the trucks (and carefully storing the screws) and removing the ladders from each side. Following that I used my jig to drill holes for the new grab irons. I received the brass ones yesterday and I like them much better. So holes drilled, grab irons bent into their proper and installed and we are ready to paint!
Ladders removed ready for grab irons

Installing some grab irons on one of the new cars. They need a little straightening.

Installed on the decal test bed car, those first attempt decals have to go!
  
Decals removed, grab irons installed

And a two

And a three

Monday, December 8, 2014

My Weathering Tools & Supplies

I had a question about what I use to do my weathering. While I was at my desk cleaning up prior to a painting session I snapped a few quick pictures of my primary tools.


From left to right, sponges, sponge handles, cheap brushes (mostly chip with a couple rounds) and Prismacolor pencils. The pencils are really handy when you need to just hit an edge, I have white, burnt sienna, raw sienna, burnt umber and raw umber.

Pan Pastels. I purchase mine from Stoney Creek Designs and Roger includes a wrapper to go around the outside with the color name and an approximation of the color inside. Quite handy when they are stacked up on a shelf.

All the information you need is underneath

This is a cake, so no messy loose powders. It also holds very well to the model.

The sponge tools for the Pan Pastels. Applying with the sponges is the easiest way. You can also erase them from the model with a regular pencil eraser

MiG pigments are seeing less use than before, but they still have their place in my weathering arsenal.

And here is one of the reasons why. Its very easy to mix the loose powder to get a different color tone. Hard to do this with the Pan Pastels.

Saturday, November 29, 2014

A Grab Iron Jig

The Bachmann On30 box cars (goods car for you UK readers) has nice wire grab ends on the ends but on the sides the opted for what looks like a ladder and quite frankly I don't like the look of. I was willing to put up with it on the non C&N box cars since it helps set them apart. But I wanted grab irons for the C&N. My first problem was trying to figure out how to get a consistent spacing and location. That's what jigs are for. This evening I constructed a jig and performed surgery on my poor decal test car. Overall I would call it a success. However, I didn't realize that the grab irons I purchased were actually white metal castings. While they work, they are a bit soft and I'm not sure I like them. They might look better after they have been painted, I think I will go looking for some actual wire ones though.

I kept track of the trials and tribulations in vivid color.

The issue, the ladder instead of grab irons on the right side

The victim, the box car that has my first run of decals on it. I have removed the ladder already

The opposite side, plenty of room for more decal experimentation

What I want, wire grab irons like the ones that appear on the ends. Why didn't they use these on the sides?

First jig attempt. A piece of sheet styrene cut to  fit between the top of the eves and the top of the step

I thought I should cut it down to make it easier to use

Drawing the first lines to figure out where to drill the holes. I'm having second thoughts at this point

I decide to take a slightly different direction. I grab a piece of new plastic and  set the jig so that the machined edges, which I know are square, line up against straight edges on the box car.

I mark the jig so that I remember which edge is which.

Drawing the lines to determine where the holes for the grab irons need to go. Each place where the lines cross is where a hole needs to be drilled.

Jig in place complete with holes. I used a #73 bit for this.

The grab irons. I never really looked at these before and I didn't realize they were cast instead of wire.

The holes are drilled, need a little cleanup.

Cleaned up and grab irons in place. They look a little rough partially because they bend a bit when inserted and my holes are a tad to close together.

In place on the other side. The one, second from the bottom, that looks really off is because the drilled hole concided with the original hole for the ladder. When I glue it in I'll push it up into the right spot.  For now I have left them unglued, while I search for some wire ones.