Showing posts with label Max. Show all posts

Monday, 2 June 2014

A sunny day in June

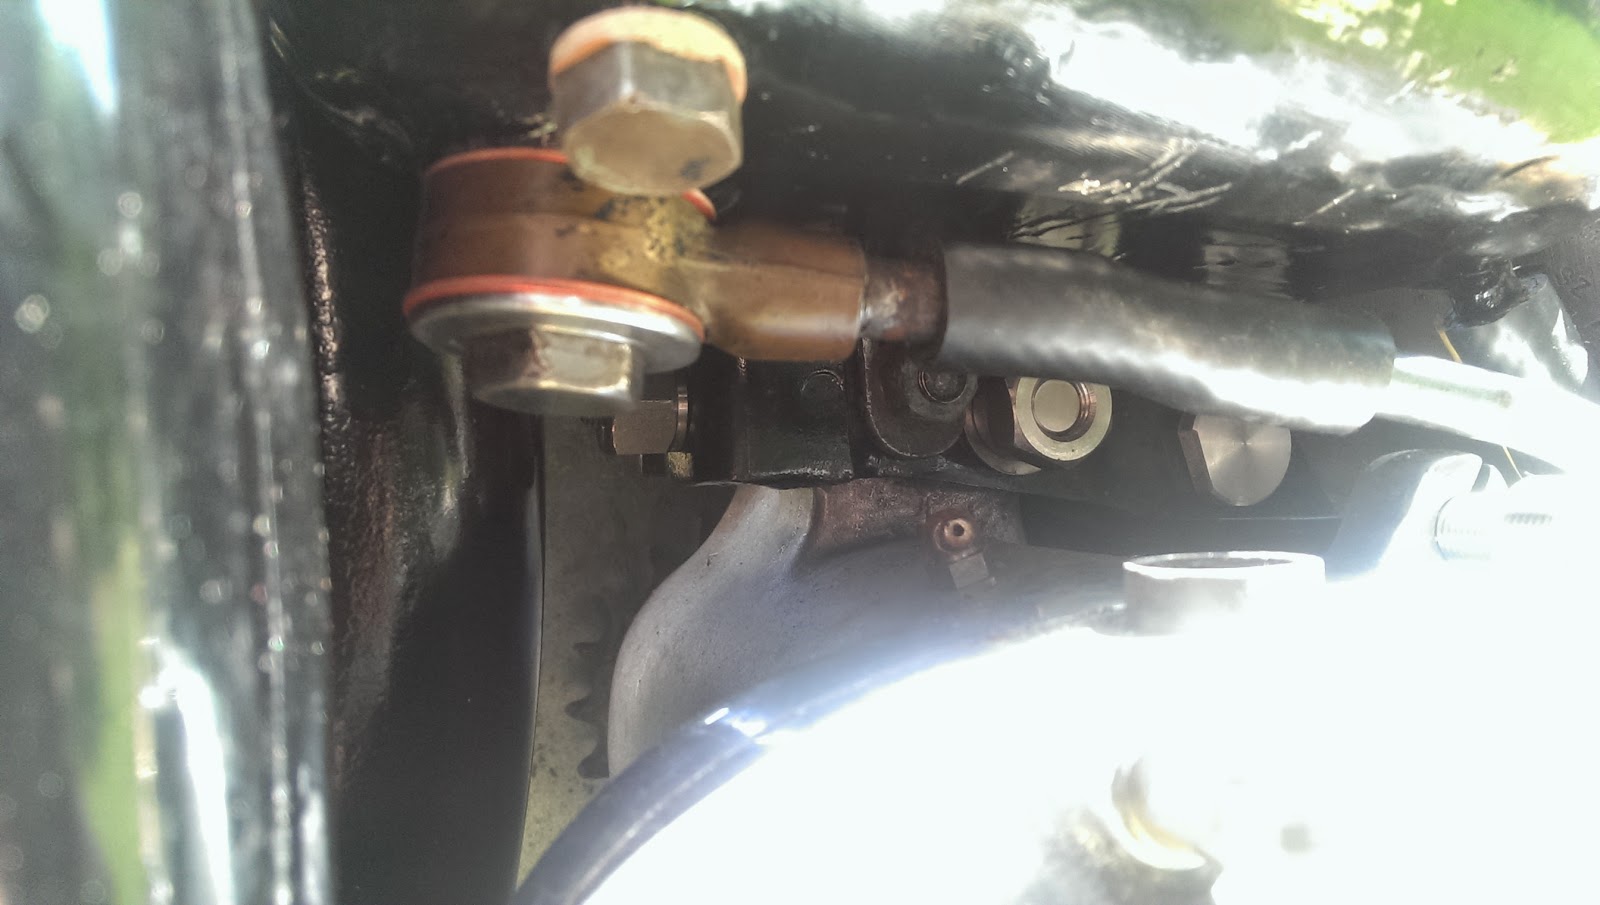
My Square Four tank, and it does appear to be a Square Four tank (very large and of the appropriate width; large filler, pressure gauge hole) has as I said two taps (it also has a drain at front RH and no crossover pipe). What I neglected to mention (or even realize) was that the taps are forward of the tank mounts:


As you can see, on a Mk1 these are very close to the back of the rocker covers and will get frighteningly hot, I suspect. It looks a little odd; the closest reference I can find to this arrangement is a rather nice '51 KH shown in an article in RealClassic, which has two Ewarts taps in a similar location. The curious thing is, I have scoured all the KH and SQ4 parts books I can find and they all describe a single tap.

Hmm... Is this really a Square Four Tank?

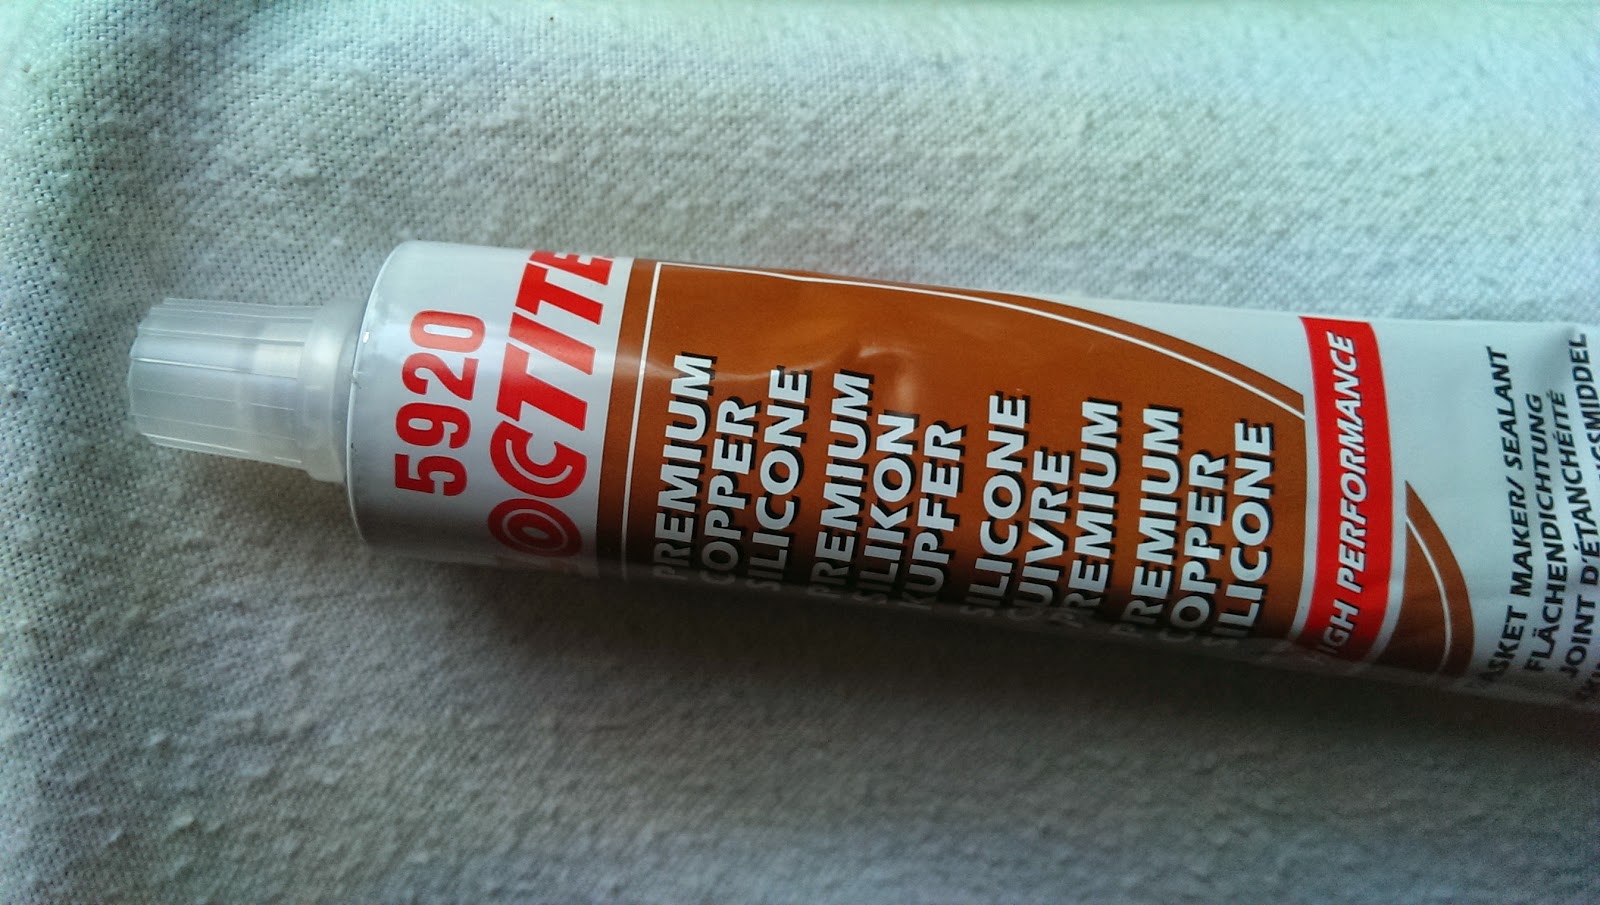
So, one plan is to use a pair of Ewarts type plunger taps, 3/8" BSP into the tank with horizontal outlets. I will then make a copper/rubber tube assembly to tie the two taps together into the single inlet to the Solex. An alternative would be to blank the tap hole on the RH, and use a two-level plunger tap on the nearside - but I am not sure I have room for that.

I will need a supply of tube, nipples and gland nuts to make up this assembly - and I guess I will make a tee out of some brass barstock. I'm not sure where to buy these parts yet...

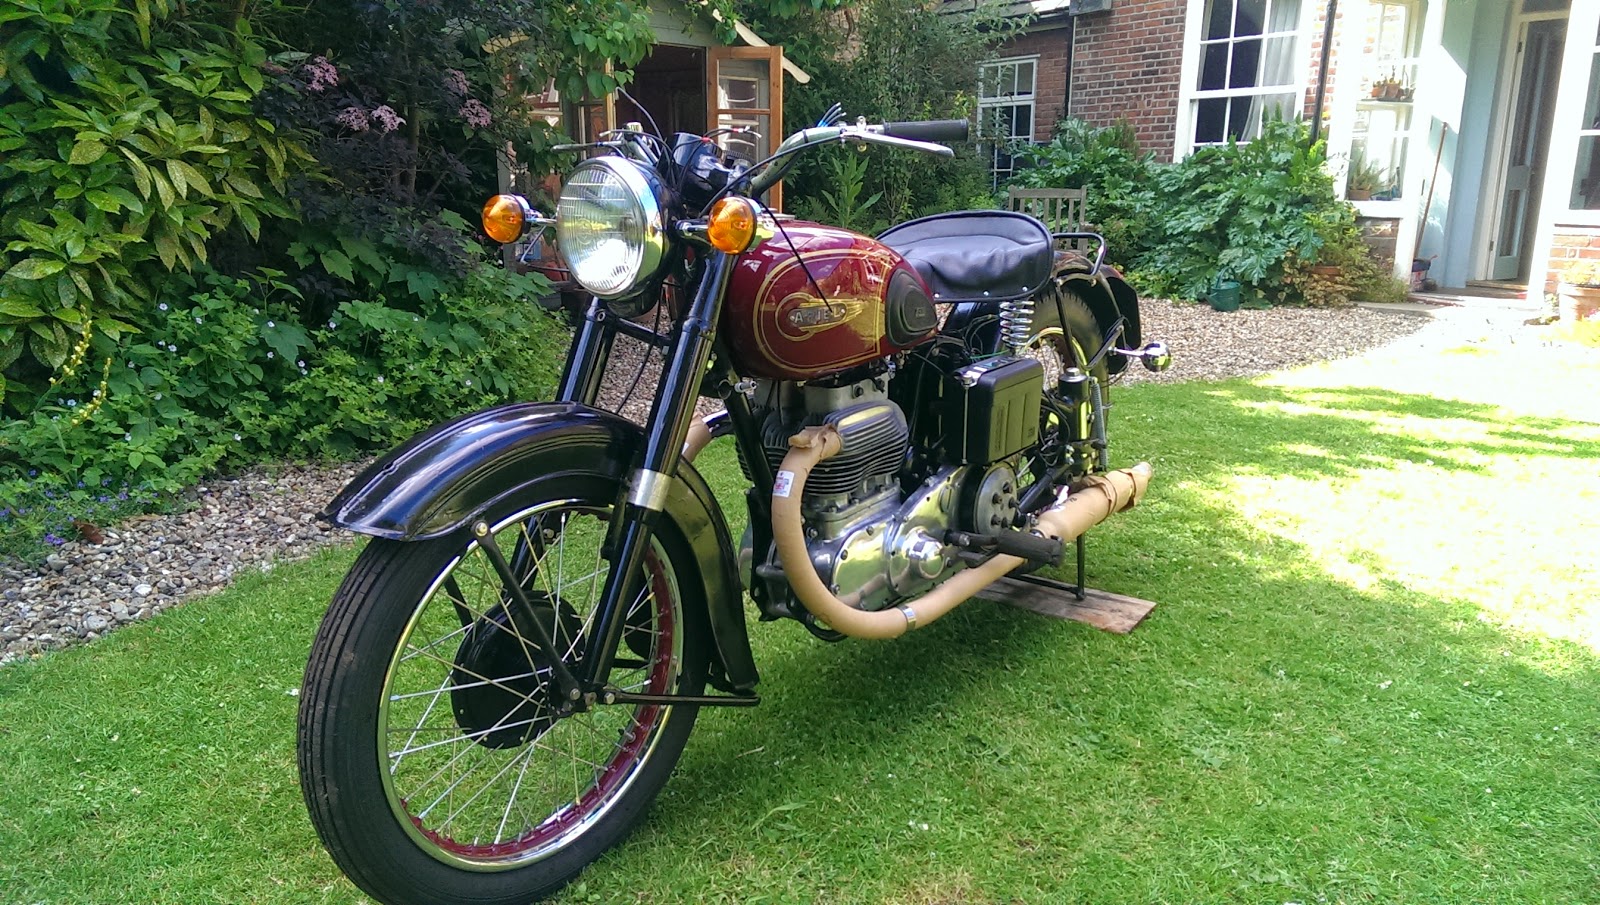
On a brighter note, she is a very handsome machine:
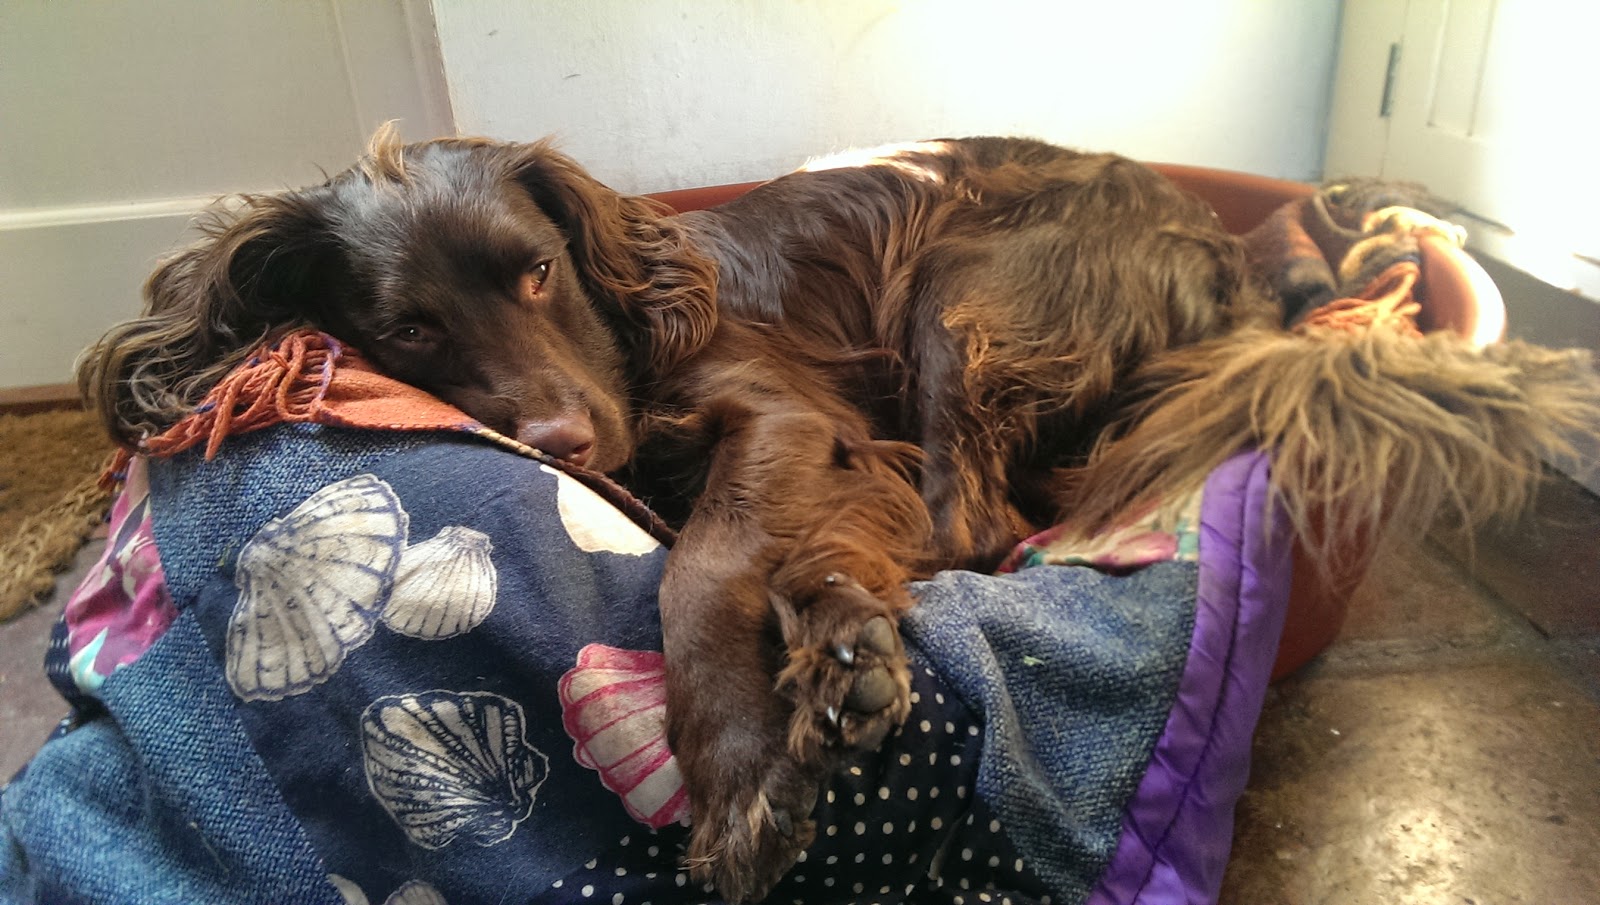

Max is nonplussed


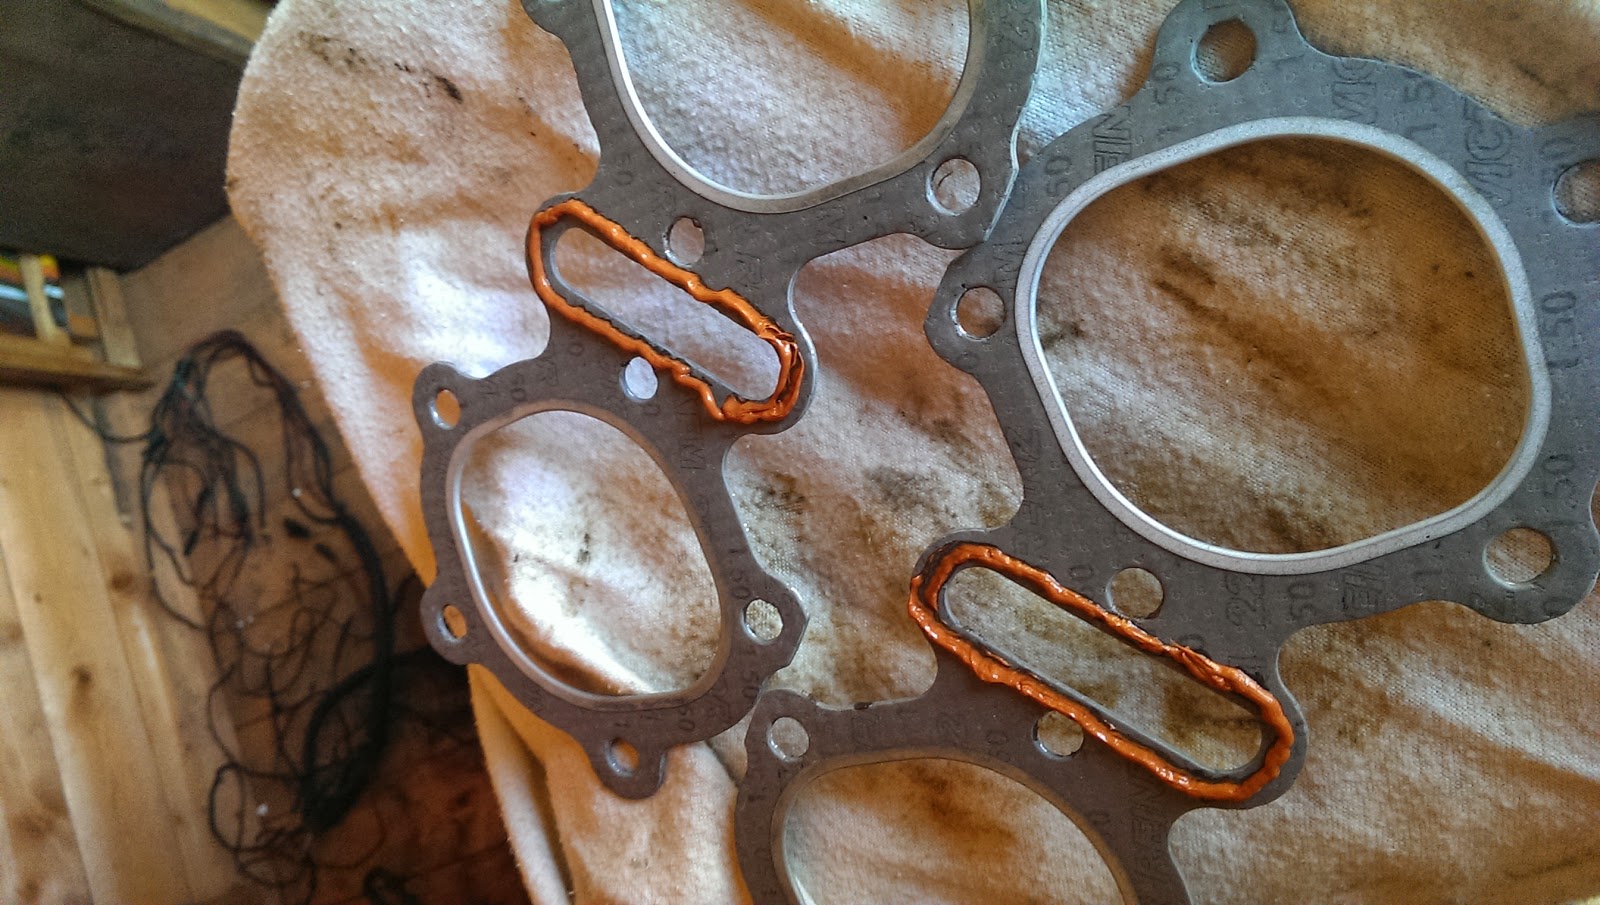
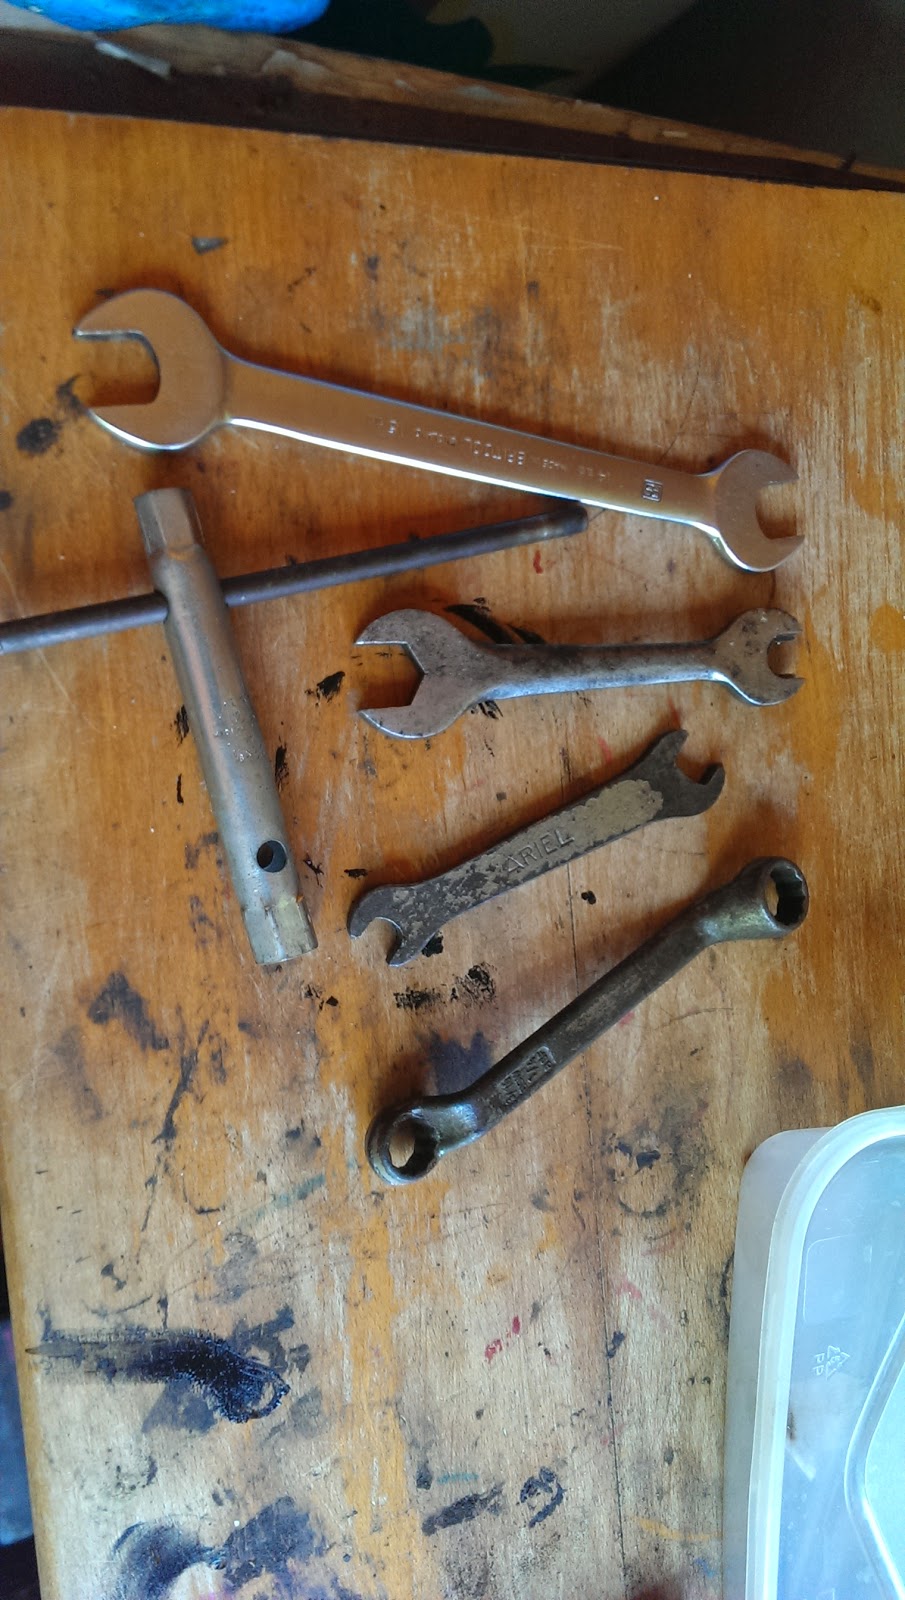
Ariel do not seemed to have paid a lot of attention to the maintainability of their machines. Two maintenance items in this picture, neither of them easily accessed AND I have removed the kick start lever. More positively, the oil tank is now hooked up.


The valve timing is done, with a little help from my daughter - assembling the cam chain tensioner is not a one-man job:


And the exhaust pipes are looking good. The eagle eyed amongst you will notice the clutch dome is still off:


I have discovered however that when I straightened the RH footrest hanger, I straightened it too much and it now fouls the exhaust pipe.

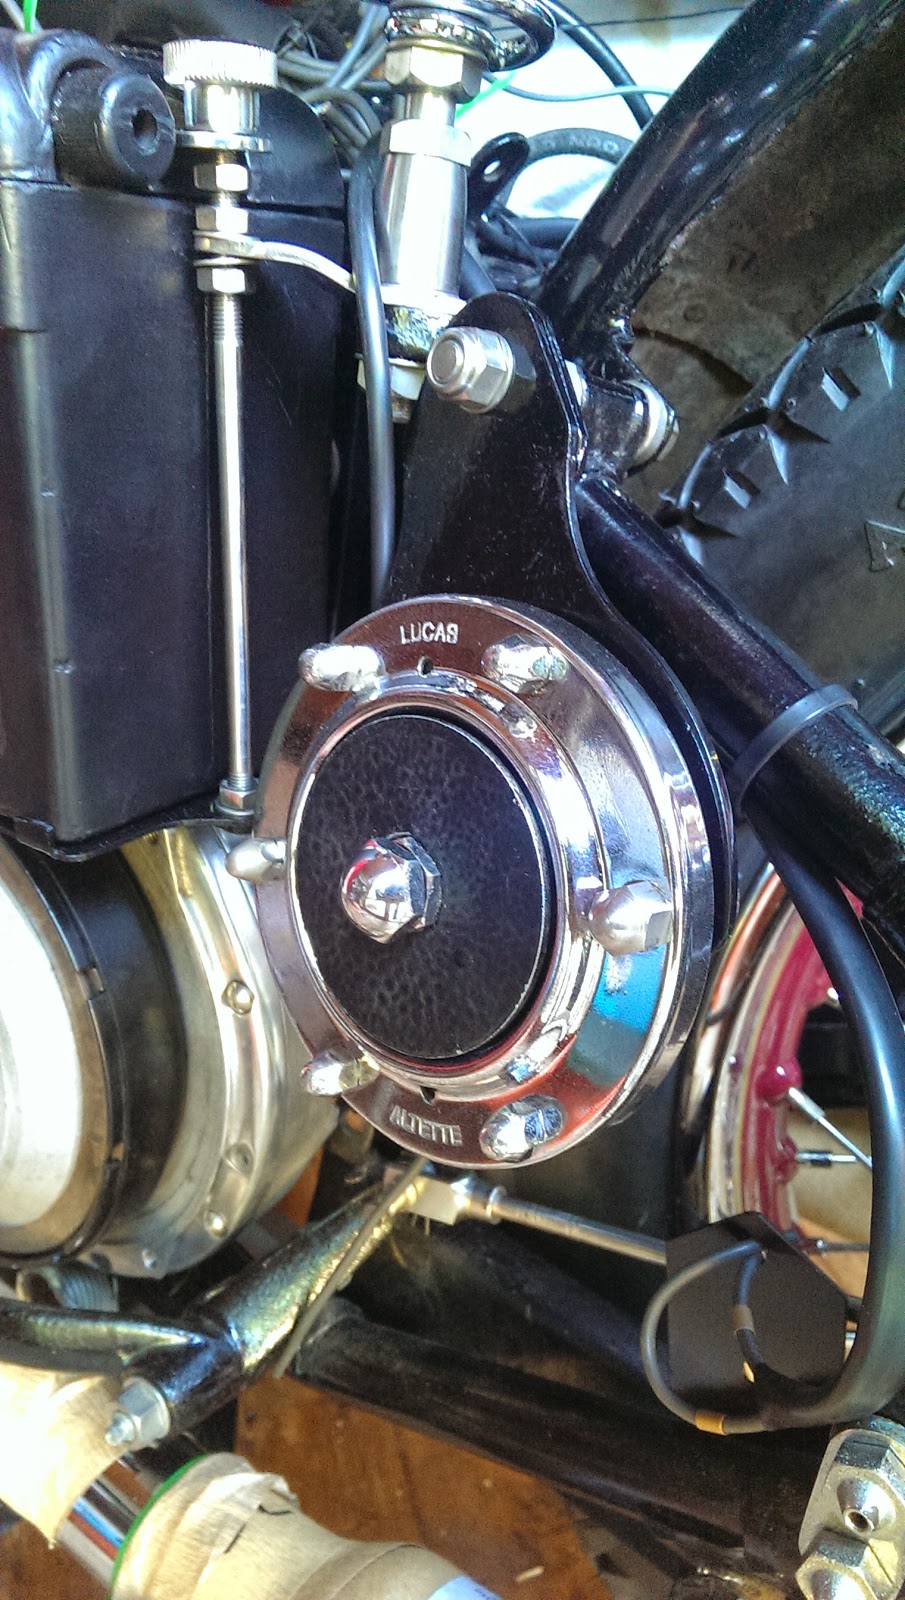
More wiring done this weekend too. Horn and Lucas 529 rear light fitted:


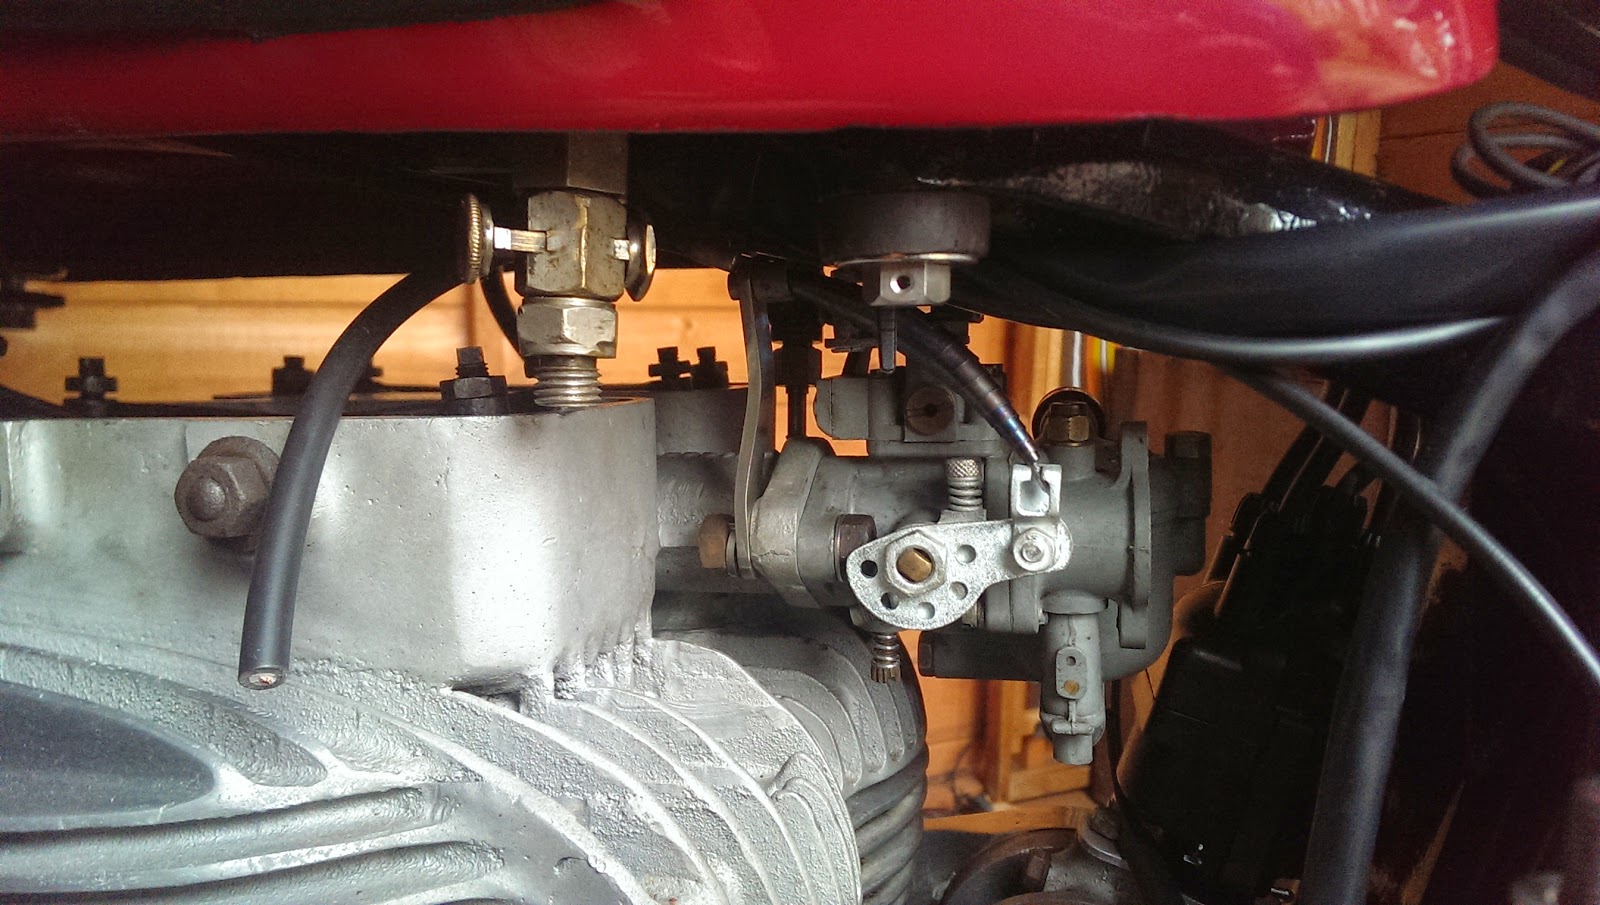
and I am not sure what to do about the throttle cable abutment:


Monday, 19 May 2014

The head is on!

So we are all set. The sun is shining, I have a day free (after cutting the grass and making the family dinner) and I have all the parts, plus a very nice text from Bruce Longman via Draganfly with explicit instructions. Max is in bed, so he will be happy for a bit:


A Chocolate Sprocker, feeling very 'Sunday Morningish'
I have some high temperature silicone gasket as recommended by Bruce. Loctite say this is suitable for operating temperatures up to 275 degrees C (sustained) with excursions to 300 C:


So as recommended by Bruce, we start by laying a band of sealant around the pushrod tunnels, on both sides of the gasket. Actually easier to lay one bead on the gasket, and one bead on the block, making sure you have the handed gaskets the right way around:


No picture, but next I placed all the head nuts in position between the cylinder block fins, under their holes, with the flanges upward. Next, manoeuvre the head under the frame tube and drop it into place over the studs, making sure the extended, rounded ends of the studs drop into the nuts. Add the sleeve nuts inside the rocker boxes, and the 5/16" CEI reduced hex nuts outside the rocker boxes. You hand screw these down finger tight.

And as Kees Knegt pointed out in a comment to an earlier post, this would have been easier without the rockers! You cannot fit the pushrods with the rockers in place either (they don't slide sideways far enough) so I may as well have left them off... although I do like to trial fit everything at least once.

Next, with your thinnest 5/16" CEI open spanner, engage all the nuts on the downward facing head studs and turn them as far as they will go without using and force. You will realise now that if you leave one undone, and tighten the others, you will crack a fin by virtue of the loose nut pushing downward onto the fin below.

Once you have all the nuts finger tight you will see the head finally come down onto the gaskets. continue going around all the nuts inside & outside the rocker boxes until they are all snugged down finger tight.


You will need a variety of spanners to achieve this. The reduced hex nuts in the middle of the head, under the inlet tract are particularly inaccessible.


So, when everything is snugged down, use Bruce's torque figures and sequence to tighten down the head.

Job done.

Saturday, 18 January 2014

Monday, 15 April 2013

Wheels


Sample spokes
Amid engine machining and gearbox rebuilds, I decided it would be good to actually ride Amelia at some stage. Standing in the way of this was a set of very rusty spokes on both wheels. I'd hoped to get away with commissioning the bike on it's own wheels, without any form of rebuild (continuing my 'Phase 1' rebuild with no chroming or painting) but it was not to be. Both wheels had at least one broken spoke, and the remaining spokes were very thin in places.
So, a rebuild it had to be.

Amelia has half-width cast iron hubs, front and rear. The front is the 'Qualcast' half width hub fitted to all telescopic-fork Ariels prior to the appearance of the full-width alloy hub in 1956, and the rear is the 5-stud QD hub. Tyres are 3.25-19 front on a WM2 rim & 4.00-18 rear on a WM3 rim.

Max has found some tyres
So, gathering parts. I used Central Wheel Services for spokes & tyres, since they give outstanding service and their prices for tyres were very good. I bought traditional Avon Speedmaster & SM MkII tyres, still made today in a modern soft compound.

Close inspection of the spokes revealed plain spokes on both sides of the wheel at the front, with butted spokes on the drive side at the rear, plain on the other side. This matches the description in the parts book perfectly. However, it didn't match the records at Central Wheel, so I had to provide sample spokes for them to manufacture against. I chose stainless spokes and plated brass nipples this time, since I was not at all happy with the nickel plated steel nipples I bought for the Bantam which, 2 years on, are rusty.

The first thing you must do when rebuilding a wheel is to remove the old tyre. Don't think about using an old tyre for a second - even if it has tread and sound sidewalls, the rubber will be hard as nails and will have you sliding down the road. 

Interesting paint under the original rim tape
Removing tough old tyres can be a challenge, and I often dispense with the traditional levers in favour of a set of bolt cutters, which I use to cut the wires in the bead. On an older tyre, I'll cut the rubber with a Stanley knife to ease the passage of the bolt cutter. Don't bother trying this technique with a modern tyre though, there's wire everywhere!
Rear rim offset
Next, find yourself a nice stiff flat board. A piece of 3/4" ply would be good. We need to measure and record the offset of the rim to some datum on the original wheel - the brake drum is very convenient. Place the brake drum face down on the board, and measure the distance from the edge of the rim to the board

Amelia's front wheel offset is 1 1/4" to the rim on the brake side;

On the rear, it is 9/16" to the rim on the brake side. On the rear, the offset is measured with the brake drum removed.

The next step is to photograph the spoke patterns. Make sure you have pictures of which spokes overlay others, which holes the go into on the rim and please also look at the dimpling on the rim holes and makes sure you know which way round the rim goes. 

Those of you who have read my Bantam pages will know I have rebuilt at least one wheel with the rim the wrong way round - the result is not pretty as all the spokes will be bent.

My reference photos are shown further down the page.

The next step is a real turning point in the rebuild: take your best bolt cutter, and cut the all the spokes. Do it within an inch or two of the hub. If you cut near the rim, it will be much more laborious to feed all the rusty spokes through the dirt encrusted holes on the hub.

Bolt cutters - did I really do that?
The next step is to get the rims off to the platers. This takes a while, so don't hang about! While they are gone you can clean up the hubs, get them painted, recondition the brake plates and replace the bearings.

Incidentally, I spoke to Tony at JD Wyatt Contract Polishing, who told me that it would reduce the cost of the polishing if I were to leave the painted rim centres in the blasted condition. Since this would provide a key for the paint, this is what I decided to do.

Spoke Patterns

Spoke patterns for the rear wheel:


Spoke patterns for the front wheel:


Wednesday, 6 March 2013

A Good Thing

Aside from motorcycles (and we have yet another MZ in the family) we have a fabulous event to announce, helping to fill the hole left by the dear departed Ruby, our Cocker Spaniel.

This is Max. He is a 6 month old chocolate Sprocker (Springer Spaniel x Cocker Spaniel):

Isn't he great!