Tuesday, January 10, 2017


Wednesday, March 12, 2014
Thriftstore Dresser: Labels

Labels have helped us stay organized in many areas of our home - including our pantry, coat closet, & spice cabinet. There was one item I needed to finish labeling though: our thrift store dresser.
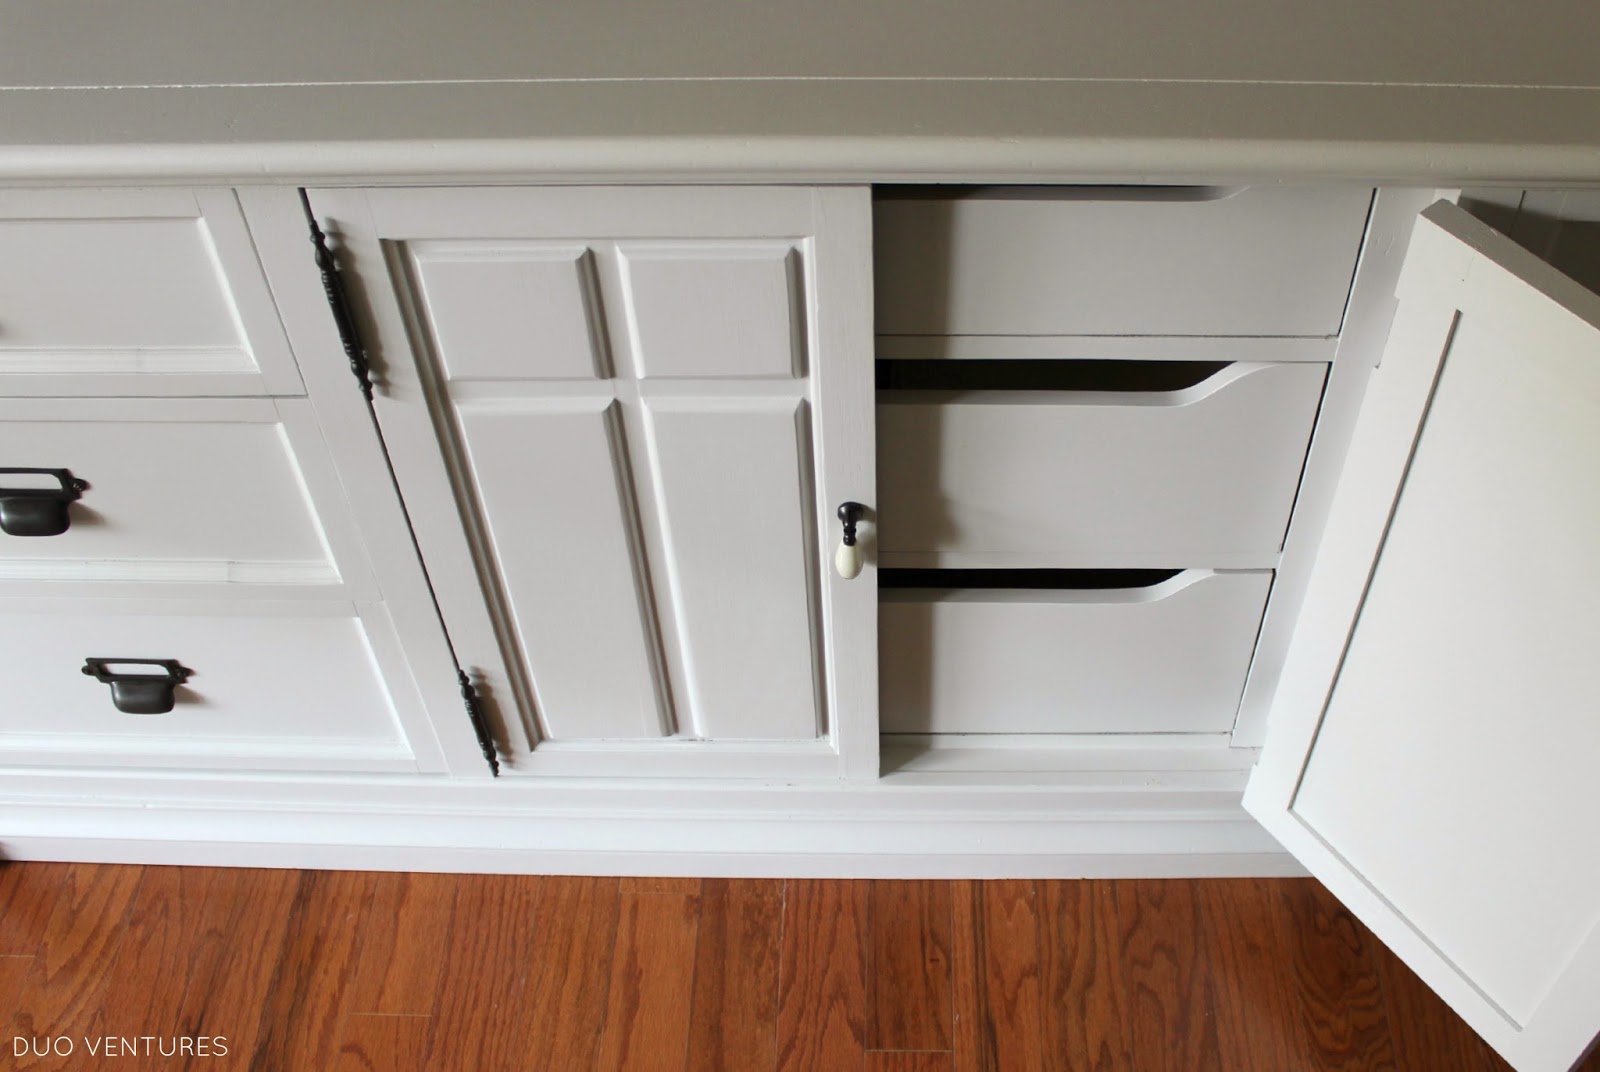
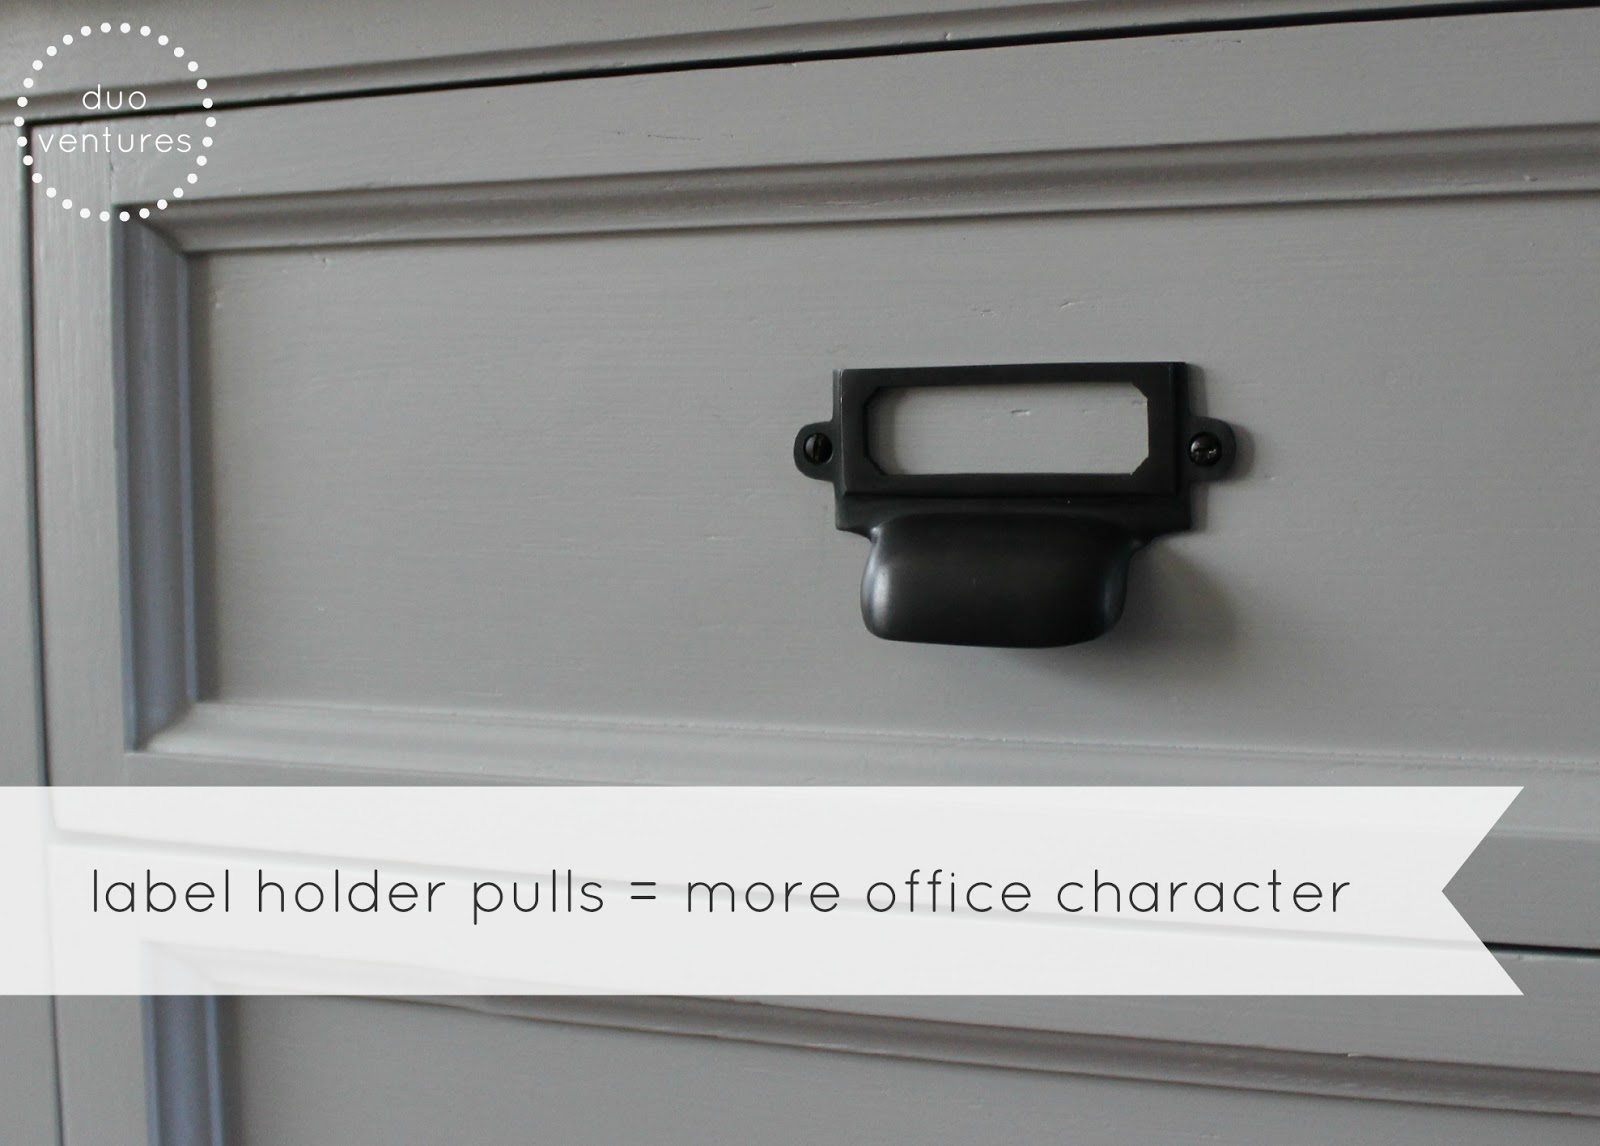
The dresser already had built-in labels on the pulls, but the middle drawers were lacking:
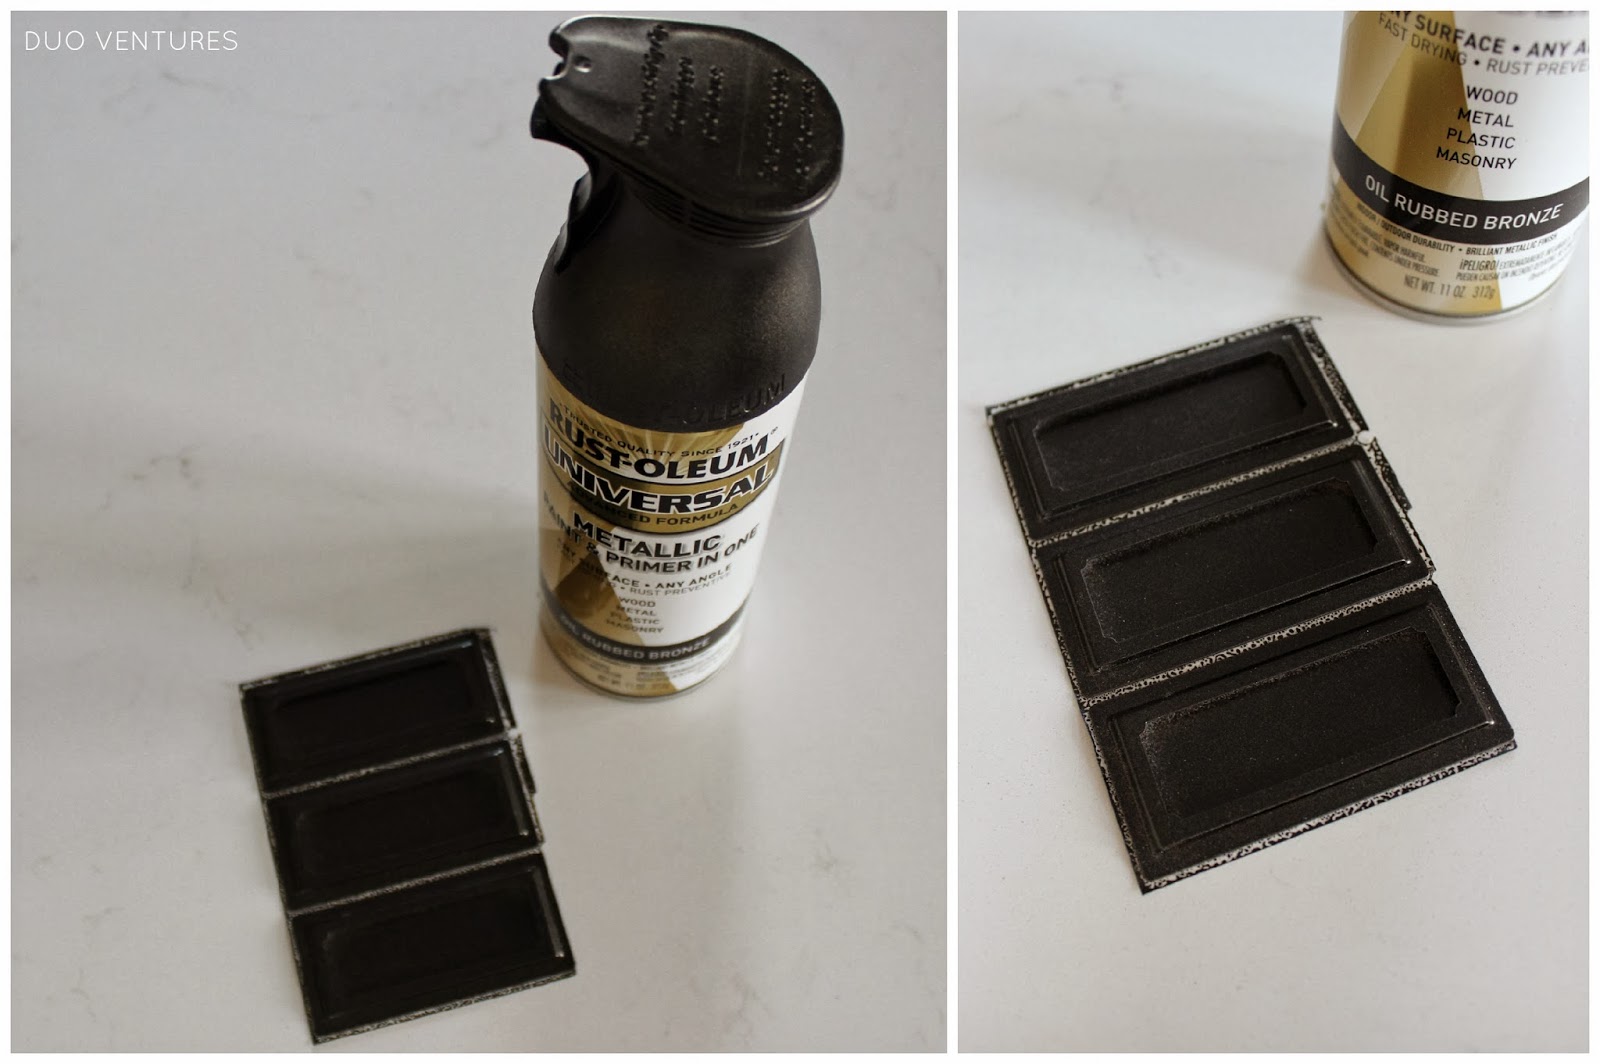
It was such a quick & easy fix - I picked up a pack of Martha Stewart adhesive metal bookplates from Staples. They came in a pack of 3 which was exactly what I needed:
It was such a quick & easy fix - I picked up a pack of Martha Stewart adhesive metal bookplates from Staples. They came in a pack of 3 which was exactly what I needed:

They came in a silver finish - so I gave them a quick coat of oil rubbed bronze spray paint:
After they were dry, I centered them on each drawer.
You would think I would have measured, but I had no patience...so I just eyeballed it: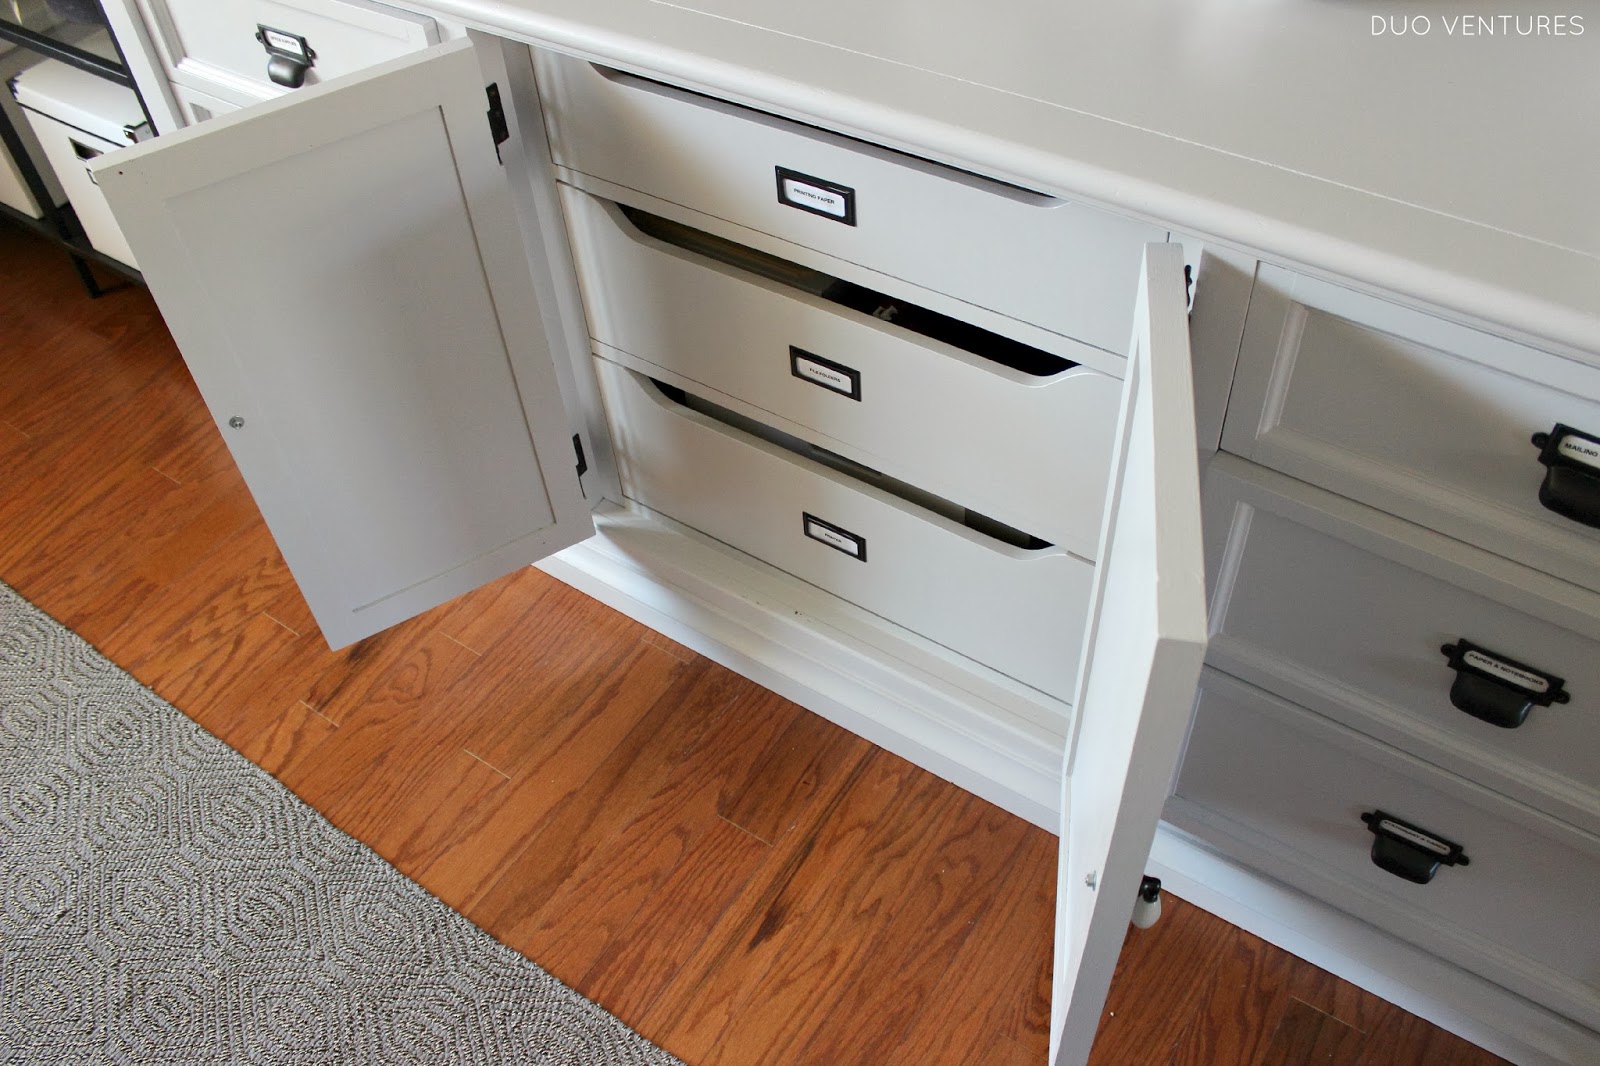
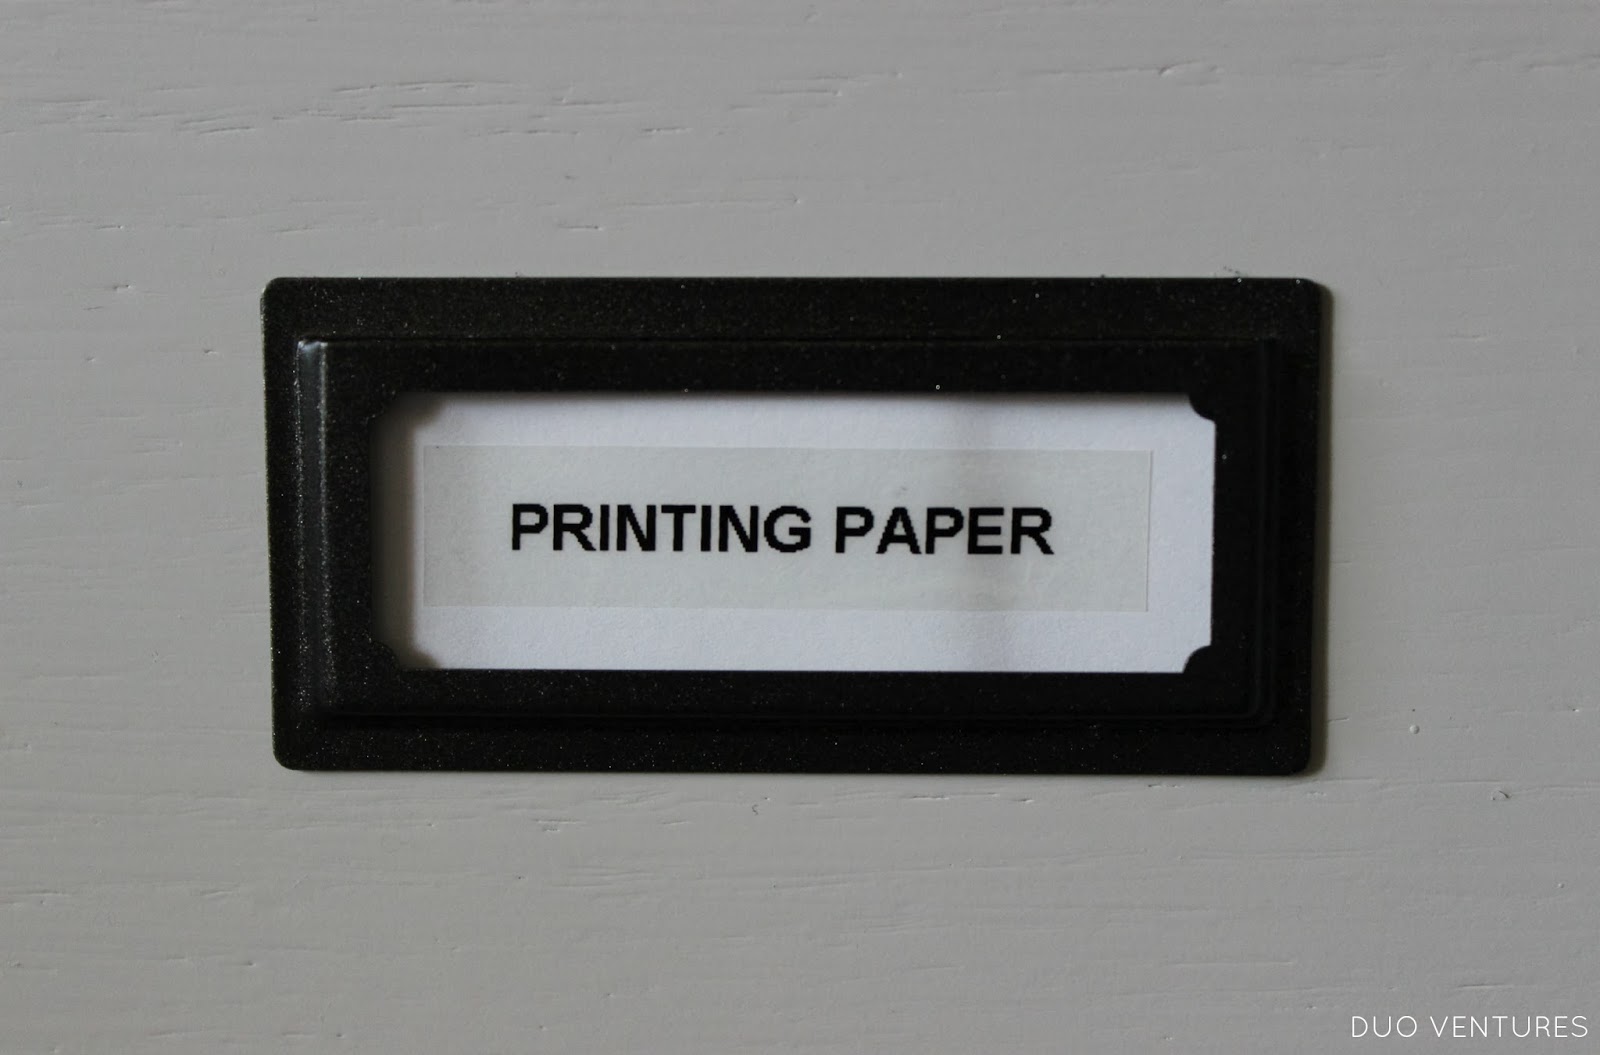
The bookplates come with 3 paper inserts, so I made some labels using clear label tape:
These labels are super versatile too. You can stick them on just about anything -
binders, closet drawers, & office organizers.
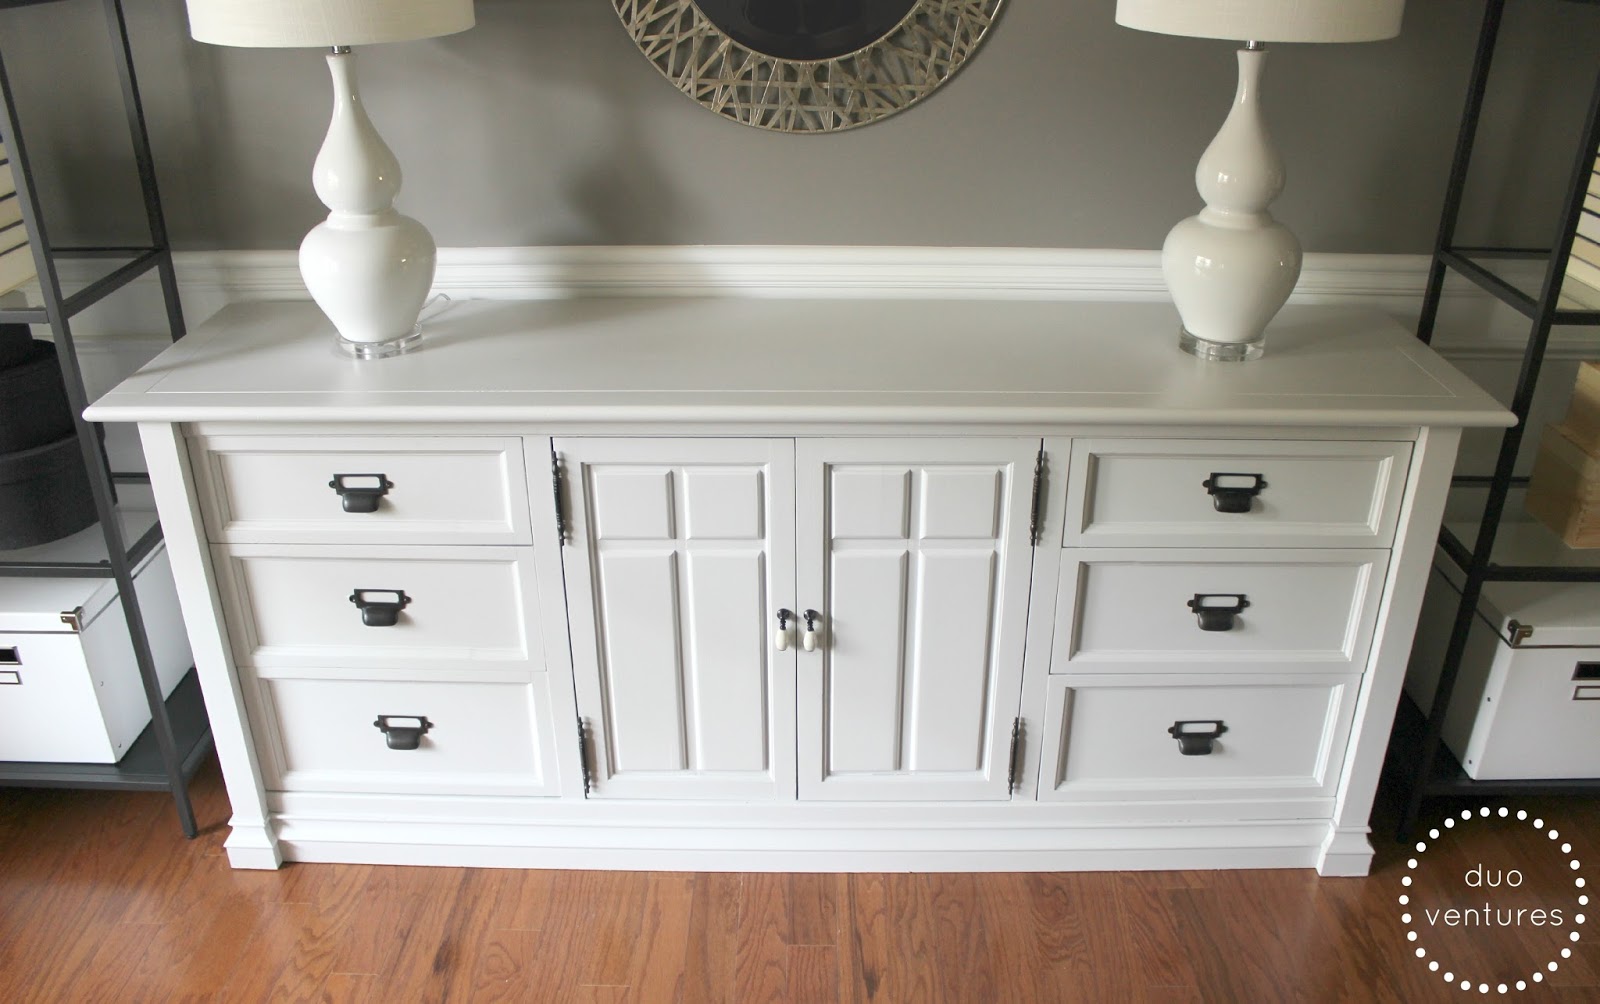
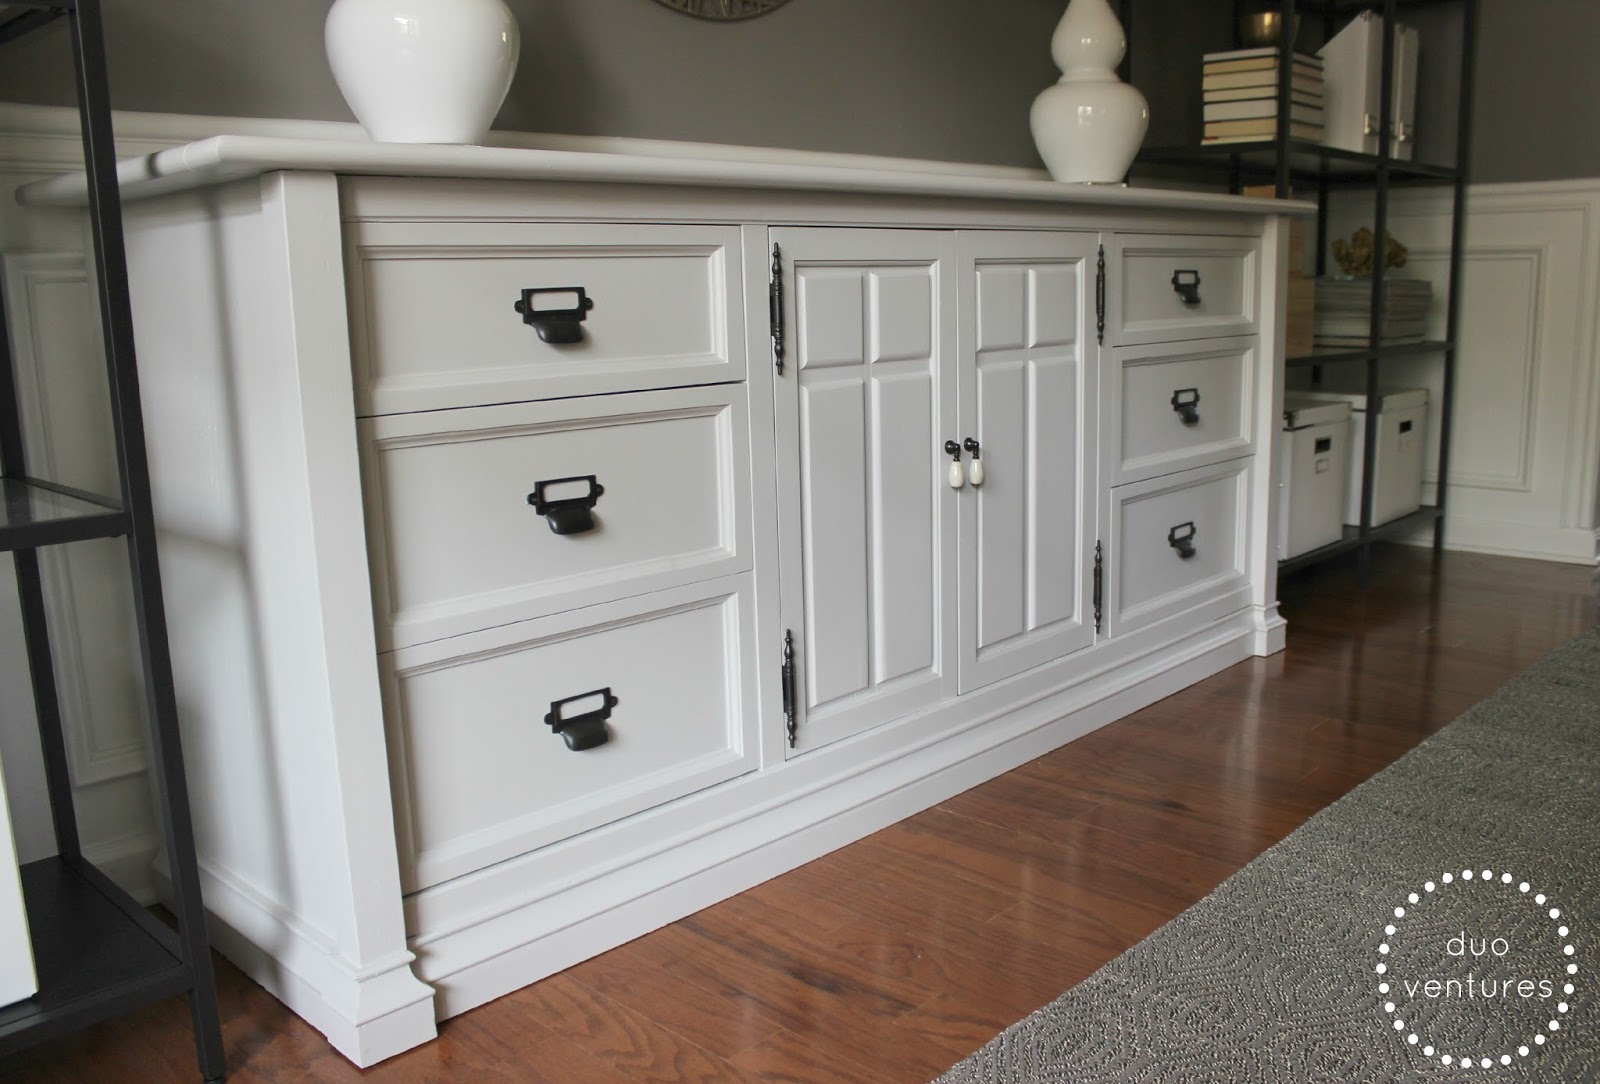
Here's the finished product:
binders, closet drawers, & office organizers.
Here's the finished product:

I'm so happy with this piece - it was definitely worth all the sanding & painting!
What a difference from where it started in the thrift store:
What a difference from where it started in the thrift store:
Even though adding the new labels was a small project, it makes it look complete!
I also recently finished organizing the office. FYI: I've been talking about organizing our office supplies since we finished converting the dining room to our office...last April! Procrastinate much?
More on that coming soon...
Mel
:)
Friday, May 3, 2013
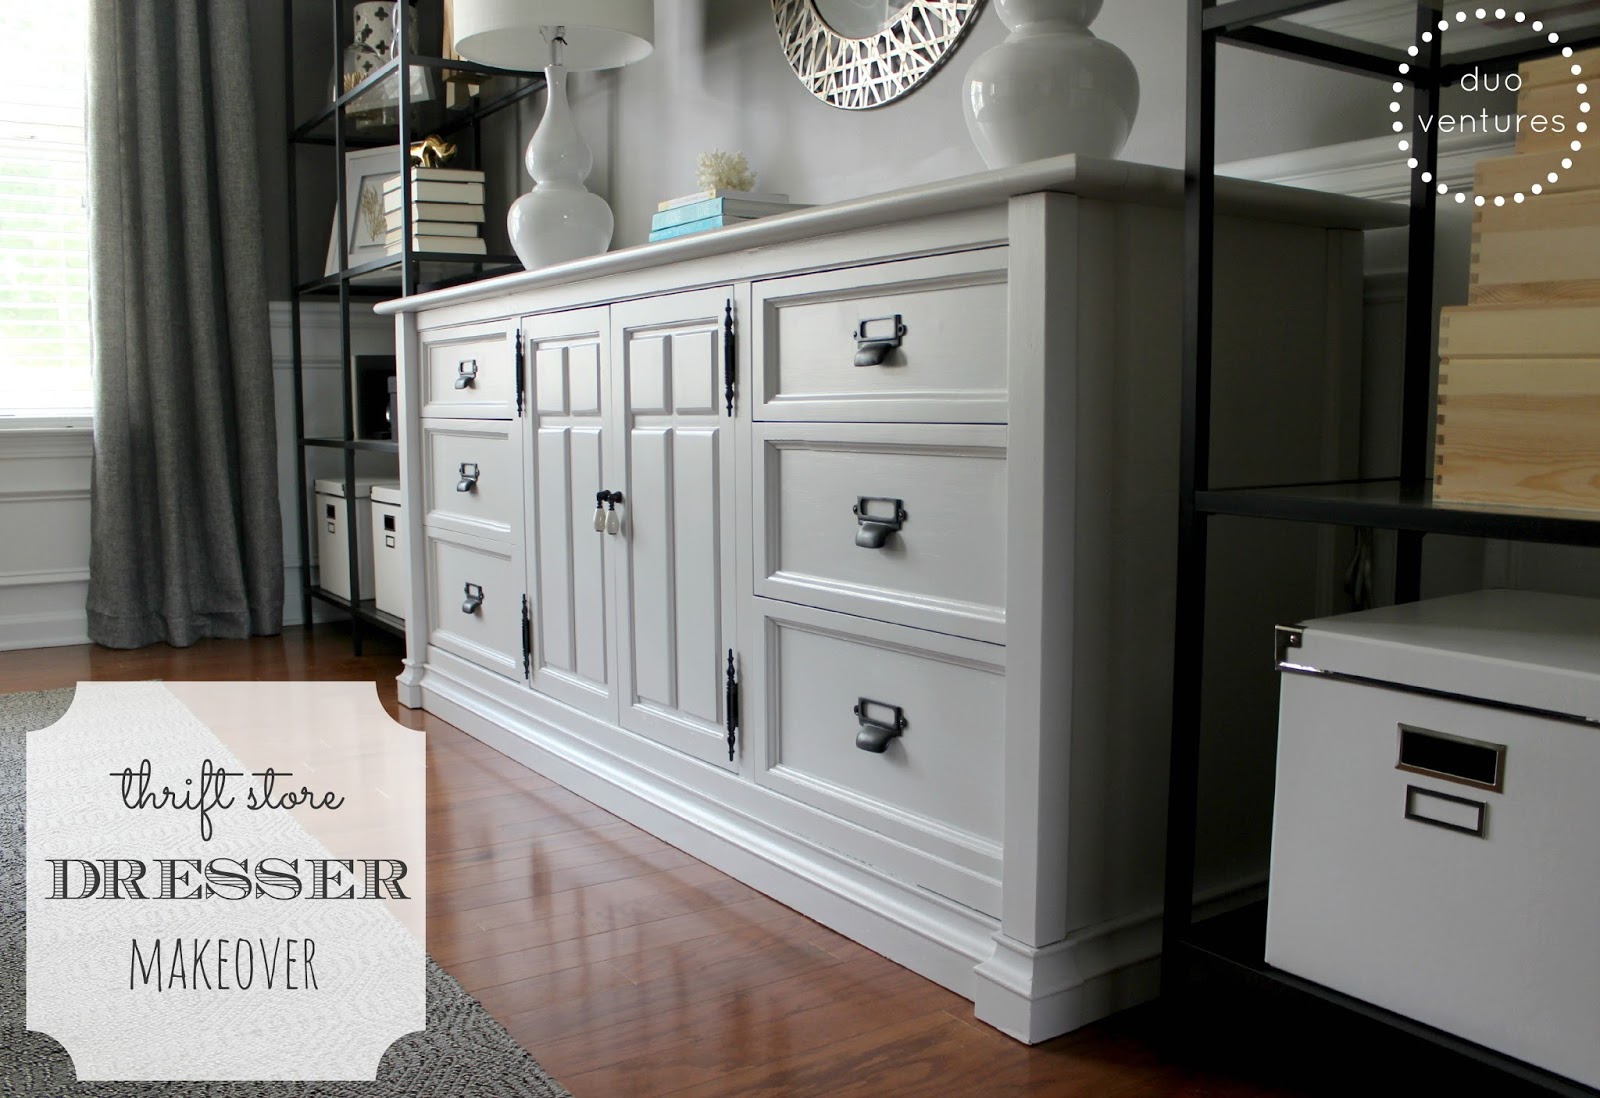
Office Storage: Thrift Store Dresser Makeover
A few weeks ago we posted our office reveal & this week we wanted to include a more detailed post about our thrift store makeover. This project all started when we decided to turn our formal dining room into a home office. We needed to find some sort of credenza/dresser piece that would provide more storage for us & work with the style of our existing desk.
This is the desk that we bought @ Pottery Barn several years ago:

It's really great quality & has ample storage for hanging files & two drawers for small storage, but we still needed space for all that extra 'office stuff': paper, notebooks, folders, binders, pens, highlighters, pencils, tape dispenser, page protectors, printing supplies, etc...
After scouring several thrift stores, we found the perfect size dresser with 6 drawers that was in need of a makeover. Now, this was our first legit furniture painting project & we didn't really know where to start. Google, blogs, & Pinterest came in handy during the research phase. Like most other DIY projects, there are tons of different methods, tips, & tricks out there. One blog that I utilized the most was Centsational Girl. Kate has a lot of painting experience & I chose our primer & paint based off of her suggestions.
After scouring several thrift stores, we found the perfect size dresser with 6 drawers that was in need of a makeover. Now, this was our first legit furniture painting project & we didn't really know where to start. Google, blogs, & Pinterest came in handy during the research phase. Like most other DIY projects, there are tons of different methods, tips, & tricks out there. One blog that I utilized the most was Centsational Girl. Kate has a lot of painting experience & I chose our primer & paint based off of her suggestions.
Here's the rundown of our first furniture painting adventure....
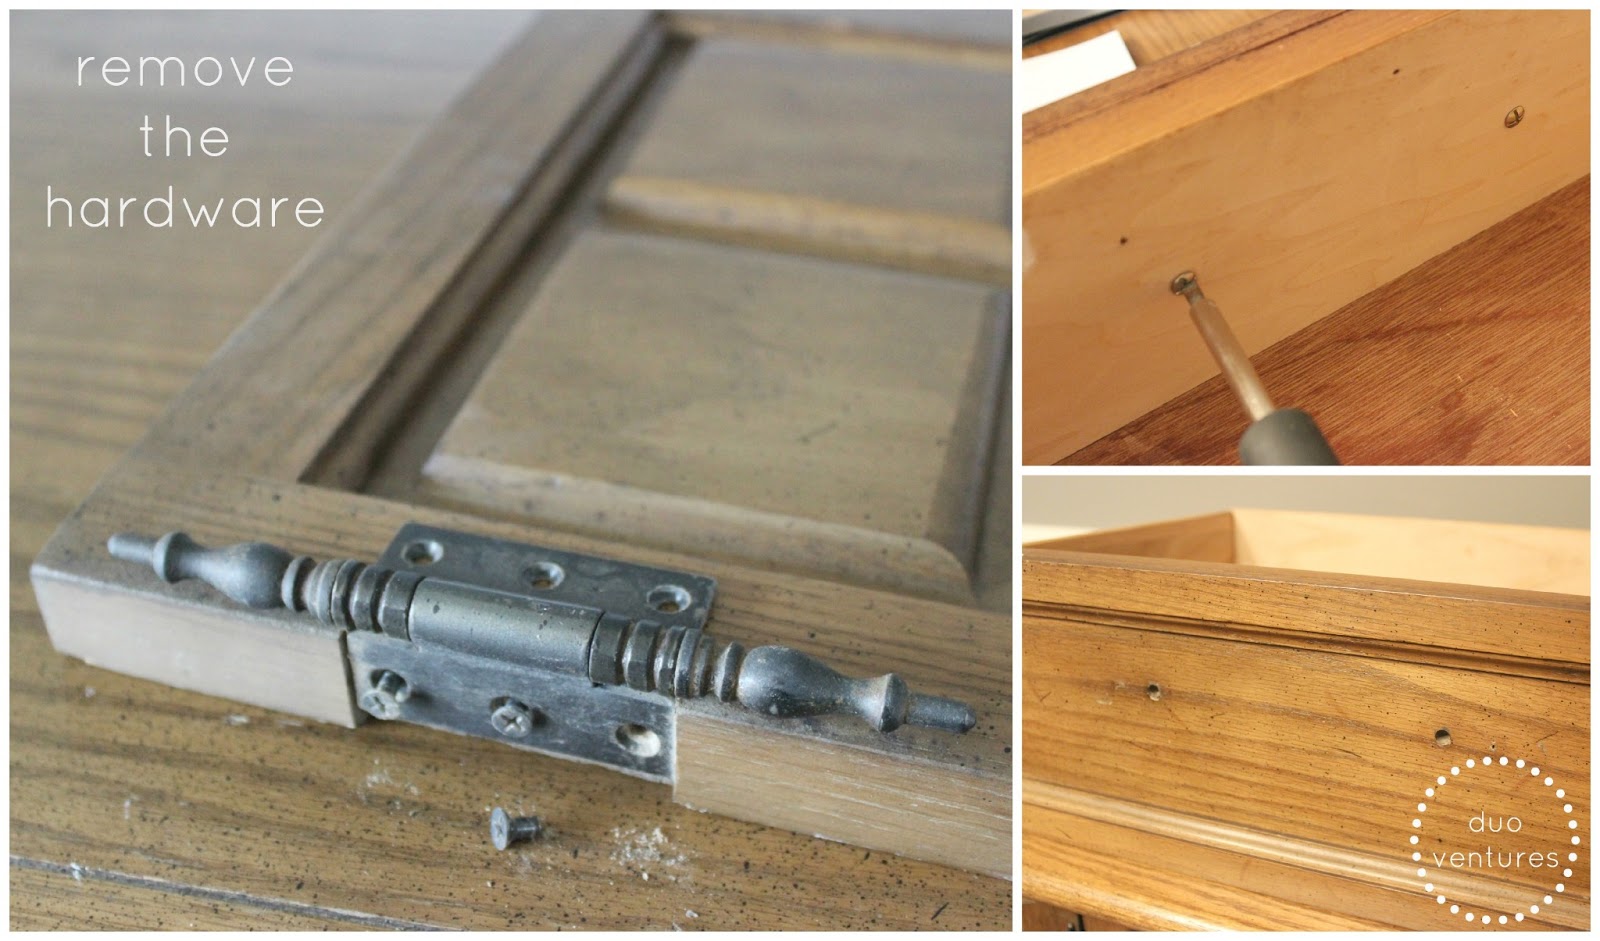
|remove hardware|
First things first, I removed all the hinges & pulls:
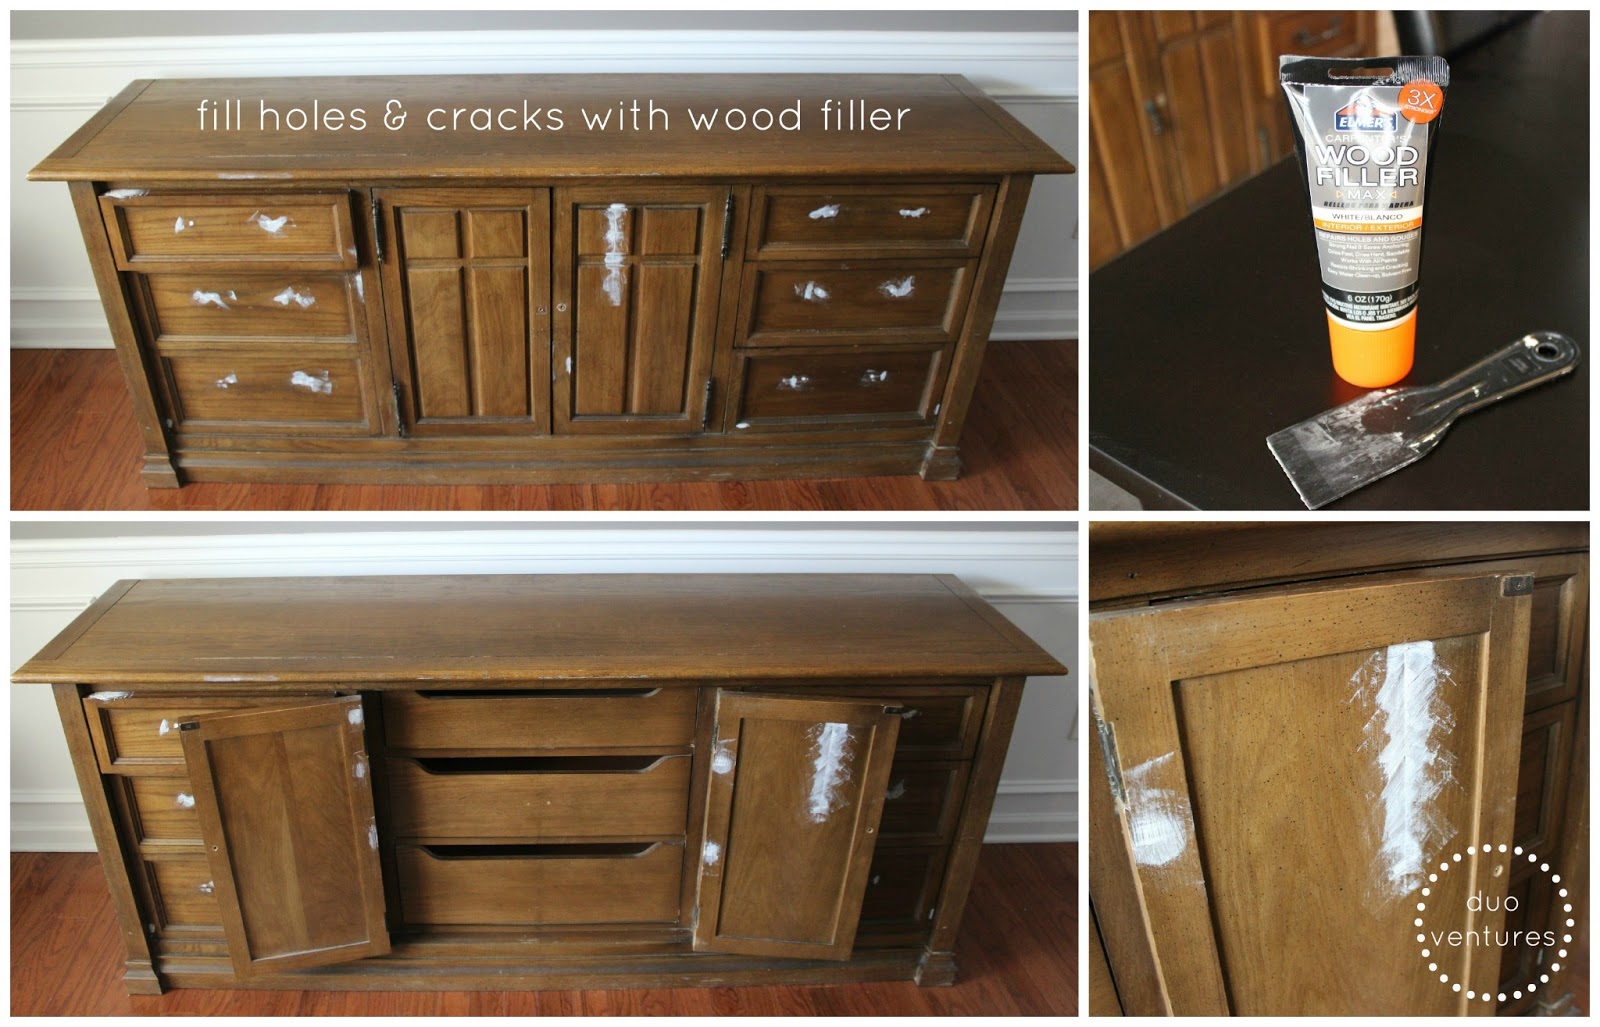
|wood filler|
Next, I filled all the holes, dents, & cracks with a paintable wood filler:
Next, I filled all the holes, dents, & cracks with a paintable wood filler:
|sand|
After the wood filler was dry, I used an 80 grit sanding wedge to lightly rough up the entire dresser. I followed that up with a 120 grit wedge, focusing on the areas that I had patched up with wood filler. For the top of the dresser, I used our orbital sander to make sure the surface was super smooth:

|clean & prime|
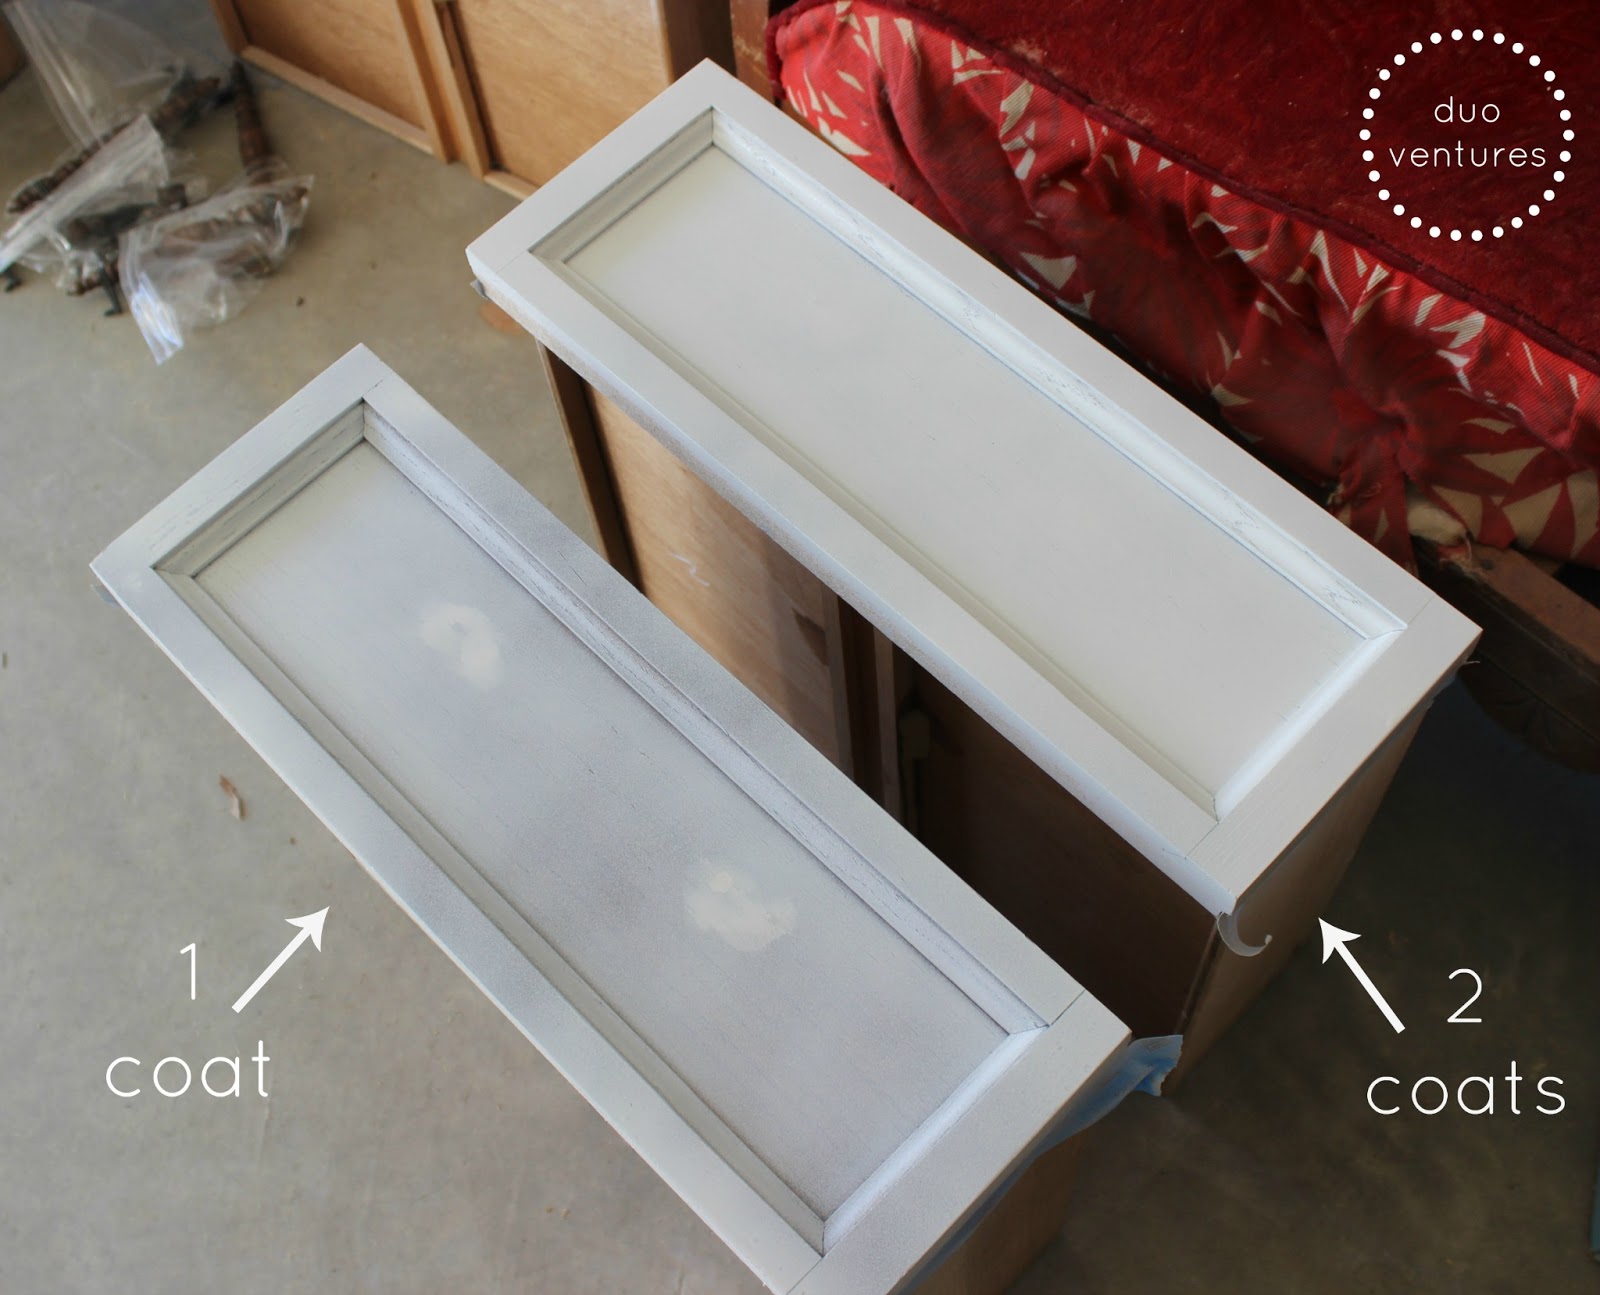
I used a dry paint brush to wipe away most of the dust from sanding & then wiped everything down with a rag & warm soapy water. Before I started to prime, I quickly ran a tack cloth across everything just to make sure all the dust particles were removed. To prime, I used Zinsser Cover Stain Oil Based Primer. For the drawers & base of the dresser, I used the spray version with a nozzle attachment. On the top of the dresser I used a foam roller to apply the paint instead:

We decided to go with 2 coats of primer since it's a piece we'll be using a lot & we want it to last. We didn't paint the sides of the drawers because we were worried the paint would just scrape off in the end & we didn't mind the raw wood:
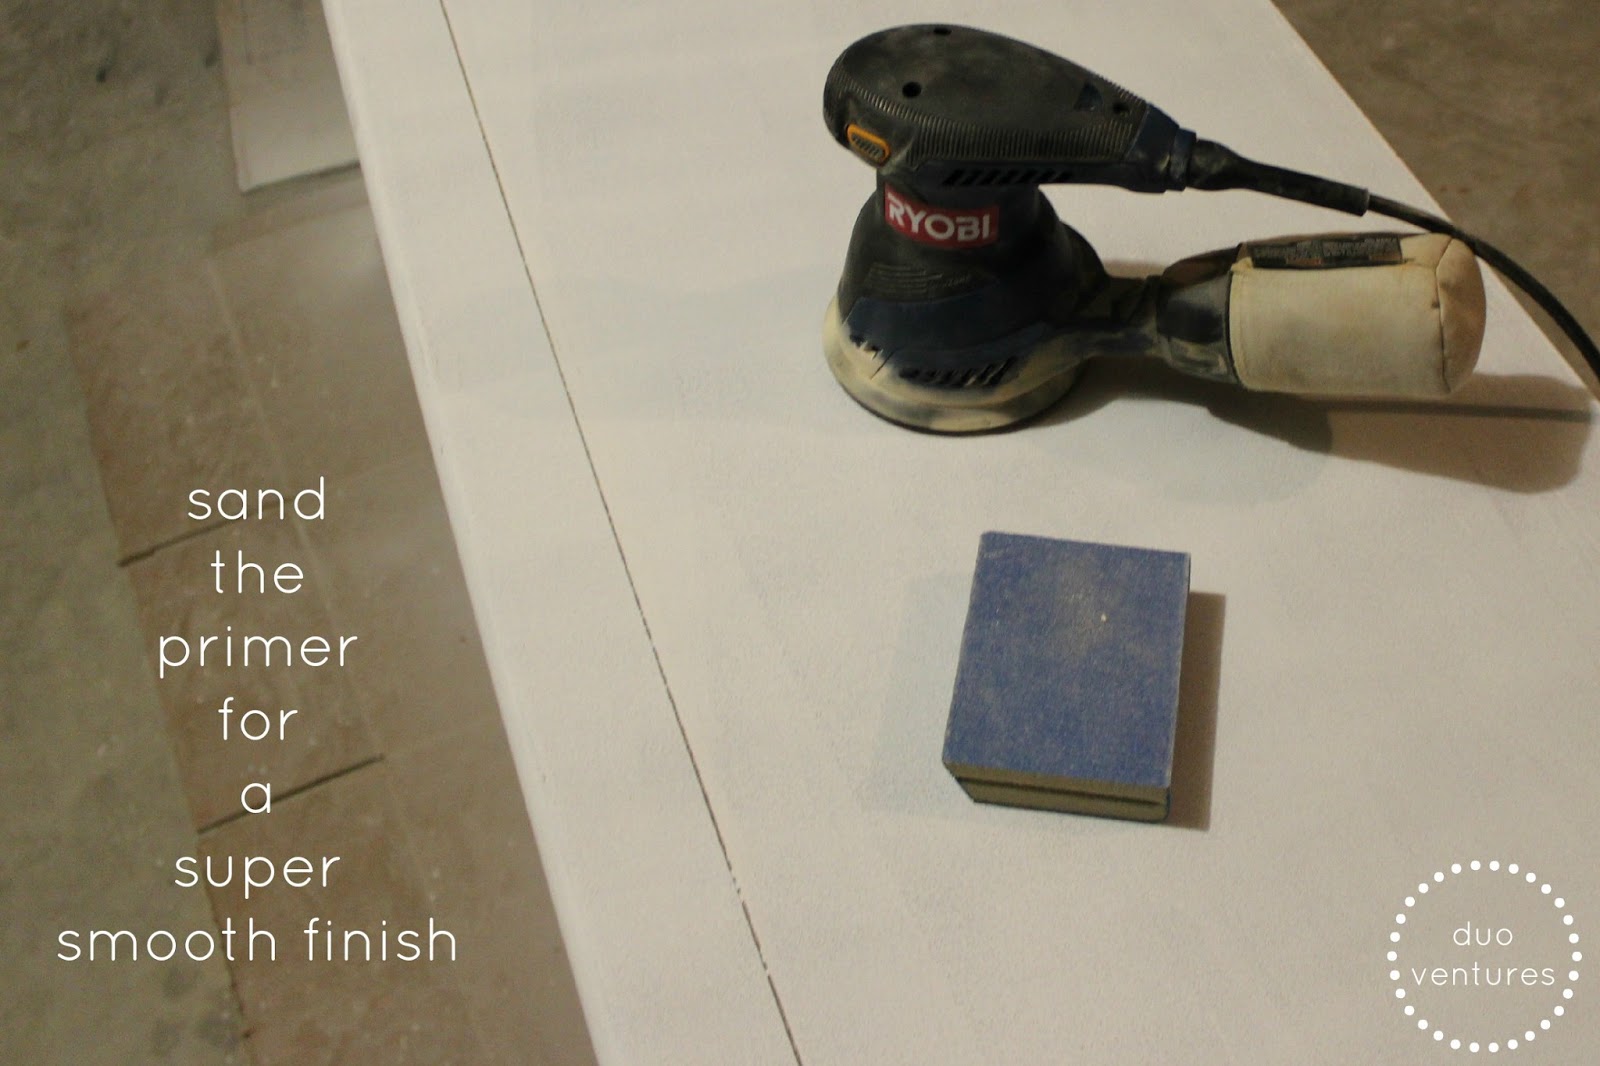
|sand primer|
I also lightly sanded the entire dresser after priming to make sure the paint went on an ultra smooth surface - I don't know if this step was 100% necessary, but in my head it sounded legit (don't forget to wear a mask if you sand primer - lots of nasty chemicals are being released):
|paint|
For the paint, we decided to try Benjamin Moore Advance. We could not find this formula @ our local Ace Hardware store, but they did refer us to a local family owned paint store instead. The folks over there were so super nice & they even mailed us a handwritten 'thank you for your business' card. Aw :)
The paint was a little pricey for a quart - it was about $20. But, in the end we wanted to use the best quality paint for this project...so we just went with it. I wasn't sure if a foam or angled brush was going to work best, so I tried both. In the end, I preferred the Purdy brush because it offered better coverage & allowed me to work more quickly:

The paint color we decided on was Cement Gray in a satin finish - we didn't want this piece to be too shiny:

Now that we were finally ready to paint, the weather just wouldn't cooperate. Since it was too cold to paint in the garage, we brought the dresser inside & propped it up on three 2x4's:
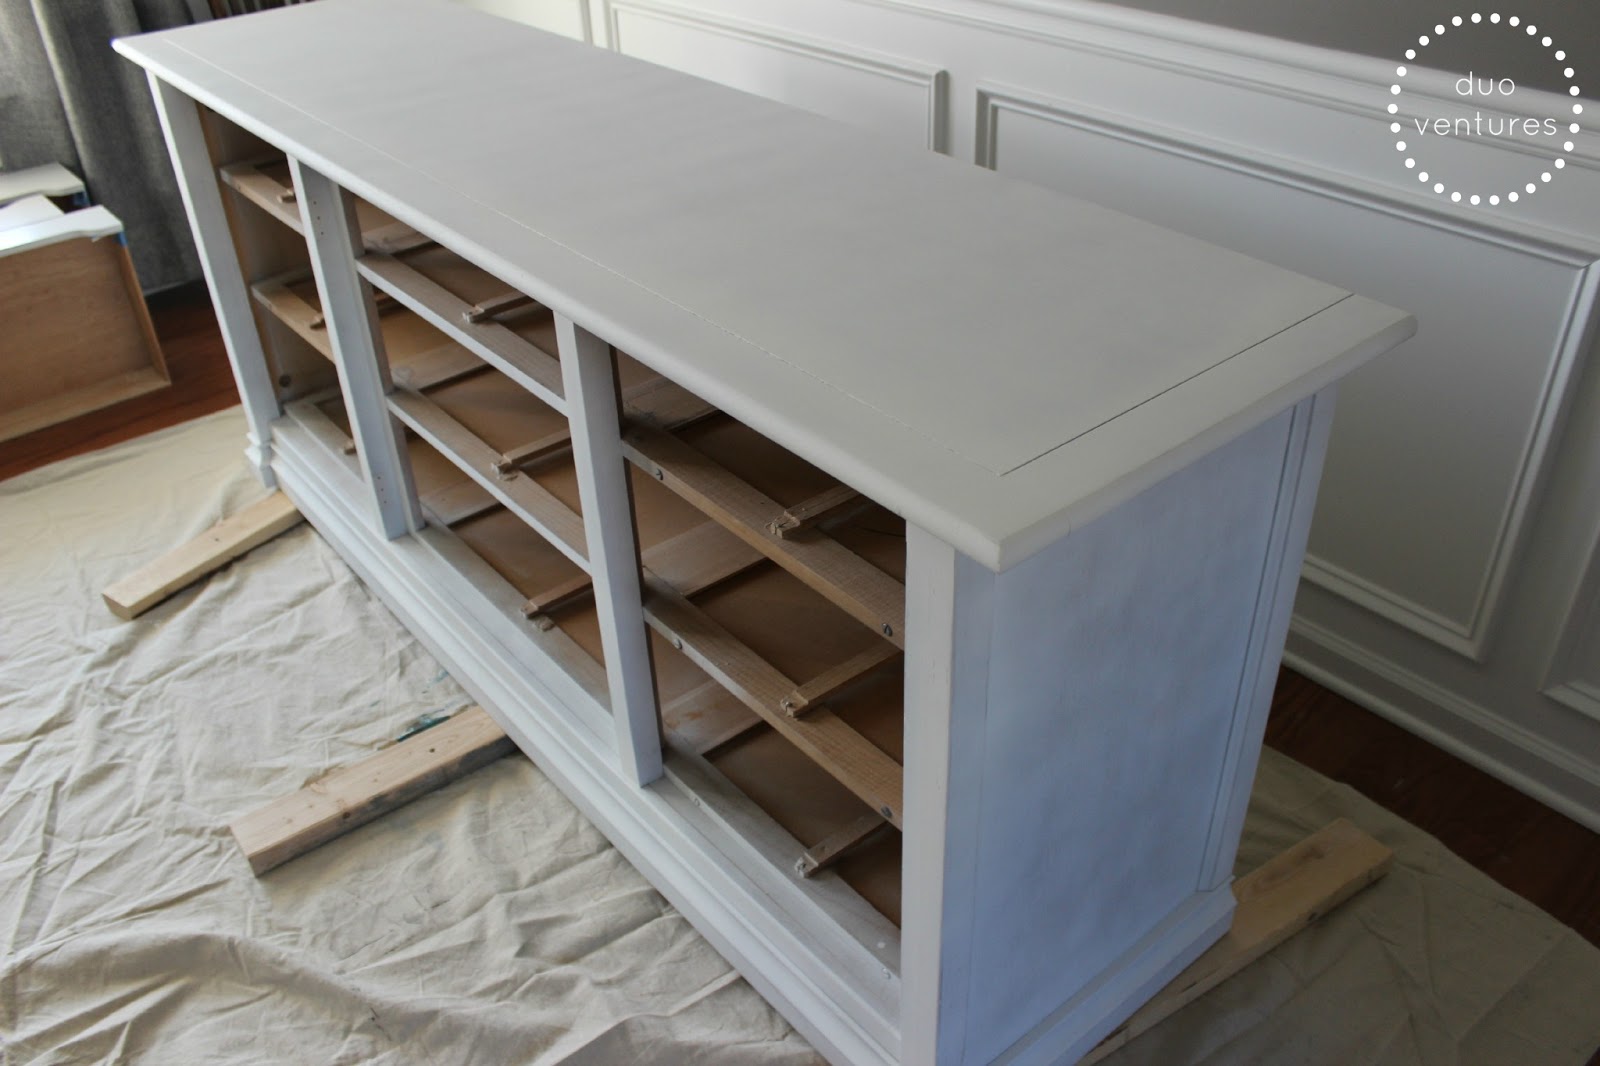
Finally! The painting could begin! I used the 2" angled brush for the entire dresser, with the exception of the top & two ends where I used a foam roller instead. I gave the dresser 2 coats of the Cement Gray paint - waiting overnight between coats. I was happy to see that most brush marks disappeared as it dried:

Not going to lie, the whole priming & painting process felt like it took foreeeever. Between our work schedule, motivational/laziness levels, painting, sanding, & dry time - it probably took me over three weeks to finish...maybe longer. I also think that all the drawers & doors made it seem more tedious for sure. In the end though, it was worth it!
|attach hardware|
After everything was completely dry, we began to attach our new drawer pulls. In our original plan, we were going to add label holders above drawer pulls to give the basic dresser more of an office feel. That plan changed when I found an option from House of Antique Hardware that fused a label holder with a pull. Just what we needed! They have all sorts of finishes, but we went with the oil-rubbed bronze:
Originally, we didn't want to reuse the hinges, but it was difficult to find replacements that fit in the existing notches & lined up correctly to the holes. Call it lazy & impatient - we just did not have any steam left to modify the doors to accommodate new hinges. So, for now we are using the existing hinges that I spray painted oil-rubbed bronze:

No project is ever 100% hiccup-free though, right?
Something you can't tell from the photos is that some of the screws broke off into the drawer as we were attaching the new pulls...so, three of the pulls are technically only holding on by one screw & we have yet to remedy that situation. Is it bad I want to just superglue them on?

As you can see, the metal color was more of a brass finish - so I simply spray painted them an oil-rubbed bronze finish:

|details|
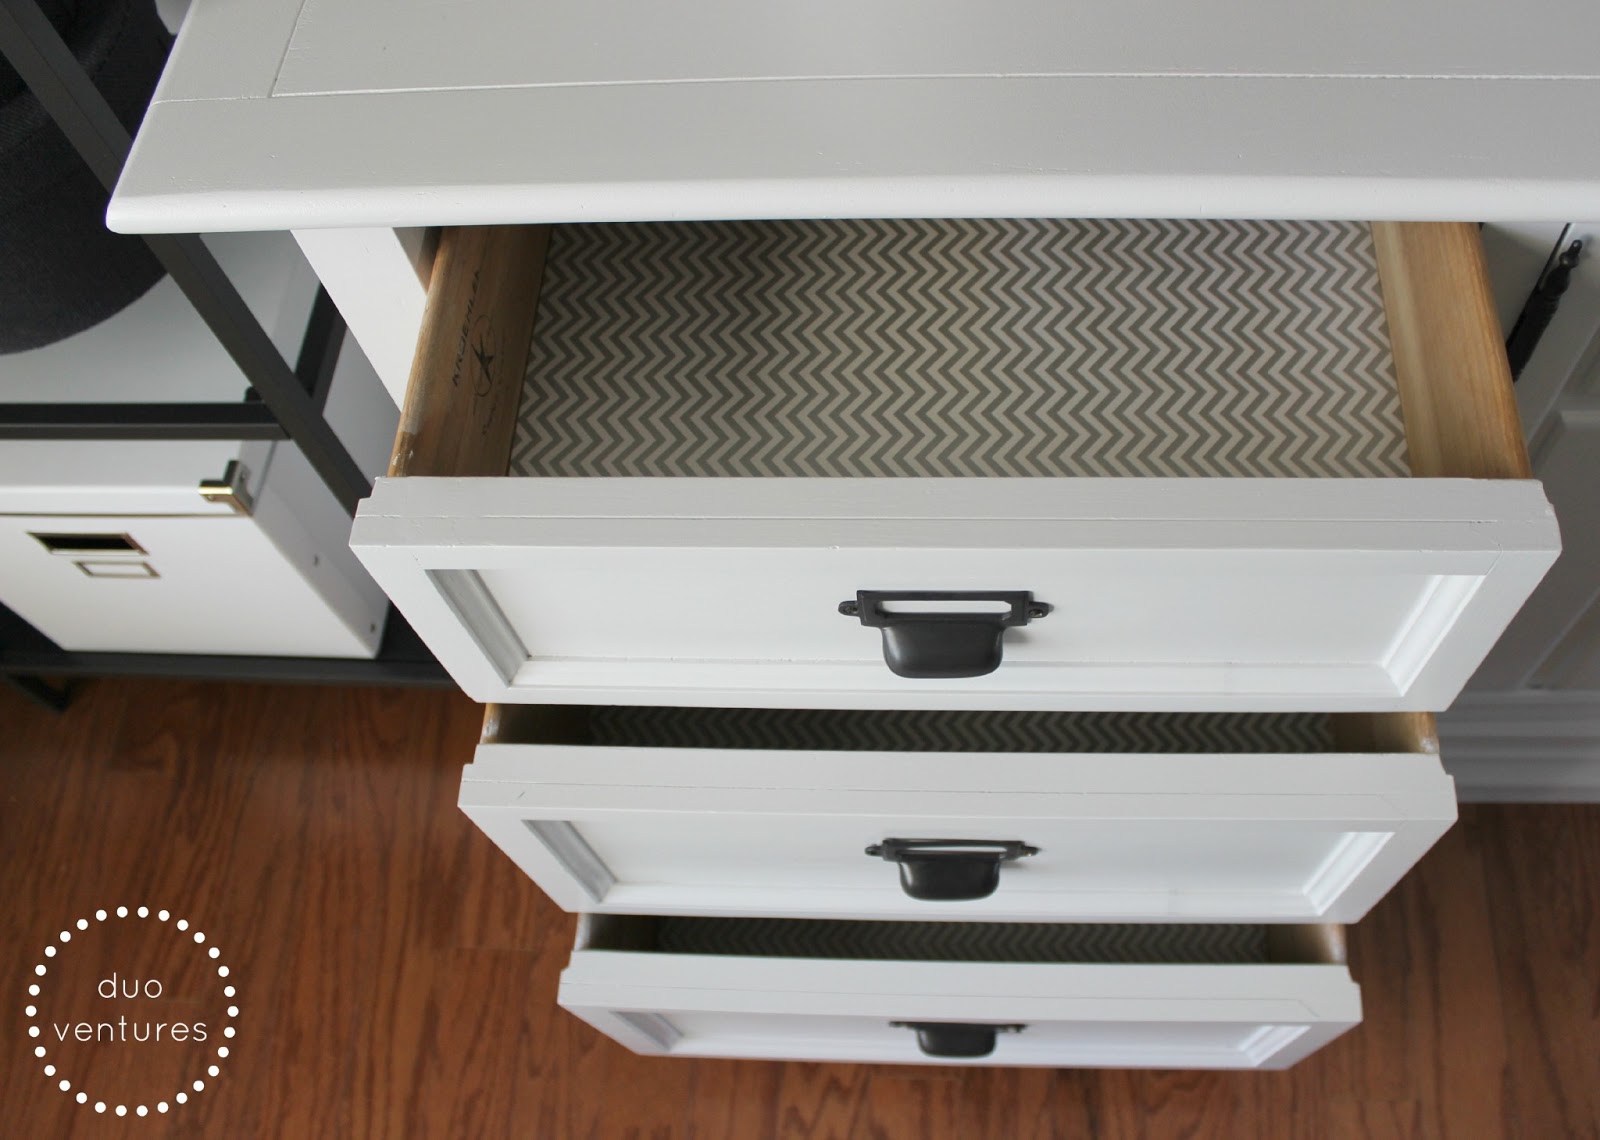
We also lined the drawers with gray & white chevron wrapping paper from Home Goods. I stuck some double-sided tape in all the corners to keep the paper in place:


We are still debating if it's necessary to apply a topcoat of wax or polyurethane...suggestions welcome!
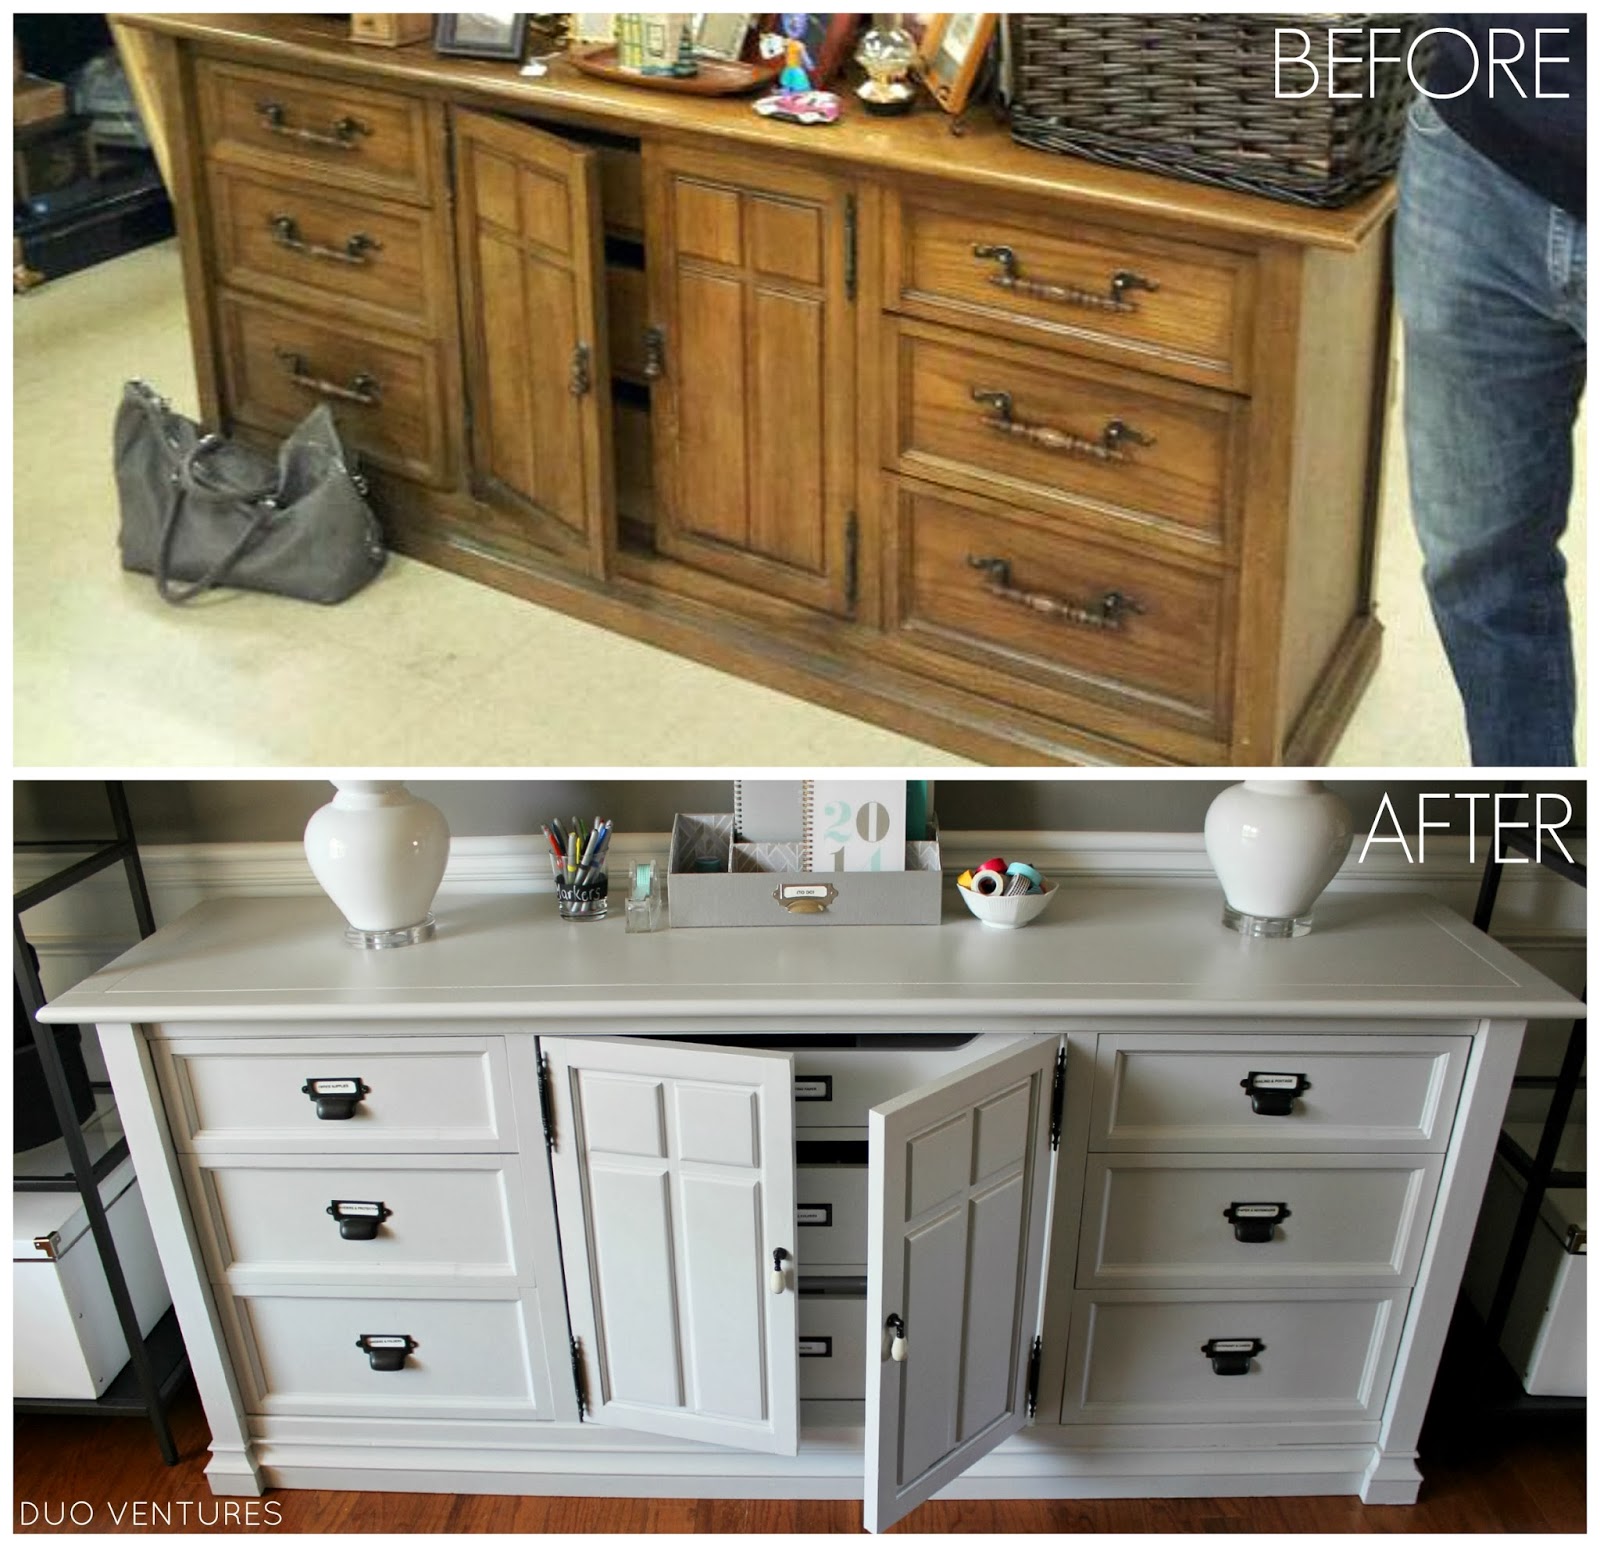
Functionally speaking, we have so much more storage for all our office supplies now:


Some Before & Afters:

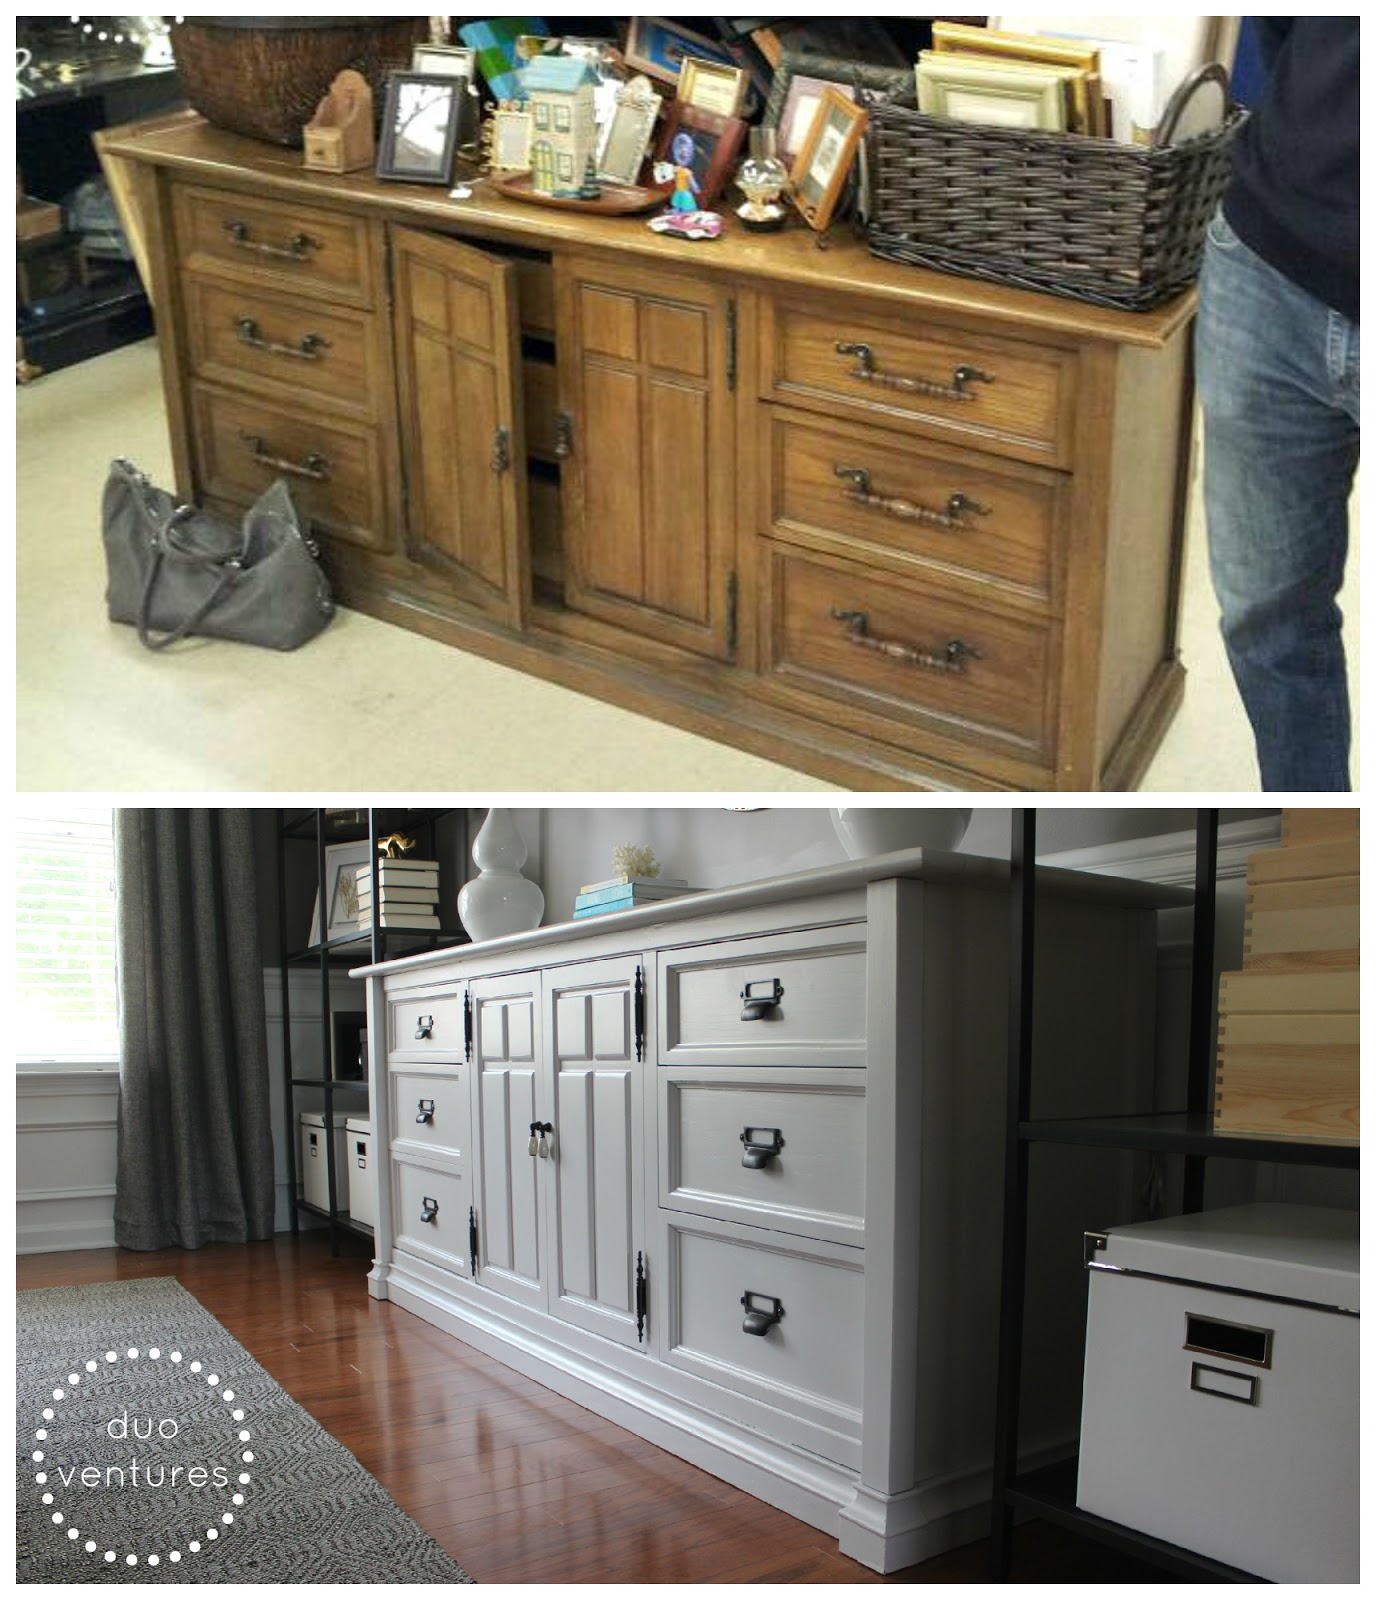

We really like how it turned out. We are almost 100% finished with this makeover.
We still need to:
For now, we're taking a break from the dresser & I'm working on organizing all the contents of our office instead - so excited to get our life back in order! Piles of mail & paperwork devouring our kitchen counter stresses me out.
- turn the bottom drawer (behind the doors) into a pull-out printing station
- finish attaching 3 of the drawer pulls
- add labels into the drawer pulls
For now, we're taking a break from the dresser & I'm working on organizing all the contents of our office instead - so excited to get our life back in order! Piles of mail & paperwork devouring our kitchen counter stresses me out.
More office related posts coming soon...
Until then!
Mel
:)
Sunday, April 14, 2013
A Dining Room to Home Office Reveal!

Several months ago, we made the decision to utilize our formal dining room as a home office instead. We left off in Part 1, where we outlined our general plans & inspiration for our future office. If you follow us on Instagram you might have gotten a couple of sneak peeks along the way. There are still several small projects that we need to complete, but for the most part the room is finished!
Let's start @ the beginning - here's what it looked like when we moved in:
First, we painted the walls with Behr's Creek Bend & swapped out the light fixture for a more contemporary brushed nickel fixture that we found on clearance @ Lowe's.
Next we hung some window panels from Target (Threshold Basketweave in Gray). We also ordered a 7'6" x 9'6" rug from Overstock while it was on sale (South Hampton Southwest in Grey):
Next, we began to layer our furniture back into the room. We added our existing desk from Pottery Barn & a pair of chairs from Home Goods. At this point, Mel had also finished painting our thrift store dresser (we were still waiting on the hardware to arrive), & we centered it on the back wall:
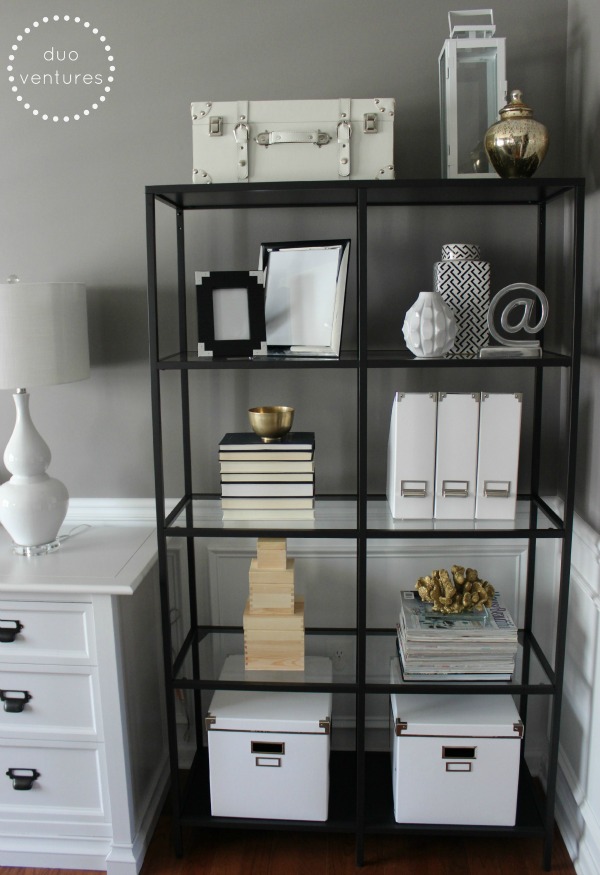
After browsing through some Houzz & Pinterest inspiration, we decided that we wanted shelving units on either side of the dresser. IKEA offered an affordable option that was available in two different sizes (Vittsjo). The wider version seemed like it was going to be a tight squeeze, so we taped off the dimensions first. Luckily, they were going to fit perfectly: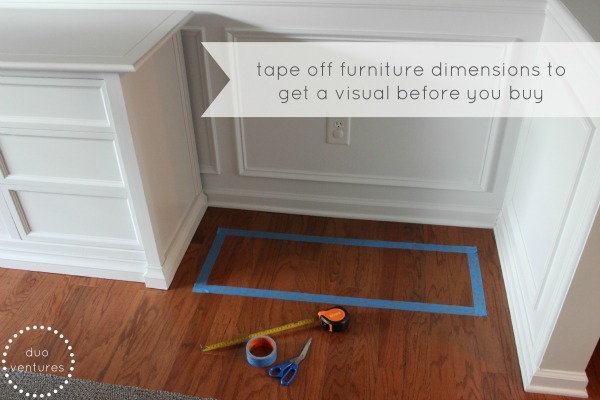
Here's the office after we assembled the shelving units & attached the drawer pulls to the dresser: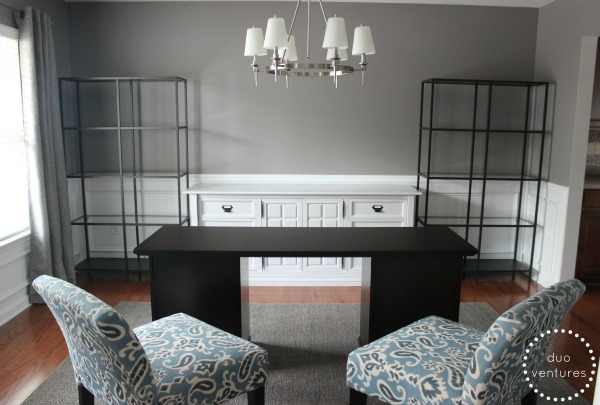
We added a pair of lamps & a metal mirror from Home Goods: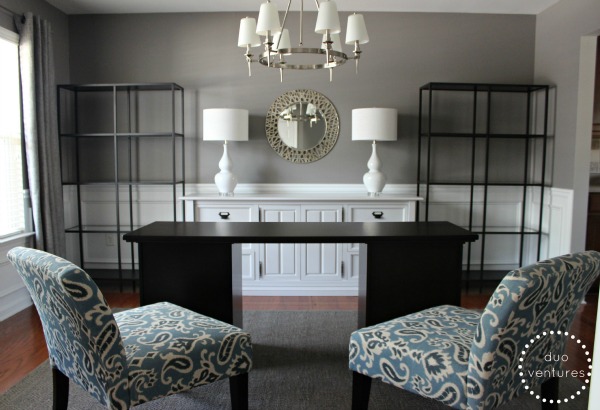


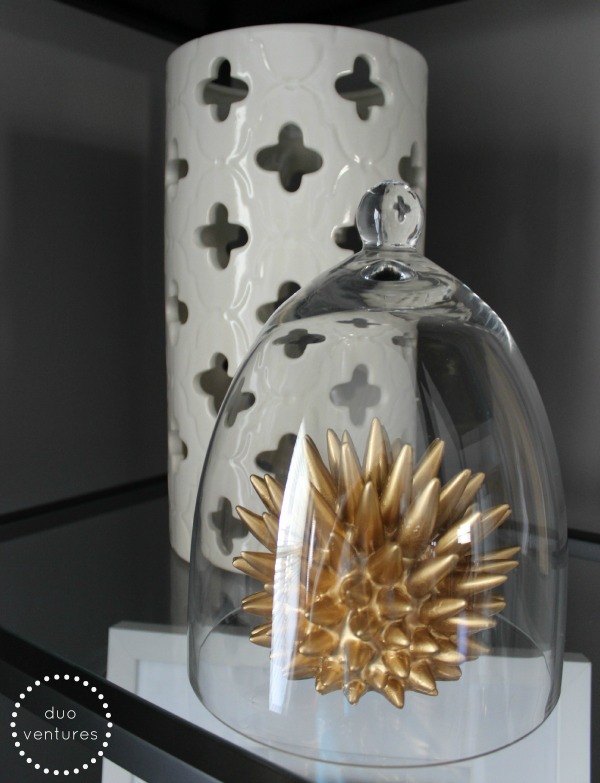
Then came the fun part - styling the office! We visited several different stores & picked up a bunch of goodies from Target, Home Goods, IKEA, Joann's, & several thrift stores.
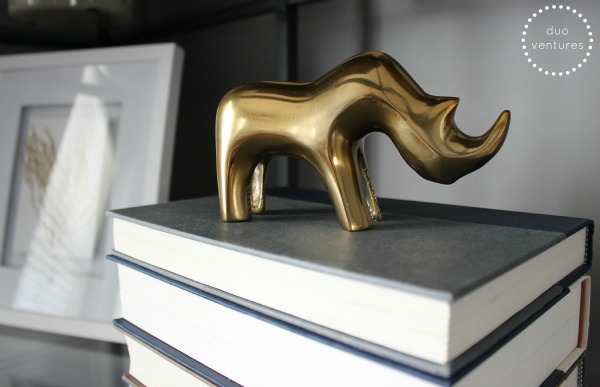
We wanted to try & mix metals in this room - which is crazy seeing as we never thought we'd like anything brass or gold. Ever. But alas, Pinterest had some really cool looking rooms that were styled with brass accents...& we liked it!
After about 5 million different arrangements, this is what we came up with (over time, this space was edited & pared down as it felt a little cluttered):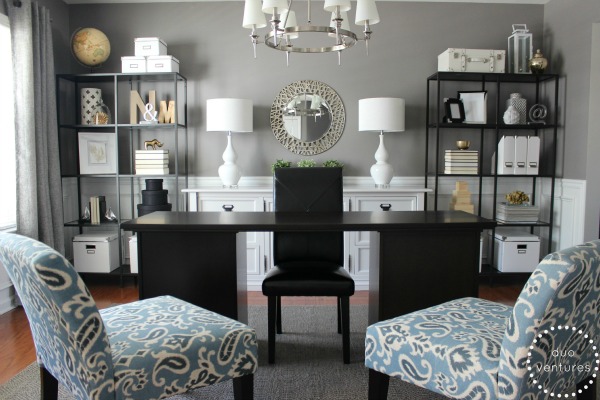

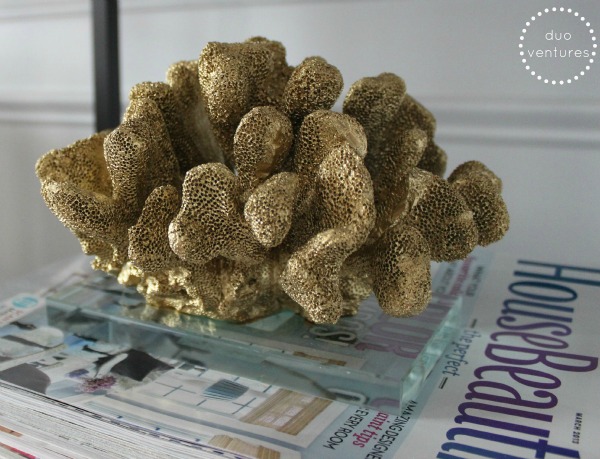
Of course, we couldn't do a room without some DIY art. Mel spray painted some coral we found on our vacation & framed it: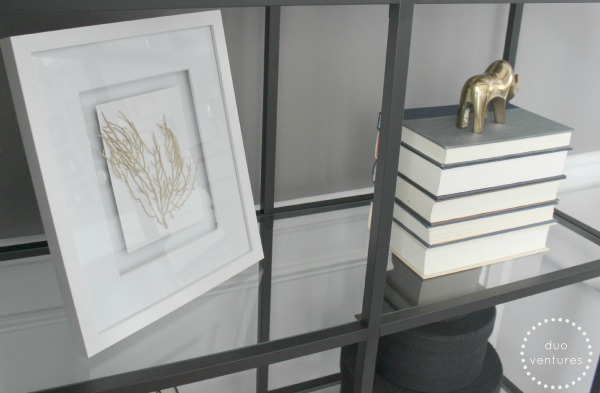


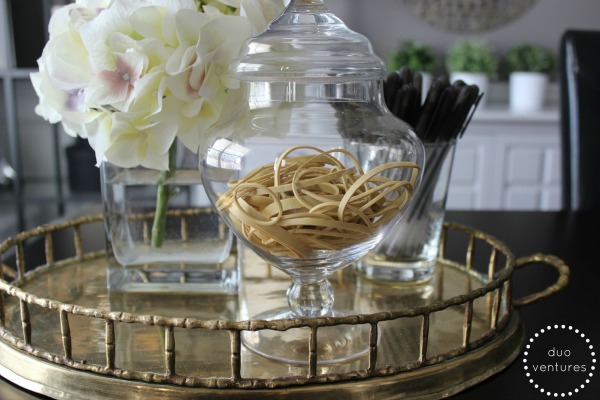
We found this tray in the kitchen section @ Home Goods & thought it would be perfect to hold those tiny office supplies like push pins & paper clips:
Before & After: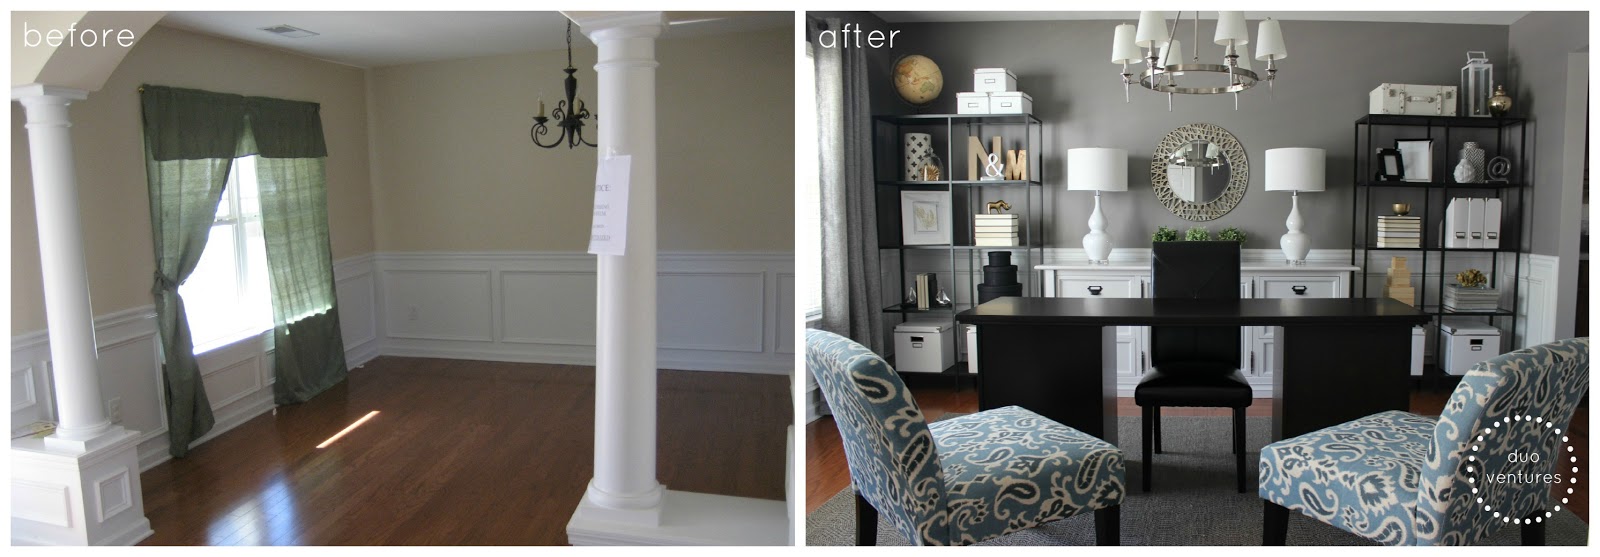


*Update*
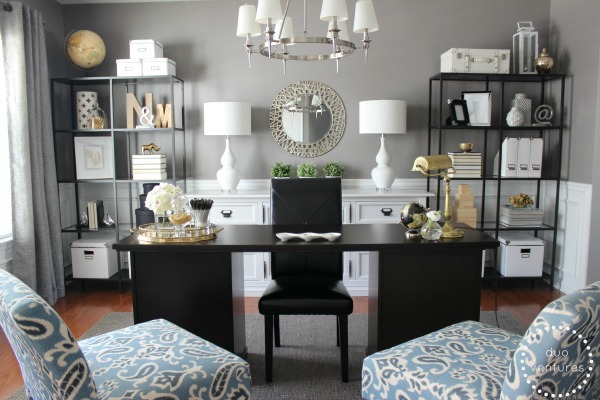
Like we mentioned earlier, we removed & added a few items over time - here's what it looks like currently:
All in all, we are very happy with our new home office! We've had to edit the office a good deal over time, but we finally achieved a room that combines both form & function!
Mel & Nader
Subscribe to:
Comments (Atom)