LIQUID PENETRANT TESTING
NON DESTRUCTIVE TESTING
LIQUID PENETRANT TESTING
• Liquid penetrant Testing (LPT) is one of the most widely used
nondestructive evaluation (NDE) methods.
• LPT is also called as Dye Penetrant Testing (DPT).
• LPI can be used to inspect almost any material provided that
its surface is not extremely rough or porous.
• Materials that are commonly inspected using LPI include
metals (aluminum, copper, steel, titanium, etc.), glass, many
ceramic materials, rubber, and plastics.
2Liquid Penetrant Testing
• Liquid penetration inspection is a method that is used to reveal surface
breaking flaws by bleed out of a colored or fluorescent dye from the flaw.
• The technique is based on the ability of a liquid to be drawn into a "clean"
surface breaking flaw by capillary action.
• After a period of time called the "dwell," excess surface penetrant is removed
and a developer applied.
• After developer application indication will appear on the surface being
inspected.
INTRODUCTION
3Liquid Penetrant Testing
CAPILLARY ACTION
• Basic principle of Penetrant testing is “Capillary action”.
• Capillary action is the “ability of a liquid to flow in narrow spaces without the
assistance of, or even in opposition to, external forces like gravity”.
• Examples of capillary action in water include water moving up a straw or glass tube,
moving through a paper or cloth towel, moving through a plant, and tears moving
through tear ducts.
4Liquid Penetrant Testing
PENETRANT TESTING MATERIALS
A Penetrant must:
• be spread easily over the surface of the material being inspected to provide
complete and even coverage.
• be drawn into surface breaking defects by capillary action.
• remain in the defect but remove easily from the surface of the part.
• remain fluid so it can be drawn back to the surface of the part through the drying
and developing steps.
• be highly visible or fluoresce brightly to produce easy to see indications.
• not be harmful to the material being tested or the inspector.
5Liquid Penetrant Testing
PENETRANT TESTING MATERIALS
• Penetrant materials come in two basic types. These types are listed below:
Type 1 - Fluorescent Penetrants
Type 2 - Visible Penetrants
• Fluorescent penetrants contain a dye or several dyes that fluoresce when exposed to
ultraviolet radiation(UV Light) in darkened condition.
• Visible penetrants contain a red dye that provides high contrast against the white
developer background.
• Fluorescent penetrant systems are more sensitive than visible penetrant systems
because the eye is drawn to the glow of the fluorescing indication.
6Liquid Penetrant Testing
PENETRANT
Liquid Penetrant Testing 7
Fluorescent Penetrant Visible Penetrant
VISIBLE PENETRANT INSPECTIONS
• When using a visible penetrant, the intensity of the white light is of principal
importance.
• Inspections can be conducted using natural lighting or artificial lighting.
• Since natural daylight changes from time to time, the use of artificial lighting is
recommended to get better uniformity.
• Artificial lighting should be white whenever possible (halogen lamps are most
commonly used).
• The white light intensity for visible penetrant inspection should be more than
1000 lux on the testing surface.
Liquid Penetrant Testing 8
FLUORESCENT PENETRANT INSPECTIONS
• When a fluorescent penetrant is being employed, the ultraviolet (UV) light inside the
inspection booth is important.
• The black light (UV Light) intensity for fluorescent penetrant inspection should be
more than 1000 µW/cm² and white light intensity should not be more than 20 LUX.
• The source of ultraviolet light is often a mercury arc lamp with a filter. The lamps emit
many wavelengths and a filter is used to remove all except UV A (315nm to 400nm).
• Most UV light must be warmed up prior to use and should be on for at least 15 minutes
before beginning an inspection.
• Black lights should never be used with a cracked filter as output of white light and
harmful black light (UV-B, UV-C) will be increased.
9Liquid Penetrant Testing
PENETRANT TESTING MATERIALS
• A Light meter or Lux meter is a device used to measure the amount of light.
• Radiometer is used to measure the amount of black light intensity(UV Light).
Lux Meter Radiometer
10Liquid Penetrant Testing
UV LIGHT / BLACK LIGHT
11Liquid Penetrant Testing
PENETRANT TESTING MATERIALS
• Penetrants are then classified by the method used to remove the excess penetrant
from the part. The four methods are listed below:
Method A - Water Washable (Self-Emulsifiable)
Method B – Lipophilic (Post-Emulsifiable)
Method C - Solvent Removable
Method D – Hydrophilic (Post-Emulsifiable)
• Water washable (Method A) penetrants can be removed from the part by rinsing with
water alone.
• These penetrants contain an emulsifying agent (detergent) that makes it possible to
wash the penetrant from the part surface with water alone.
12Liquid Penetrant Testing
Method A- Water Washable
Liquid Penetrant Testing 13
What is an Emulsifier?
• An emulsifier is an agent that enables removal of exces post emulsifiable penetrant
on part surfaces with water.
• The function of an emulsifier is to make a post emulsifiable penetrant system into
water washable.
• Unlike water washable penetrants (Method A), post emulsifiable penetrants will
not rinse from part surfaces with water alone. An emulsifier is required for
Methods B and D penetrant processes.
Liquid Penetrant Testing 14
Types of Emulsifiers- Lipophilic
• There are two types of emulsifiers: Lipophilic and Hydrophilic.
• Lipophilic emulsifiers combine with post emulsifiable oil- based penetrants. The
resultant emulsifier-penetrant combination can be removed from a part surface by
water spray.
• Lipophilic emulsifiers are supplied in a ready to use form by the manufacturer.
No pre-rinse step takes place.
• After the penetrant dwell time is completed, lipophilic emulsifier is usually
applied by dip, and then the lipophilic emulsifier drains from the parts.
• The emulsification and drain step is timed to prevent over emulsification and
possible removal of penetrant from discontinuities. Parts go through a water rinse
immediately after the emulsification time.
Liquid Penetrant Testing 15
Method B- Lipophilic Post Emulsifiable Penetrant
Liquid Penetrant Testing 16
Types of Emulsifiers - Hydrophilic
• Hydrophilic emulsifiers are supplied as a concentrate.
• Hydrophilic emulsifiers are diluted with water following the manufacturer’s
recommendation. Hydrophilic emulsifiers work by detergent action.
• After the penetrant dwell time, parts are pre-rinsed with water before application
of the hydrophilic emulsifier.
• Hydrophilic emulsifier may also be applied to parts by spray. With spray
application of hydrophilic emulsifier, the pre-rinse step is usually omitted.
• The hydrophilic emulsification step is followed by a final water rinse.
Liquid Penetrant Testing 17
Method D- Hydrophilic Post Emulsifiable Penetrant
Liquid Penetrant Testing 18
Method C: Solvent Removable, Fluorescent and
Nonfluorescent
Liquid Penetrant Testing 19
PENETRANT TESTING MATERIALS
• Penetrants are then classified based on the strength or detectability of the indication
that is produced for a number of very small and tight fatigue cracks. The five
sensitivity levels are shown below:
Level ½ - Ultra Low Sensitivity
Level 1 - Low Sensitivity
Level 2 - Medium Sensitivity
Level 3 - High Sensitivity
Level 4 - Ultra-High Sensitivity
• .
20Liquid Penetrant Testing
Reasoning for Different Sensitivity Levels
• Sensitivity levels are not applied to visible penetrants.
• In fluorescent non-destructive testing there needs to be a balance between
sensitivity and background fluorescence.
• Higher sensitivity penetrants have the capability to detect smaller cracks and
defects.
• However, higher sensitivity penetrants will have stronger background
fluorescence. Excessive background fluorescence can interfere with the part
inspection by making it difficult to identify penetrant indications.
Liquid Penetrant Testing 21
Reasoning for Different Sensitivity Levels
• Lower sensitivity penetrants have less background than a higher sensitivity
penetrant but they are not able to detect fine indications.
• It is important to use a high enough sensitivity level to locate the necessary
indications, while also keeping the fluorescent background to a minimum in order
to maximize indication detection.
Liquid Penetrant Testing 22
How to Determine Which Sensitivity Level to Use?
• The primary consideration when deciding on which sensitivity level penetrant to
use is the guidance provided by governing specifications.
• The specifications and standard operating procedures in use at a facility will
dictate the penetrant sensitivity to be used.
• A lower sensitivity penetrant works well on rough surfaces, while a higher
sensitivity penetrant is suitable for highly machined surfaces.
• In some cases dual penetrant system is used which can be used with either visible
or UV-A light.
Liquid Penetrant Testing 23
Penetrant Testing Materials-Developer
• The role of the Developer is to pull the trapped penetrant material out of defects and
spread it out on the surface of the part so it can be seen by an inspector.
• The developer gives a white background so that red/fluorescent indication can be
easily seen.
• The developer can be applied as a dry powder, or wet suspended in a liquid carrier.
• The developer also allows more light to be emitted through the same mechanism.
• Developer can be applied by spraying, dipping, dusting ( for dry powder ).
24Liquid Penetrant Testing
PENETRANT TESTING MATERIALS
25Liquid Penetrant Testing
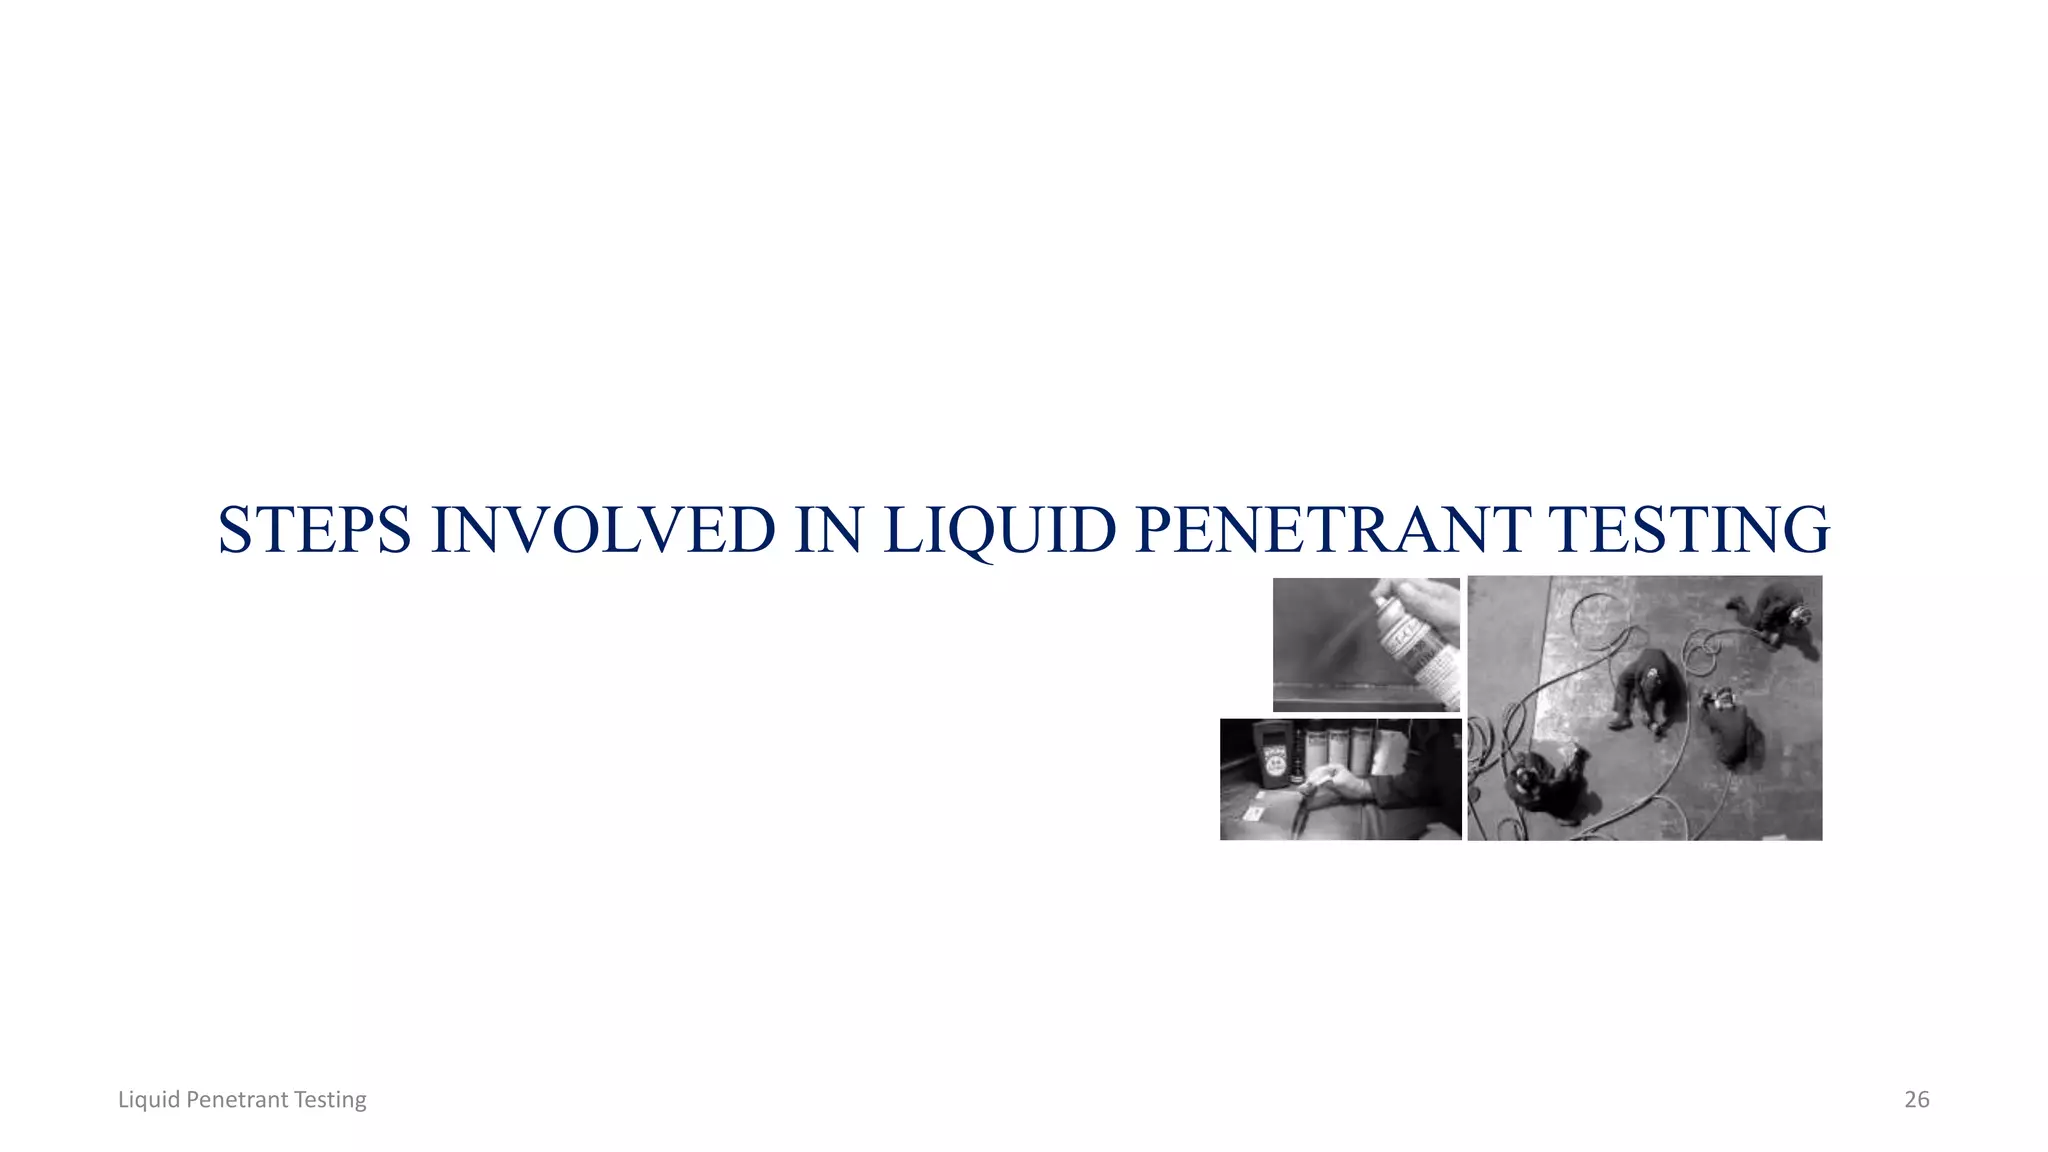
STEPS INVOLVED IN LIQUID PENETRANT TESTING
Liquid Penetrant Testing 26
1. SURFACE PREPARATION
• One of the most critical steps in the penetrant inspection process is preparing the part
for inspection.
• All coatings, such as paints, varnishes, plating, and heavy oxides must be removed to
ensure that defects are open to the surface of the part.
• If the parts have been machined, sanded, or blasted etching must be performed prior
to the penetrant inspection, because it is possible that a thin layer of metal may have
smeared across the surface and closed off defects.
• It is even possible for metal smearing to occur as a result of cleaning operations
such as grit or vapor blasting. This layer of metal smearing must be removed before
inspection.
27Liquid Penetrant Testing
SAND BLASTING
Liquid Penetrant Testing 28
2. PENETRANT APPLICATION
• The penetrant material can be applied in a number of different ways, including
spraying, brushing, or immersing the parts in a penetrant bath.
• Once the part is covered in penetrant it must be allowed to dwell so the penetrant
has time to enter any defect present.
• The dwell time vary depending on the application, penetrant materials used, the
material, the form of the material being inspected, and the type of defect being
inspected.
• Dwell times are usually recommended by the penetrant producers or required by
the specification being followed.
• Generally, there is no harm in using a longer penetrant dwell time as long as the
penetrant is not allowed to dry.
29Liquid Penetrant Testing
Penetrant Application -Spraying
30Liquid Penetrant Testing
Penetrant Application - Brushing
31Liquid Penetrant Testing
Penetrant Application –Dipping/Bathing
32Liquid Penetrant Testing
Penetrant Dwell Time
• Penetrant dwell time is the total time that the penetrant is in contact with the part
surface.
• The dwell time is important because it allows the penetrant the time necessary to
seep or be drawn into a defect.
• Dwell times are usually recommended by the penetrant producers or required by
the specification being followed.
Liquid Penetrant Testing 33
Penetrant Dwell Time
• The following tables summarize the dwell time requirements of several commonly
used specifications. The information provided below is intended for general reference
and no guarantee is made about its correctness. Please consult the specifications for
the actual dwell time requirements.
Liquid Penetrant Testing 34
3. EXCESS PENETRANT REMOVAL
• This is the most delicate part of the inspection procedure because the excess
penetrant must be removed from the surface of the sample while removing as
little penetrant as possible from defects.
• Depending on the penetrant system used, this step may involve cleaning with a
solvent (method C), direct rinsing with water(method A), or first treating the part
with an emulsifier (method B & D) and then rinsing with water.
35Liquid Penetrant Testing
4. DEVELOPER APPLICATION
• A thin layer of developer is then applied to the sample to draw penetrant trapped
in flaws back to the surface where it will be visible.
• Developers come in a variety of forms that may be applied by dusting (dry
powdered), dipping, or spraying (wet developers).
36Liquid Penetrant Testing
5. INDICATION DEVELOPMENT
• The developer is allowed to stand on the part surface for a period of time sufficient to
permit the extraction of the trapped penetrant out of any surface flaws.
• This development time is usually a minimum of 10 to 60 Minutes. Significantly
longer times may be necessary for tight cracks.
37Liquid Penetrant Testing
6. INSPECTION
• Inspection is then performed under appropriate lighting to detect indications from
any flaws which may be present.
38Liquid Penetrant Testing
7. CLEAN SURFACE
• The final step in the process is to thoroughly clean the part surface to remove the
developer from the parts that were found to be acceptable.
39Liquid Penetrant Testing
PRIMARY ADVANTAGES
• The method has high sensitive to small surface discontinuities.
• Large areas and large volumes of parts/materials can be inspected rapidly and at
low cost.
• Indications are produced directly on the surface of the part and constitute a visual
representation of the flaw.
• Aerosol spray cans make penetrant materials very portable.
• Penetrant materials and associated equipment are relatively inexpensive.
40Liquid Penetrant Testing
PRIMARY DISADVANTAGES
• Only surface breaking defects can be detected.
• Precleaning is critical as contaminants can mask defects.
• The inspector must have direct access to the surface being inspected.
• Surface finish and roughness can affect inspection sensitivity.
• Multiple process operations must be performed and controlled.
• Post cleaning of acceptable parts is required.
• Chemical handling and proper disposal is required
41Liquid Penetrant Testing
Health and Safety Precautions in Liquid Penetrant Inspection
• When proper health and safety precautions are followed, liquid penetrant
inspection operations can be completed without harm to inspection personnel.
• There are a number of health and safety related issues that must be addressed,
only a few of the most common concerns will be discussed here.
Liquid Penetrant Testing 42
Chemical Safety
• Whenever chemicals must be handled, certain precautions must be taken as
directed by the material safety data sheets (MSDS) for the chemicals.
• Some of the penetrant materials are flammable and, therefore, should be used and
stored in small quantities.
• They should only be used in a well ventilated area and ignition sources avoided.
• Eye protection should always be worn to prevent contact of the chemicals with
the eyes.
• Many of the chemicals used contain detergents and solvents that can dermatitis.
Gloves and other protective clothing should be worn to limit contact with the
chemicals.
Liquid Penetrant Testing 43
Ultraviolet Light Safety
• Ultraviolet (UV) light or "black light" as it is sometimes called, has wavelengths
ranging from 180 to 400 nanometers.
• The most familiar source of UV radiation is the sun.
• UV light can cause eye inflammation, cataracts, and retinal damage.
• UV lamps sold for use in LPI application are almost always filtered to remove the
harmful UV wavelengths.
• It is essential that they be used with the proper filter in place and in good
condition.
Liquid Penetrant Testing 44
ANY QUESTIONS……?
45Liquid Penetrant Testing

Penetrant Testing PPT

  • 1.
    LIQUID PENETRANT TESTING NONDESTRUCTIVE TESTING
  • 2.
    LIQUID PENETRANT TESTING •Liquid penetrant Testing (LPT) is one of the most widely used nondestructive evaluation (NDE) methods. • LPT is also called as Dye Penetrant Testing (DPT). • LPI can be used to inspect almost any material provided that its surface is not extremely rough or porous. • Materials that are commonly inspected using LPI include metals (aluminum, copper, steel, titanium, etc.), glass, many ceramic materials, rubber, and plastics. 2Liquid Penetrant Testing
  • 3.
    • Liquid penetrationinspection is a method that is used to reveal surface breaking flaws by bleed out of a colored or fluorescent dye from the flaw. • The technique is based on the ability of a liquid to be drawn into a "clean" surface breaking flaw by capillary action. • After a period of time called the "dwell," excess surface penetrant is removed and a developer applied. • After developer application indication will appear on the surface being inspected. INTRODUCTION 3Liquid Penetrant Testing
  • 4.
    CAPILLARY ACTION • Basicprinciple of Penetrant testing is “Capillary action”. • Capillary action is the “ability of a liquid to flow in narrow spaces without the assistance of, or even in opposition to, external forces like gravity”. • Examples of capillary action in water include water moving up a straw or glass tube, moving through a paper or cloth towel, moving through a plant, and tears moving through tear ducts. 4Liquid Penetrant Testing
  • 5.
    PENETRANT TESTING MATERIALS APenetrant must: • be spread easily over the surface of the material being inspected to provide complete and even coverage. • be drawn into surface breaking defects by capillary action. • remain in the defect but remove easily from the surface of the part. • remain fluid so it can be drawn back to the surface of the part through the drying and developing steps. • be highly visible or fluoresce brightly to produce easy to see indications. • not be harmful to the material being tested or the inspector. 5Liquid Penetrant Testing
  • 6.
    PENETRANT TESTING MATERIALS •Penetrant materials come in two basic types. These types are listed below: Type 1 - Fluorescent Penetrants Type 2 - Visible Penetrants • Fluorescent penetrants contain a dye or several dyes that fluoresce when exposed to ultraviolet radiation(UV Light) in darkened condition. • Visible penetrants contain a red dye that provides high contrast against the white developer background. • Fluorescent penetrant systems are more sensitive than visible penetrant systems because the eye is drawn to the glow of the fluorescing indication. 6Liquid Penetrant Testing
  • 7.
    PENETRANT Liquid Penetrant Testing7 Fluorescent Penetrant Visible Penetrant
  • 8.
    VISIBLE PENETRANT INSPECTIONS •When using a visible penetrant, the intensity of the white light is of principal importance. • Inspections can be conducted using natural lighting or artificial lighting. • Since natural daylight changes from time to time, the use of artificial lighting is recommended to get better uniformity. • Artificial lighting should be white whenever possible (halogen lamps are most commonly used). • The white light intensity for visible penetrant inspection should be more than 1000 lux on the testing surface. Liquid Penetrant Testing 8
  • 9.
    FLUORESCENT PENETRANT INSPECTIONS •When a fluorescent penetrant is being employed, the ultraviolet (UV) light inside the inspection booth is important. • The black light (UV Light) intensity for fluorescent penetrant inspection should be more than 1000 µW/cm² and white light intensity should not be more than 20 LUX. • The source of ultraviolet light is often a mercury arc lamp with a filter. The lamps emit many wavelengths and a filter is used to remove all except UV A (315nm to 400nm). • Most UV light must be warmed up prior to use and should be on for at least 15 minutes before beginning an inspection. • Black lights should never be used with a cracked filter as output of white light and harmful black light (UV-B, UV-C) will be increased. 9Liquid Penetrant Testing
  • 10.
    PENETRANT TESTING MATERIALS •A Light meter or Lux meter is a device used to measure the amount of light. • Radiometer is used to measure the amount of black light intensity(UV Light). Lux Meter Radiometer 10Liquid Penetrant Testing
  • 11.
    UV LIGHT /BLACK LIGHT 11Liquid Penetrant Testing
  • 12.
    PENETRANT TESTING MATERIALS •Penetrants are then classified by the method used to remove the excess penetrant from the part. The four methods are listed below: Method A - Water Washable (Self-Emulsifiable) Method B – Lipophilic (Post-Emulsifiable) Method C - Solvent Removable Method D – Hydrophilic (Post-Emulsifiable) • Water washable (Method A) penetrants can be removed from the part by rinsing with water alone. • These penetrants contain an emulsifying agent (detergent) that makes it possible to wash the penetrant from the part surface with water alone. 12Liquid Penetrant Testing
  • 13.
    Method A- WaterWashable Liquid Penetrant Testing 13
  • 14.
    What is anEmulsifier? • An emulsifier is an agent that enables removal of exces post emulsifiable penetrant on part surfaces with water. • The function of an emulsifier is to make a post emulsifiable penetrant system into water washable. • Unlike water washable penetrants (Method A), post emulsifiable penetrants will not rinse from part surfaces with water alone. An emulsifier is required for Methods B and D penetrant processes. Liquid Penetrant Testing 14
  • 15.
    Types of Emulsifiers-Lipophilic • There are two types of emulsifiers: Lipophilic and Hydrophilic. • Lipophilic emulsifiers combine with post emulsifiable oil- based penetrants. The resultant emulsifier-penetrant combination can be removed from a part surface by water spray. • Lipophilic emulsifiers are supplied in a ready to use form by the manufacturer. No pre-rinse step takes place. • After the penetrant dwell time is completed, lipophilic emulsifier is usually applied by dip, and then the lipophilic emulsifier drains from the parts. • The emulsification and drain step is timed to prevent over emulsification and possible removal of penetrant from discontinuities. Parts go through a water rinse immediately after the emulsification time. Liquid Penetrant Testing 15
  • 16.
    Method B- LipophilicPost Emulsifiable Penetrant Liquid Penetrant Testing 16
  • 17.
    Types of Emulsifiers- Hydrophilic • Hydrophilic emulsifiers are supplied as a concentrate. • Hydrophilic emulsifiers are diluted with water following the manufacturer’s recommendation. Hydrophilic emulsifiers work by detergent action. • After the penetrant dwell time, parts are pre-rinsed with water before application of the hydrophilic emulsifier. • Hydrophilic emulsifier may also be applied to parts by spray. With spray application of hydrophilic emulsifier, the pre-rinse step is usually omitted. • The hydrophilic emulsification step is followed by a final water rinse. Liquid Penetrant Testing 17
  • 18.
    Method D- HydrophilicPost Emulsifiable Penetrant Liquid Penetrant Testing 18
  • 19.
    Method C: SolventRemovable, Fluorescent and Nonfluorescent Liquid Penetrant Testing 19
  • 20.
    PENETRANT TESTING MATERIALS •Penetrants are then classified based on the strength or detectability of the indication that is produced for a number of very small and tight fatigue cracks. The five sensitivity levels are shown below: Level ½ - Ultra Low Sensitivity Level 1 - Low Sensitivity Level 2 - Medium Sensitivity Level 3 - High Sensitivity Level 4 - Ultra-High Sensitivity • . 20Liquid Penetrant Testing
  • 21.
    Reasoning for DifferentSensitivity Levels • Sensitivity levels are not applied to visible penetrants. • In fluorescent non-destructive testing there needs to be a balance between sensitivity and background fluorescence. • Higher sensitivity penetrants have the capability to detect smaller cracks and defects. • However, higher sensitivity penetrants will have stronger background fluorescence. Excessive background fluorescence can interfere with the part inspection by making it difficult to identify penetrant indications. Liquid Penetrant Testing 21
  • 22.
    Reasoning for DifferentSensitivity Levels • Lower sensitivity penetrants have less background than a higher sensitivity penetrant but they are not able to detect fine indications. • It is important to use a high enough sensitivity level to locate the necessary indications, while also keeping the fluorescent background to a minimum in order to maximize indication detection. Liquid Penetrant Testing 22
  • 23.
    How to DetermineWhich Sensitivity Level to Use? • The primary consideration when deciding on which sensitivity level penetrant to use is the guidance provided by governing specifications. • The specifications and standard operating procedures in use at a facility will dictate the penetrant sensitivity to be used. • A lower sensitivity penetrant works well on rough surfaces, while a higher sensitivity penetrant is suitable for highly machined surfaces. • In some cases dual penetrant system is used which can be used with either visible or UV-A light. Liquid Penetrant Testing 23
  • 24.
    Penetrant Testing Materials-Developer •The role of the Developer is to pull the trapped penetrant material out of defects and spread it out on the surface of the part so it can be seen by an inspector. • The developer gives a white background so that red/fluorescent indication can be easily seen. • The developer can be applied as a dry powder, or wet suspended in a liquid carrier. • The developer also allows more light to be emitted through the same mechanism. • Developer can be applied by spraying, dipping, dusting ( for dry powder ). 24Liquid Penetrant Testing
  • 25.
  • 26.
    STEPS INVOLVED INLIQUID PENETRANT TESTING Liquid Penetrant Testing 26
  • 27.
    1. SURFACE PREPARATION •One of the most critical steps in the penetrant inspection process is preparing the part for inspection. • All coatings, such as paints, varnishes, plating, and heavy oxides must be removed to ensure that defects are open to the surface of the part. • If the parts have been machined, sanded, or blasted etching must be performed prior to the penetrant inspection, because it is possible that a thin layer of metal may have smeared across the surface and closed off defects. • It is even possible for metal smearing to occur as a result of cleaning operations such as grit or vapor blasting. This layer of metal smearing must be removed before inspection. 27Liquid Penetrant Testing
  • 28.
  • 29.
    2. PENETRANT APPLICATION •The penetrant material can be applied in a number of different ways, including spraying, brushing, or immersing the parts in a penetrant bath. • Once the part is covered in penetrant it must be allowed to dwell so the penetrant has time to enter any defect present. • The dwell time vary depending on the application, penetrant materials used, the material, the form of the material being inspected, and the type of defect being inspected. • Dwell times are usually recommended by the penetrant producers or required by the specification being followed. • Generally, there is no harm in using a longer penetrant dwell time as long as the penetrant is not allowed to dry. 29Liquid Penetrant Testing
  • 30.
  • 31.
    Penetrant Application -Brushing 31Liquid Penetrant Testing
  • 32.
  • 33.
    Penetrant Dwell Time •Penetrant dwell time is the total time that the penetrant is in contact with the part surface. • The dwell time is important because it allows the penetrant the time necessary to seep or be drawn into a defect. • Dwell times are usually recommended by the penetrant producers or required by the specification being followed. Liquid Penetrant Testing 33
  • 34.
    Penetrant Dwell Time •The following tables summarize the dwell time requirements of several commonly used specifications. The information provided below is intended for general reference and no guarantee is made about its correctness. Please consult the specifications for the actual dwell time requirements. Liquid Penetrant Testing 34
  • 35.
    3. EXCESS PENETRANTREMOVAL • This is the most delicate part of the inspection procedure because the excess penetrant must be removed from the surface of the sample while removing as little penetrant as possible from defects. • Depending on the penetrant system used, this step may involve cleaning with a solvent (method C), direct rinsing with water(method A), or first treating the part with an emulsifier (method B & D) and then rinsing with water. 35Liquid Penetrant Testing
  • 36.
    4. DEVELOPER APPLICATION •A thin layer of developer is then applied to the sample to draw penetrant trapped in flaws back to the surface where it will be visible. • Developers come in a variety of forms that may be applied by dusting (dry powdered), dipping, or spraying (wet developers). 36Liquid Penetrant Testing
  • 37.
    5. INDICATION DEVELOPMENT •The developer is allowed to stand on the part surface for a period of time sufficient to permit the extraction of the trapped penetrant out of any surface flaws. • This development time is usually a minimum of 10 to 60 Minutes. Significantly longer times may be necessary for tight cracks. 37Liquid Penetrant Testing
  • 38.
    6. INSPECTION • Inspectionis then performed under appropriate lighting to detect indications from any flaws which may be present. 38Liquid Penetrant Testing
  • 39.
    7. CLEAN SURFACE •The final step in the process is to thoroughly clean the part surface to remove the developer from the parts that were found to be acceptable. 39Liquid Penetrant Testing
  • 40.
    PRIMARY ADVANTAGES • Themethod has high sensitive to small surface discontinuities. • Large areas and large volumes of parts/materials can be inspected rapidly and at low cost. • Indications are produced directly on the surface of the part and constitute a visual representation of the flaw. • Aerosol spray cans make penetrant materials very portable. • Penetrant materials and associated equipment are relatively inexpensive. 40Liquid Penetrant Testing
  • 41.
    PRIMARY DISADVANTAGES • Onlysurface breaking defects can be detected. • Precleaning is critical as contaminants can mask defects. • The inspector must have direct access to the surface being inspected. • Surface finish and roughness can affect inspection sensitivity. • Multiple process operations must be performed and controlled. • Post cleaning of acceptable parts is required. • Chemical handling and proper disposal is required 41Liquid Penetrant Testing
  • 42.
    Health and SafetyPrecautions in Liquid Penetrant Inspection • When proper health and safety precautions are followed, liquid penetrant inspection operations can be completed without harm to inspection personnel. • There are a number of health and safety related issues that must be addressed, only a few of the most common concerns will be discussed here. Liquid Penetrant Testing 42
  • 43.
    Chemical Safety • Wheneverchemicals must be handled, certain precautions must be taken as directed by the material safety data sheets (MSDS) for the chemicals. • Some of the penetrant materials are flammable and, therefore, should be used and stored in small quantities. • They should only be used in a well ventilated area and ignition sources avoided. • Eye protection should always be worn to prevent contact of the chemicals with the eyes. • Many of the chemicals used contain detergents and solvents that can dermatitis. Gloves and other protective clothing should be worn to limit contact with the chemicals. Liquid Penetrant Testing 43
  • 44.
    Ultraviolet Light Safety •Ultraviolet (UV) light or "black light" as it is sometimes called, has wavelengths ranging from 180 to 400 nanometers. • The most familiar source of UV radiation is the sun. • UV light can cause eye inflammation, cataracts, and retinal damage. • UV lamps sold for use in LPI application are almost always filtered to remove the harmful UV wavelengths. • It is essential that they be used with the proper filter in place and in good condition. Liquid Penetrant Testing 44
  • 45.