Step 1: Create an account
Navigate to cubecloud.dev, and create a new Cube Cloud account.Step 2: Create a new Deployment
Click Create Deployment button. This is the first step in the deployment creation. Give it a name and select the cloud provider and region of your choice.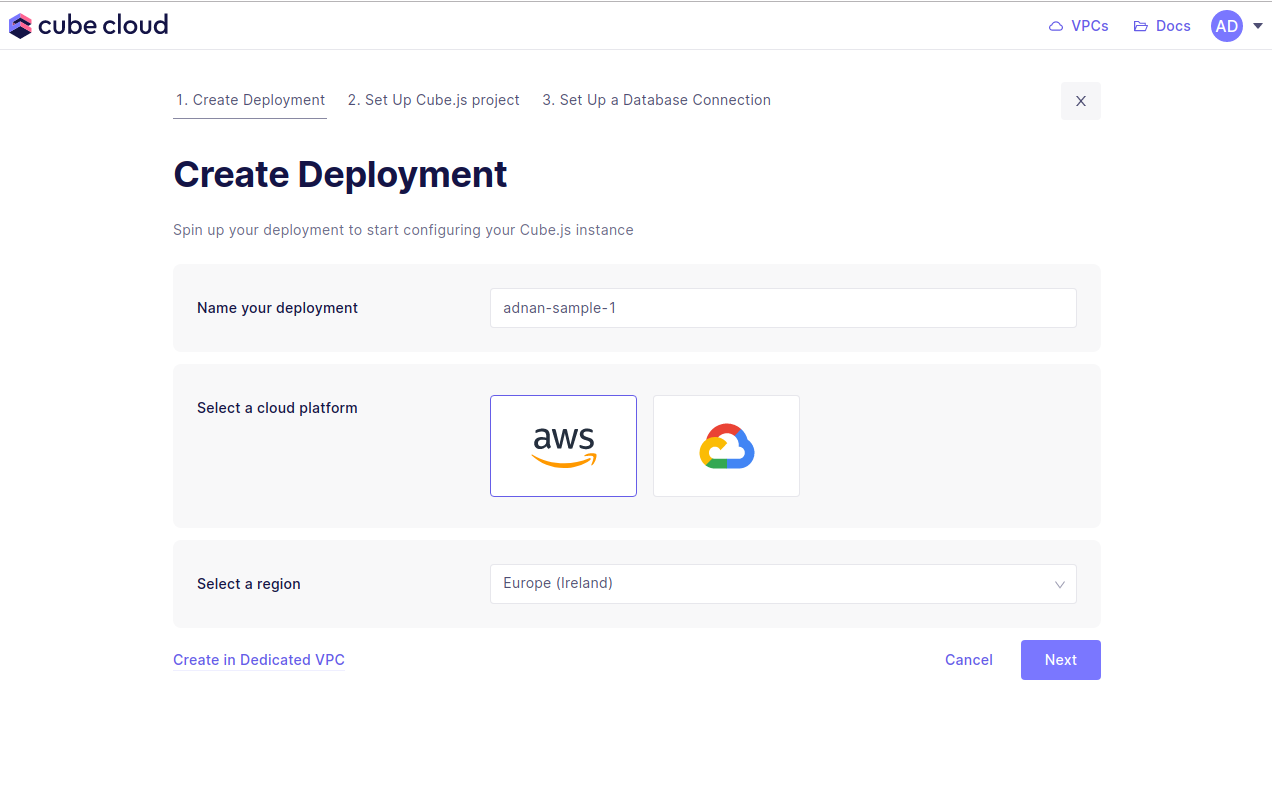
Microsoft Azure is available on Enterprise plan.
Contact us for details.
Step 3: Import Git repository
Next up, the second step in creating a Cube App from scratch in Cube Cloud is to click Import Git repository via SSH button.

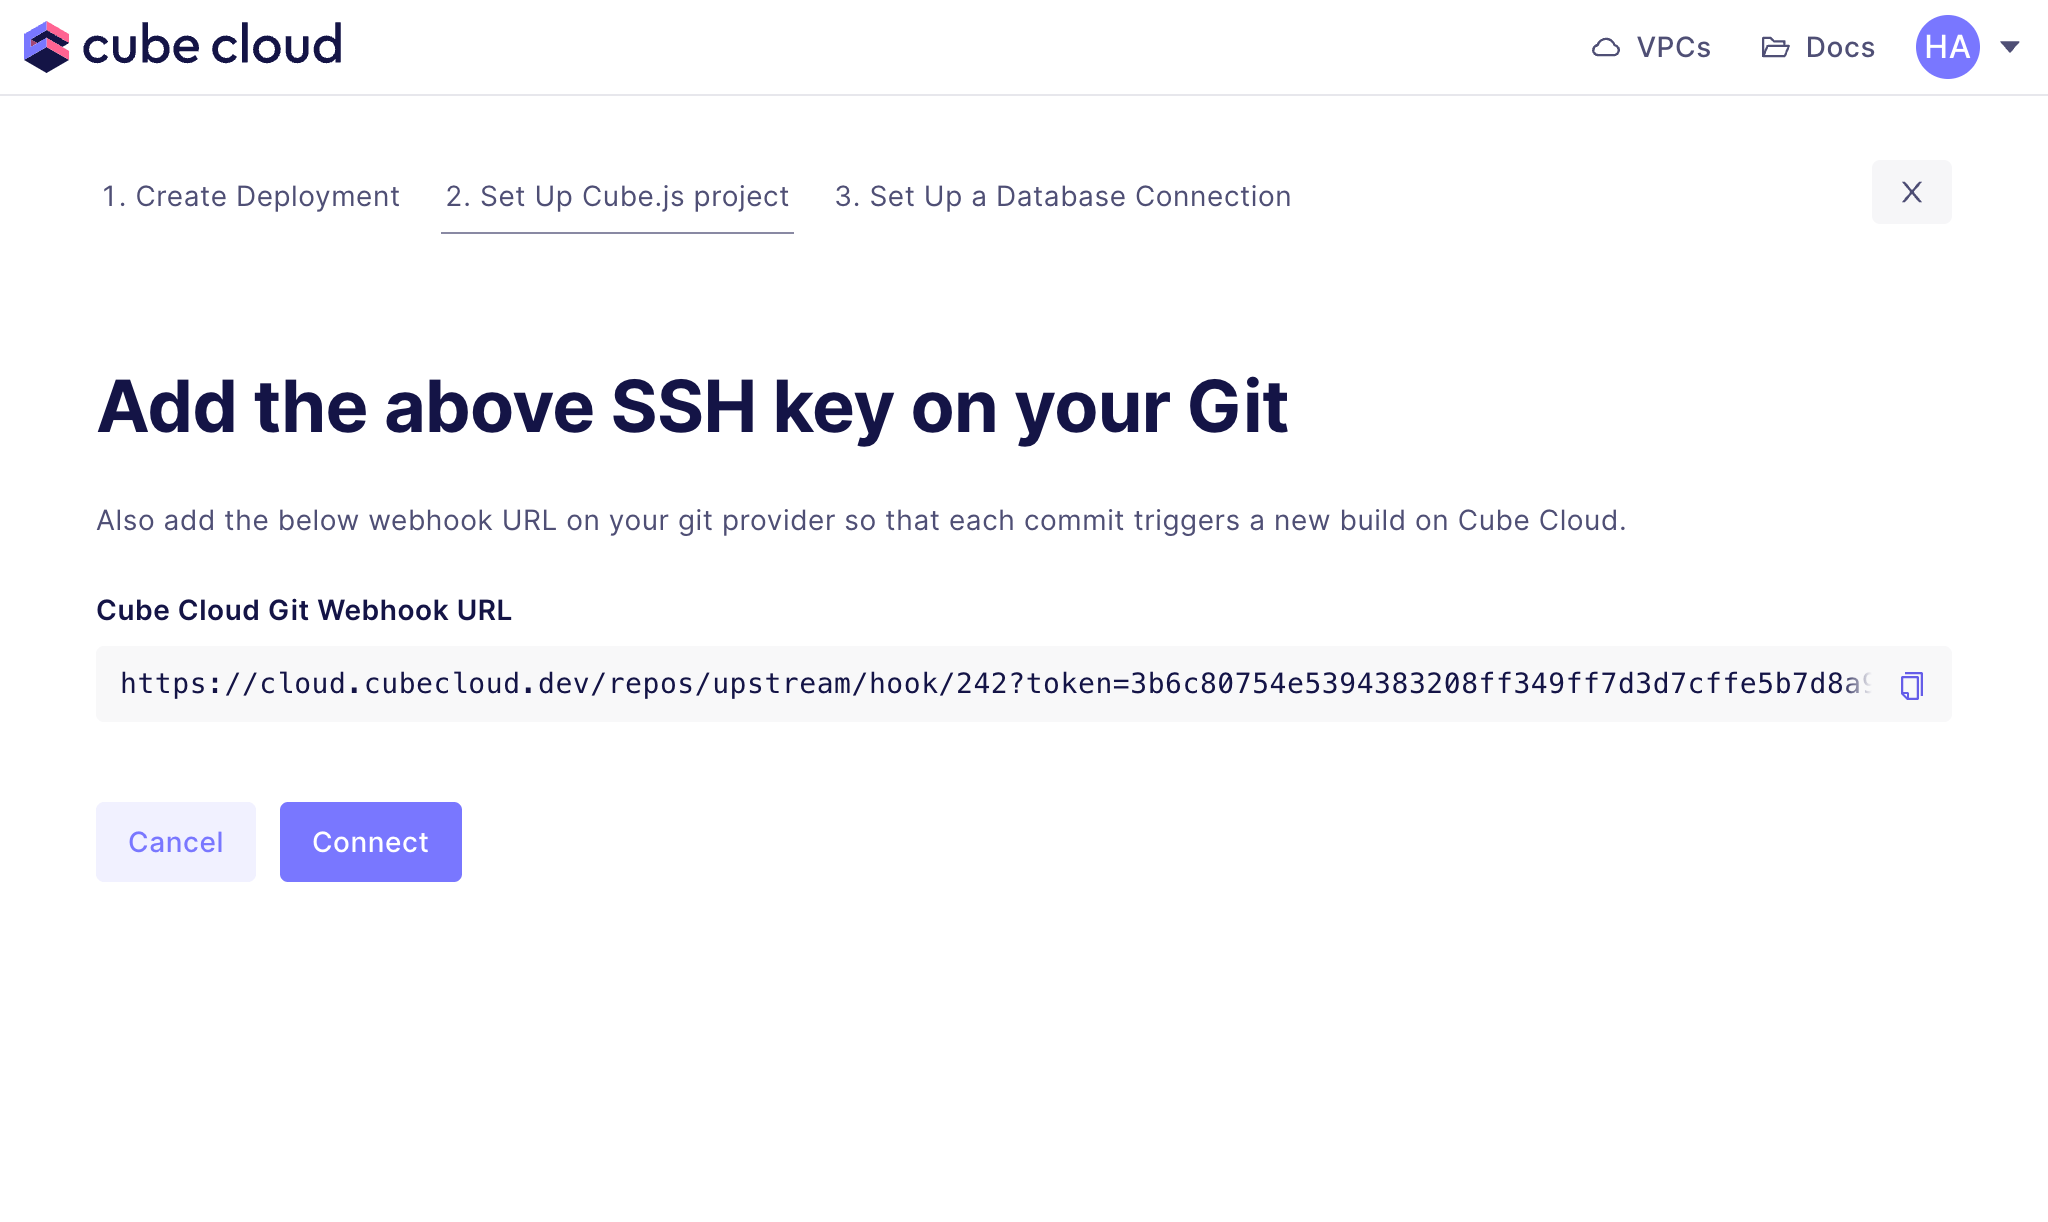
Webhook format
Cube recognizes push webhooks in the formats sent by GitLab, Bitbucket, and Azure DevOps out of the box, so you can usually point your repository’s native webhook integration at the webhook URL without any extra configuration. If your Git host does not send one of these formats (for example, AWS CodeCommit), or you want to trigger a sync from a CI/CD pipeline or manually, send aPOST request to the webhook URL with the x-git-event: push header:
- Use the full webhook URL exactly as shown in the UI — it includes the
tokenquery parameter that authenticates the request. - The
x-git-event: pushheader is required. Requests that do not carry a recognized Git event are ignored: Cube responds with204, does not pull the repository, and the request is not shown under recent webhook requests. refis optional and names the branch to sync (in therefs/heads/<branch>form). If omitted, the production branch configured for the deployment is used.
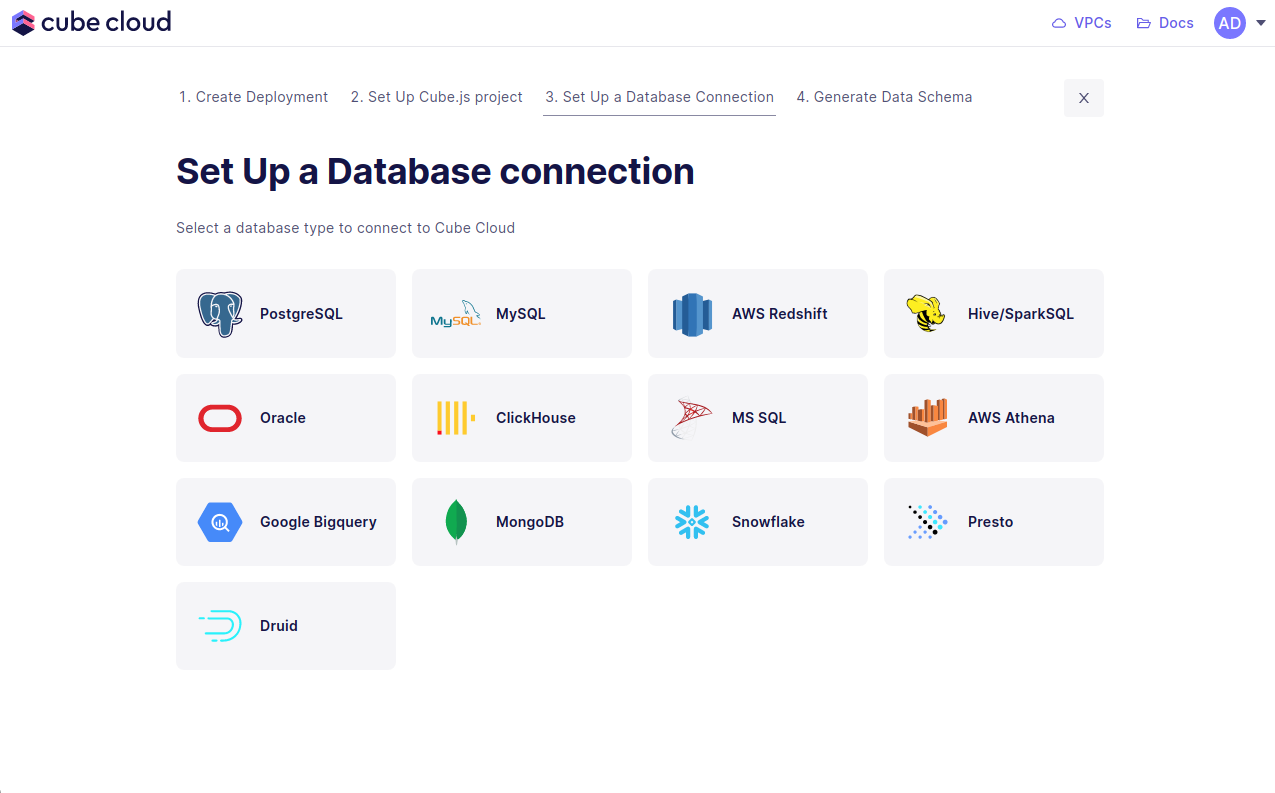
Step 4: Connect your Database
Enter your credentials to connect to your database. Check the connecting to databases guide for more details.Want to use a sample database instead? We also have a sample database where you
can try out Cube Cloud:

Step 5: Generate the Data Model
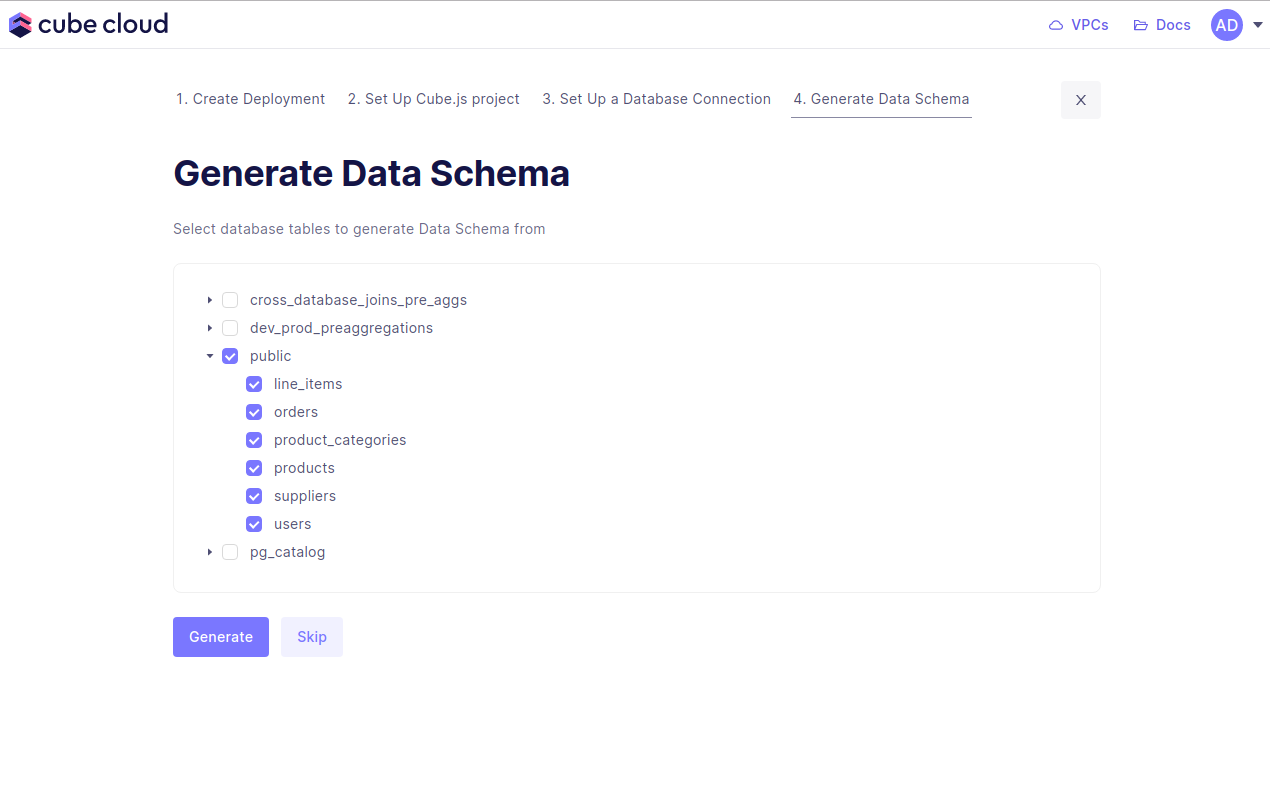
Step five in this case consists of generating data models. Start by selecting the database tables to generate the data models from, then hit Generate.